crwdns2915892:0crwdne2915892:0
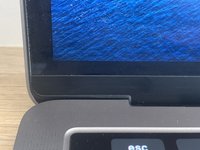
I recently cracked the bezel of my 2017 13” Macbook Pro. The screen was perfectly fine and the bezel is purely cosmetic but Apple said they had to replace the whole screen for $600 to replace the bezel, but I did it for less than $20.
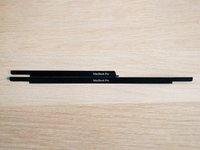
You can purchase replacement bezels easily by simply searching the year and bezel (e.g. “Macbook Pro 13” 2017 Bezel”). I have linked the bezel that I purchased from eBay in the parts list.
The only difficult part of this repair is removing the existing bezel.
crwdns2942213:0crwdne2942213:0
-
crwdns2935267:0crwdne2935267:0Tweezers$4.99
-
This is the only stressful part of the repair but is surprisingly easier than it seems.
-
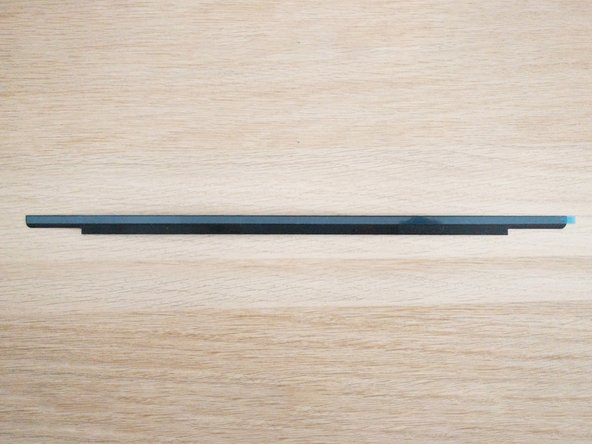
You need to remove the existing cracked bezel. Use a hairdryer to carefully loosen the adhesive.
-
You may not need to use heat to loosen the adhesive, I simply used tweezers to pick off bits of glass and was able to slowly take one side off. Then simply running my nail down the other half, the whole bezel came off in one go.
-
-
-
-
Use isopropyl alcohol to remove any leftover adhesive.
-
Make sure there aren't any tiny shards of glass in the small gaps. I recommend using a can of compressed air to remove the shards.
-
-
-
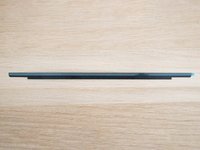
Simply attach the bezel onto your Macbook and use the rubber seal that surrounds the screen to align the bezel.
-
Depending on where you purchased your replacement bezel from, you may not have double-sided tape pre-applied. If not, put a strip of double-sided tape on the top edge of the bezel.
-


To reassemble your device, follow these instructions in reverse order.
To reassemble your device, follow these instructions in reverse order.
crwdns2935221:0crwdne2935221:0
crwdns2935229:015crwdne2935229:0

crwdns2947412:013crwdne2947412:0
I followed this guide and when I turned my laptop on I had lines all over the screen. Something behind that bezel pertaining to the screen operation exists and it SHOULD HAVE BEEN WARNED ABOUT!! misleading article!!
see my comment below for future reference.
Save yourself the possibility of lines in the LCD, just clean up any excess glass and apply the new bezel over the existing. There is glass under the bezel and cables that even the slightest strain will cause lines. If lined up correctly the second bezel is unnoticeable and does not cause clearance issues.
did it have any issues closing after a while? and did you just apply it with the adhesive mentioned in the article? let me know asap!
Anyone else who have done it this way with success? What could potentially be the downsides to this simpler method?
Allan P -