crwdns2915892:0crwdne2915892:0
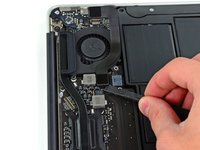
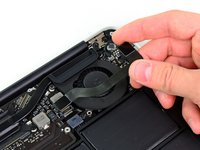
Use this guide to replace a noisy fan.
crwdns2942213:0crwdne2942213:0
-
crwdns2935267:0crwdne2935267:0P5 Pentalobe Screwdriver Retina MacBook Pro and Air$5.99
-
Remove the following ten screws:
-
Two 8 mm 5-point Pentalobe screws
-
Eight 2.5 mm 5-point Pentalobe screws
-
-
-
Wedge your fingers between the display and the lower case and pull upward to pop the lower case off the Air.
-
-
-
Use the flat end of a spudger to pry both short sides of the battery connector upward to disconnect it from its socket on the logic board.
-
Bend the battery cable slightly away from the logic board so the connector will not accidentally contact its socket.
-
-
-
Remove the single 2.9 mm T5 Torx screw securing the SSD to the logic board.
-
-
-
-
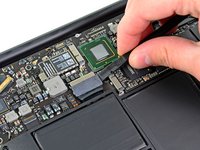
Use a spudger to help lift the free end of the SSD just enough to grab it with your other hand.
-
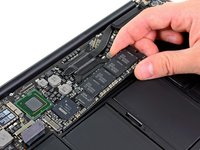
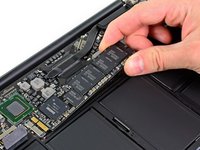
Pull the drive straight out of its socket and remove it from the logic board.
-
-
-
Use the flat end of a spudger to pry the I/O board cable up from its socket on the I/O board.
-
-
-
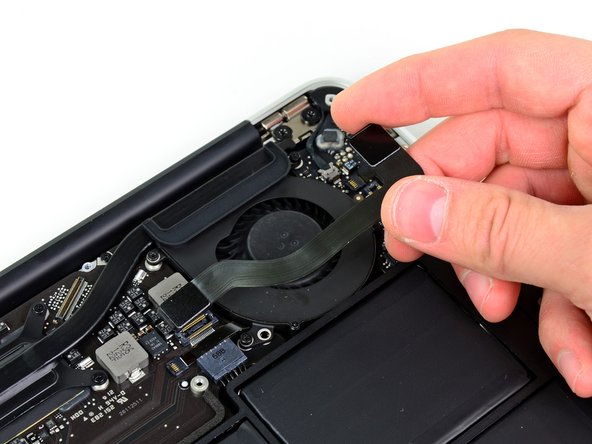
Peel the I/O board cable up from the adhesive securing it to the fan.
-
-
-
Use the flat end of a spudger to lift the I/O board connector up and out of its socket on the logic board
-
Remove the I/O board cable.
-
-
-
Use the tip of a spudger to carefully flip up the retaining flap on the fan cable ZIF socket.
-
-
-
Remove the following three screws securing the fan to the upper case:
-
Two 5.2 mm T5 Torx screws
-
One 3.6 mm T5 Torx screw
-
-
-
Lift the fan out of the upper case and carefully pull the fan ribbon cable out of its socket as you remove it from the Air.
-
To reassemble your device, follow these instructions in reverse order.
To reassemble your device, follow these instructions in reverse order.
crwdns2935221:0crwdne2935221:0
crwdns2935229:026crwdne2935229:0
crwdns2947412:03crwdne2947412:0
Step 9- I prying up on the retaining flap and accidentally broke this right off... so basically the socket came right off. Helpppp....!!
I did the same. What to do?
EW
I too broke the socket of trying to pry open the retaining flap. Yes there is a warning “Be sure you are prying up on the hinged retaining flap, not the socket itself.” But there needs to be a much better picture/description of how to DO this on step 9. Without a reference on what/where the retaining flap is, there is a big danger of breaking it. Now my computer is toast.


