crwdns2915892:0crwdne2915892:0
Use this guide to replace a damaged heat sink or to reapply its thermal paste.
Be sure to apply a new layer of thermal paste before reinstalling your heat sink.
crwdns2942213:0crwdne2942213:0
-
crwdns2935267:0crwdne2935267:0P5 Pentalobe Screwdriver Retina MacBook Pro and Air$5.99
-
Remove the following ten screws:
-
Two 8 mm 5-point Pentalobe screws
-
Eight 2.5 mm 5-point Pentalobe screws
-
-
-
Wedge your fingers between the display and the lower case and pull upward to pop the lower case off the Air.
-
-
-
Use the flat end of a spudger to pry both short sides of the battery connector upward to disconnect it from its socket on the logic board.
-
Bend the battery cable slightly away from the logic board so the connector will not accidentally bend back and make contact with its socket.
-
-
-
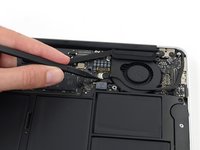
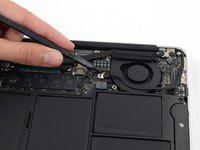
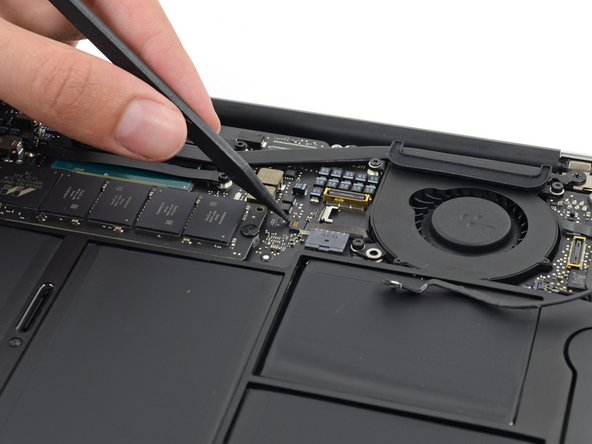
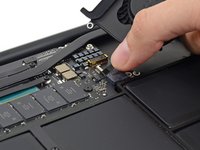
Use the tip of a spudger to carefully push on each side of the iSight camera cable connector to loosen it out of its socket on the logic board.
-
-
-
-
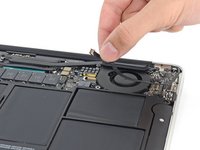
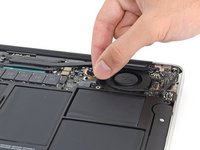
Peel the iSight camera cable up off the adhesive securing it to the fan.
-
-
-
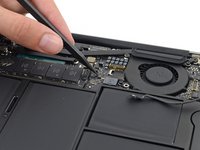
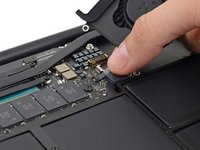
Use the tip of a spudger to carefully flip up the retaining flap on the fan cable ZIF socket.
-
-
-
Remove the following three screws securing the fan to the upper case:
-
Two 5.5 mm T5 Torx screws
-
One 4.6 mm T5 Torx screw
-
-
-
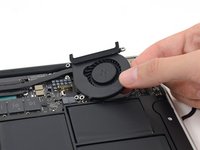
Lift, but do not remove the fan out of its recess in the upper case.
-
Carefully pull the fan ribbon cable out of its socket as you remove the fan from the Air.
-
-
-
Remove the four 2.5 mm T5 Torx screws securing the heat sink to the logic board.
-
-
-
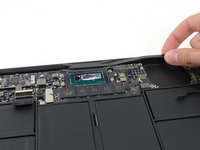
Remove the heat sink from the logic board.
-
To reassemble your device, follow these instructions in reverse order.
crwdns2935221:0crwdne2935221:0
crwdns2935229:03crwdne2935229:0
crwdns2947412:03crwdne2947412:0
you should seriously note the danger of the cpu screw holders. apple for some reason decided to attach the fricken screw receivers/standoffs via surface mount. they dont have a bottom cap either. use a screw slightly too long or turn too far and pop(screw pushes against motherboard and pops the holder off)... one corner is unable to be screwed in. ask me how i learned this...lol...I cant see how this design decision helps anything but apples wallet. the other side of the board has components smds as well so its not like a really short through hole was undo-able.
There is step missing between 3 and 4. There is another ribbon cable over fan that is still there in step 3 but gone in step 4.
The step 3 and 4, there should be a step removing the I/O cable. I/O cable must be removed or disassembled to access iSight camera cable. The I/O cable is covering the entire iSight cable, and without removing, accessing the iSight cable will extremely difficult.


