crwdns2915892:0crwdne2915892:0
Upgrade your mini's aging Core Duo processor to a blazing Core 2 Duo.
crwdns2942213:0crwdne2942213:0
-
-
-
Power down your Mac mini, disconnect all of the cables, and flip it over.
-
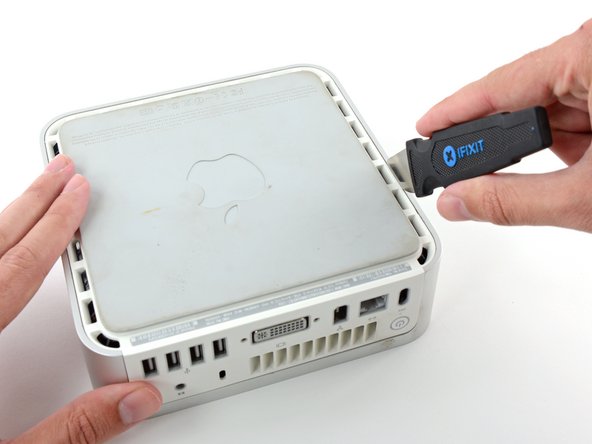
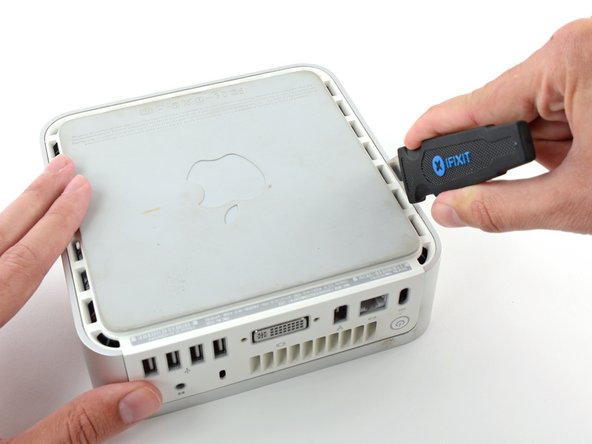
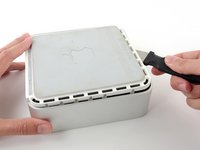
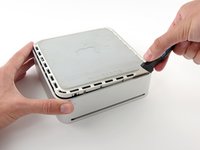
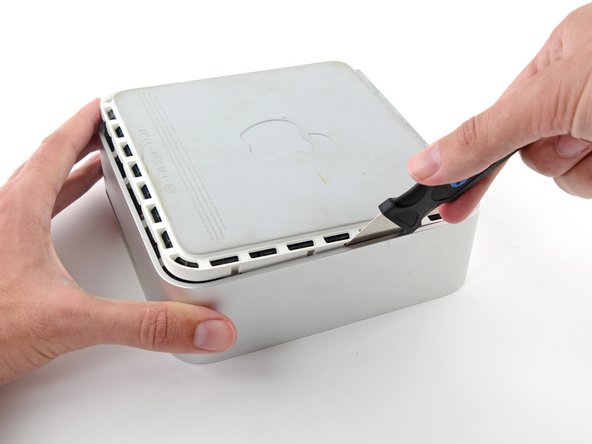
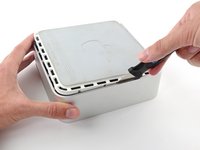
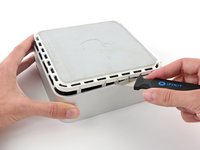
Insert the Jimmy into the crack between the aluminum top housing and the plastic lower housing.
-
The Jimmy should reach a stop about 3/8" down.
 crwdns2952109:0crwdne2952109:0
-
-
-
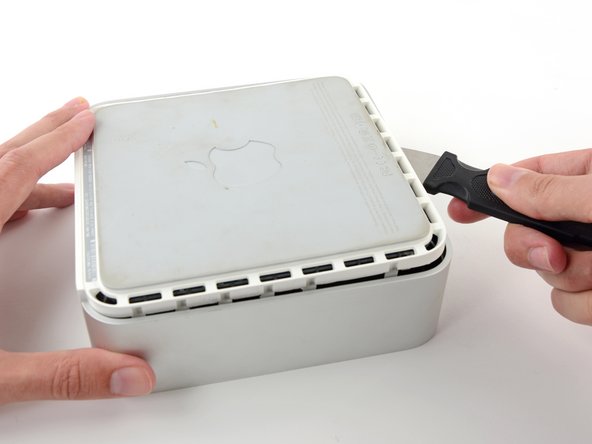
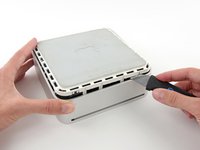
Gently bend the Jimmy outwards to pry the crack open a little larger and lift the lower housing up a small amount.
-
-
-
Once you have the first side free, rotate the Mac mini and start prying up on the front edge.
-
Use the same prying motion to both bend the clips inward and lift the lower housing up out of the top housing.
-
-
-
You may need to move the Jimmy along the edge to pry up all of the clips. Be patient and do a little bit at a time.
-
-
-
Keep working around the perimeter, freeing the clips along the final edge.
-
-
-
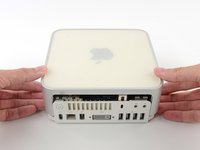
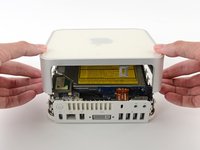
Flip the Mac mini back over and lift the top housing off of the lower housing.
-
-
-
-
-
Slightly squeeze the two retaining arms toward each other and lift the AirPort antenna off its post.
-
-
-
Use the tip of a spudger to slightly lift the left side of the ZIF cable lock up from its socket.
-
-
-
Lift the audio board ribbon cable up out of its socket.
-
-
crwdns2935267:0crwdne2935267:0Tweezers$4.99
-
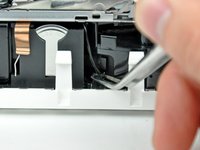
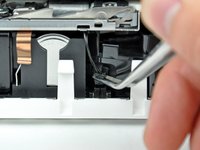
Use a pair of tweezers to lift the hard drive thermal sensor cable connector up off its socket on the logic board.
-
-
-
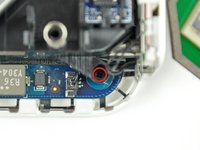
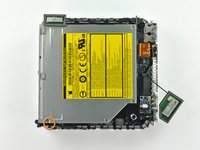
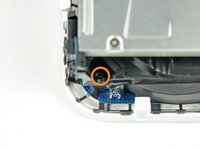
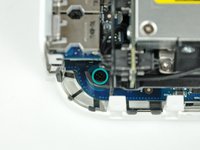
Remove the recessed Phillips screw near the power button securing the internal frame to the bottom housing.
-
-
-
-
Remove the recessed Phillips screw near the sleep light securing the internal frame to the bottom housing.
-
-
-
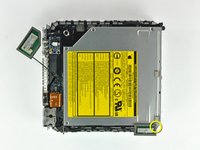
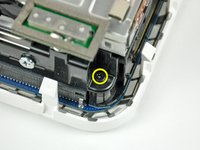
Remove the Phillips screw from the internal frame near the Bluetooth antenna.
-
-
-
Remove the Phillips screw near the audio ports securing the internal frame to the bottom case.
-
-
-
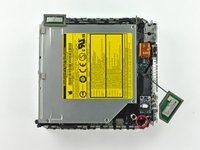
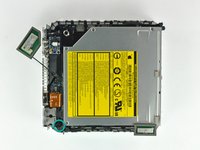
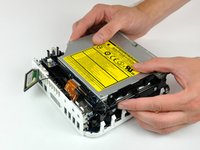
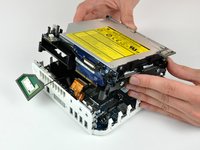
Gently lift the internal frame up from the bottom housing, minding the AirPort antenna and any other cables that may get caught.
-
-
-
-
crwdns2935267:0crwdne2935267:0Tweezers$4.99
-
Firmly grasp the power button cable connector with a pair of tweezers and lift it straight up off the logic board.
-
-
-
Firmly grasp the sleep light cable connector with a pair of tweezers and lift it straight up off the logic board.
-
-
-
Remove the single T10 torx lug securing the logic board to the bottom housing.
-
-
-
Use the flat end of a spudger to slightly lift the logic board near the PRAM battery to separate it from the bottom housing.
-
-
-
Gently lift the free end of the logic board and wiggle the board as you pull it away from the I/O ports.
-
-
-
-
-
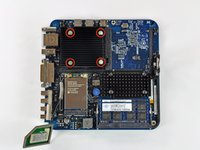
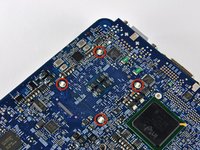
A spring loaded plastic pin at each corner of the heat sink holds it firmly against the face of the processor.
-
-
-
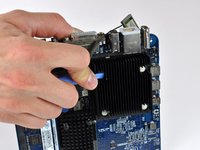
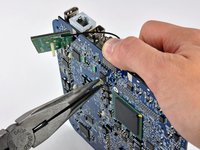
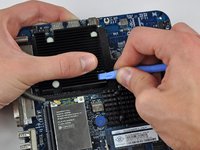
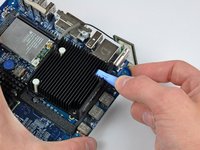
Using a plastic opening tool (or similar) in one hand, push down one pin holding the heat sink on the logic board. The spring under the pin will provide moderate resistance.
-
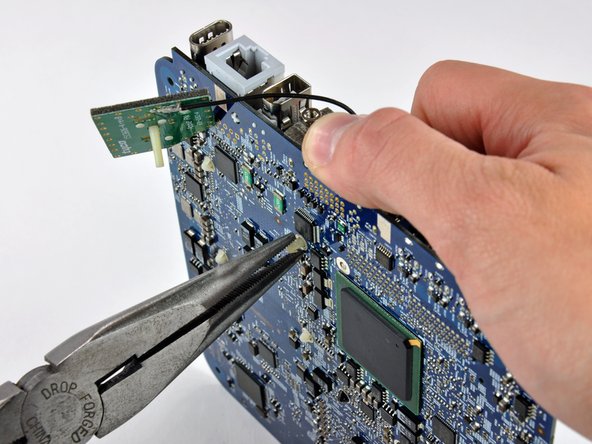
While holding the pin down from the heat sink side of the board, use a pair of pliers in your other hand on the underside of the board to squeeze both barbs against the plastic shaft of the pin.
-
With both barbs squeezed together, push the pin through its hole in the logic board.
-
Repeat this process for each of the four pins holding the heat sink on the logic board.
-
-
-
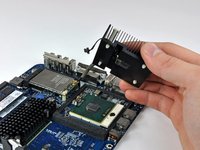
Lift the heat sink off the processor and lay it on the AirPort card.
-
-
-
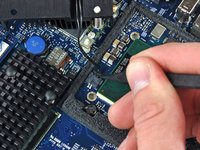
Use the tip of a spudger to push the heat sink thermal sensor connector out of its socket.
-
Remove the heat sink and set it aside.
-
-
-
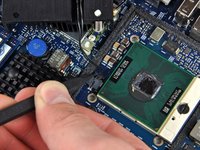
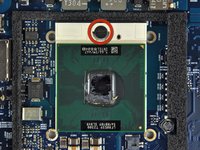
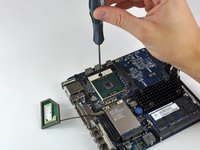
To unlock the processor, use a small flathead screwdriver to rotate the processor lock 180 degrees counter-clockwise until the indicator is near the open lock symbol.
-
-
-
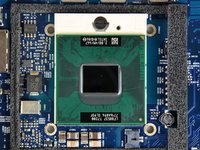
Grab the processor by its edges and lift it straight up off its socket.
-
-
-
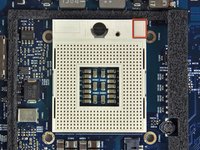
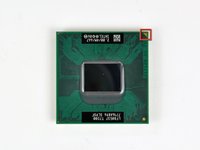
To aid in installation, processors and sockets have a small alignment arrow (shown in red) so the chip is installed in the correct orientation.
-
Align the chip so that the arrow in its upper right corner corresponds to the arrow molded into the upper right corner of the socket.
-
Carefully lower the processor onto its socket.
-
Note that if you are upgrading from a core solo or core duo processor to a core 2 duo processor and wish to run operating systems of Lion or later, you must delete the hidden file /System/Library/CoreServices/PlatformSupport.plist after the upgrade.
-
-
-
Use a small flathead screwdriver to rotate the processor lock 180 degrees clockwise until the indicator points toward the closed lock symbol.
-
-
-
Now that the processor is in place, turn your attention to the heat sink.
-
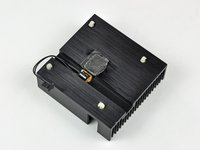
Apple uses a thermally conductive film that must be removed prior to reinstalling the heat sink.
-
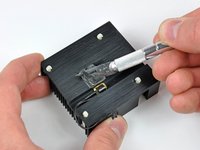
Use a razor blade (or anyother flat object such as a credit card, etc.) to remove all of the old solidified thermal material from the heat sink.
-
Next use a small amount of rubbing alcohol to remove all traces of the old thermal material.
-
Allow the heat sink to dry before proceeding.
-
-
-
Apply a thin layer of thermal paste to the reflective silicon face of the processor.
-
Check out our thermal paste guide for detailed instructions on applying thermal paste.
-
-
-
Lay the heat sink on the AirPort card and use a spudger to reconnect the heat sink thermal sensor.
-
-
-
Gently lower the heat sink onto the processor.
-
-
-
While holding the heat sink in place, press the four plastic posts down through the logic board to reattach the heat sink.
-
-
































To reassemble your device, follow these instructions in reverse order.
crwdns2935221:0crwdne2935221:0
crwdns2935229:0174crwdne2935229:0

crwdns2947412:044crwdne2947412:0
I'm learning from cpu-world.com that the Core Duo (and Core Solo) are 32-bit architecture, whereas the Core 2 Duo is a 64-bit design. Does this matter in any way?
Richard - crwdns2934203:0crwdne2934203:0 crwdns2950251:0crwdne2950251:0
Hi Richard. I realize this post is very old, but did you ever get an answer to your question as to whether the 64-bits of the Core 2 Duo Processor will be recognized/utilized in the 32-bit architecture of the Mac Mini A1176? Thanks, John
John Trevett - crwdns2934203:0crwdne2934203:0 crwdns2950251:0crwdne2950251:0
Hi. I'm afraid I can no longer answer the question "does it matter in any way", since I eventually upgraded to a new Mac Mini.
I can say that it didn't *seem* to matter, which means no software failed to run or performed noticeably poorly because of the upgrade. But I'm not especially performance sensitive, so it is possible that all/most/some software was running in 32-bit mode and not taking advantage of the higher throughput of a 64-bit architecture. The most CPU intense stuff I was running when I decided to upgrade was: Parallels running WinXP and some Windows-only legal software, along with Chrome with far too many tabs open, and iTunes. That proved to be too much, and it'd slow to a crawl too often. But I think the upgrade kept me on that iMac and extra two or three years, and was an interesting exercise.
Richard - crwdns2934203:0crwdne2934203:0 crwdns2950251:0crwdne2950251:0
Hi, the processor will work just fine, but it’s recommended to do an EFI upgrade from 1,1 to 2,1, then you can run Lion and unofficially newer OSes
Arek Plewa - crwdns2934203:0crwdne2934203:0 crwdns2950251:0crwdne2950251:0
When going to all the trouble of replacing the CPU, a few other upgrades can be done at the same time:
- Upgrade RAM to 2GB maximum (required for OS X Lion), for example, Crucial CT541128
- Upgrade internal 2.5" SATA hard drive to larger size, and/or faster 7400 RPM or SDD.
- Replace PRAM battery with a fresh one (CR2032 lithium 3V)
Jake Errs - crwdns2934203:0crwdne2934203:0 crwdns2950251:0crwdne2950251:0
