crwdns2915892:0crwdne2915892:0
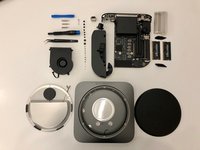
This is a member-submitted teardown. iFixit’s teardown of the Mac mini Late 2018 can be found here, and the RAM replacement guide can be found here.
crwdns2942213:0crwdne2942213:0
-
-
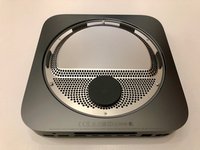
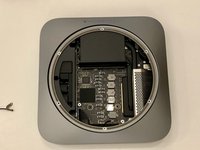
So here it is, exactly the same form factor as the previous Mac mini, but now in Space Gray
-
-
-
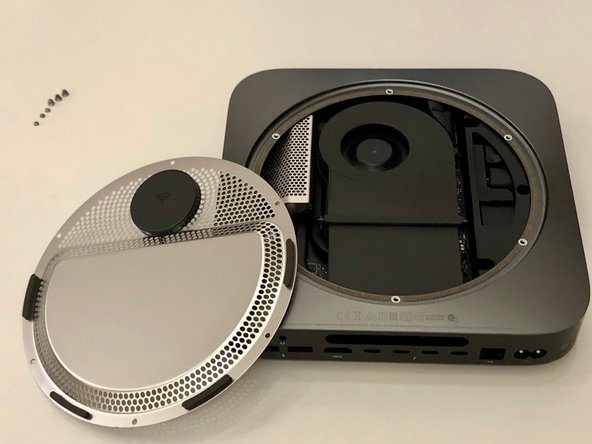
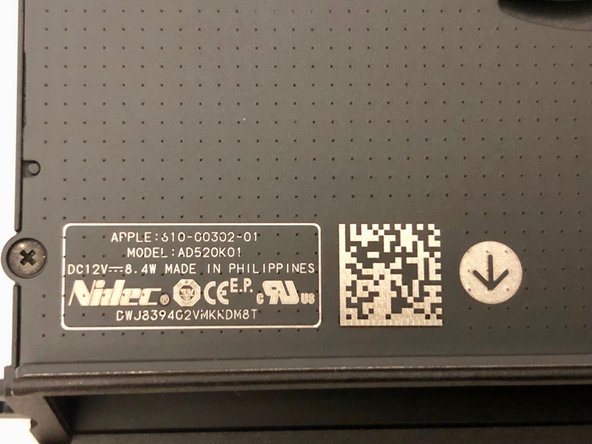
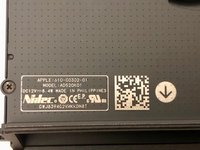
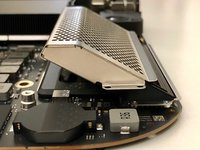
Once flipped over, a familiar black cover is revealed.
-
Pry open the lid to release it from the three large screws
-
The lid had a soft foam inside to dampen the vibrations of the beefed up fan
-
-
-
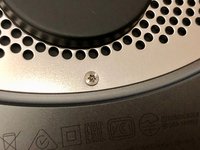
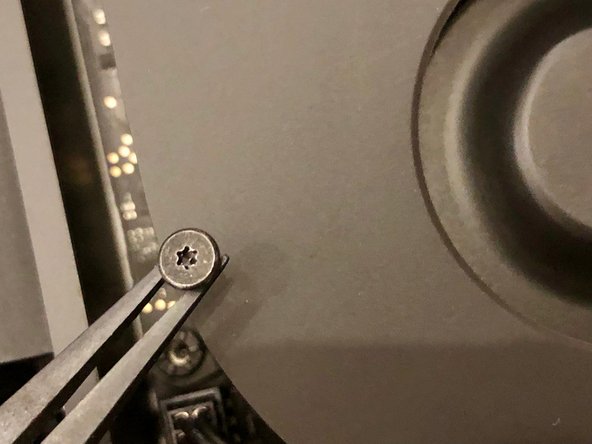
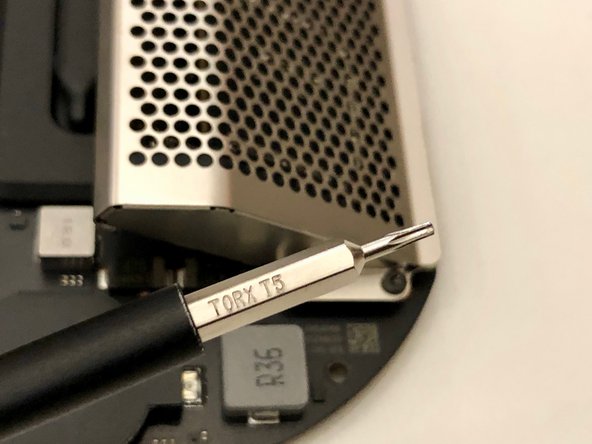
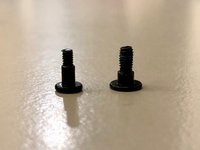
The lid is secured with the same TR6 screws as the 2014 model
I had to use a T7 torx for all 6 of these. All other screws were the size specified in this guide.
Nein, passt nicht, weil es in der Mitte der Schraube noch ein Stift steht. Es muss TR6 mit Loch!
-
-
-
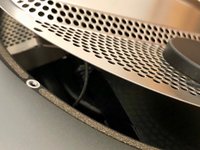
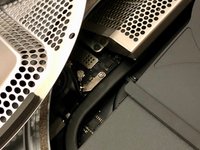
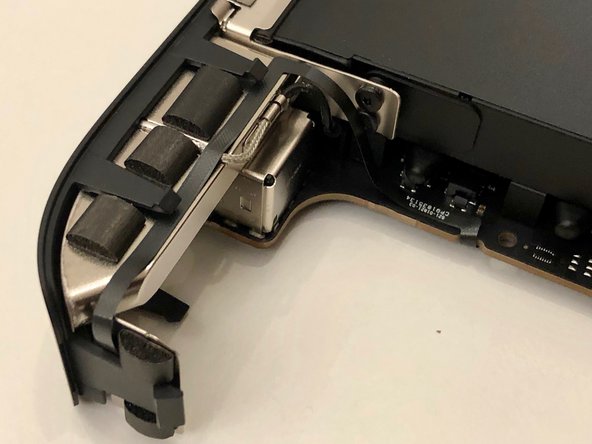
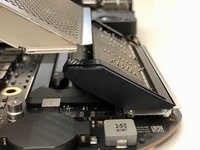
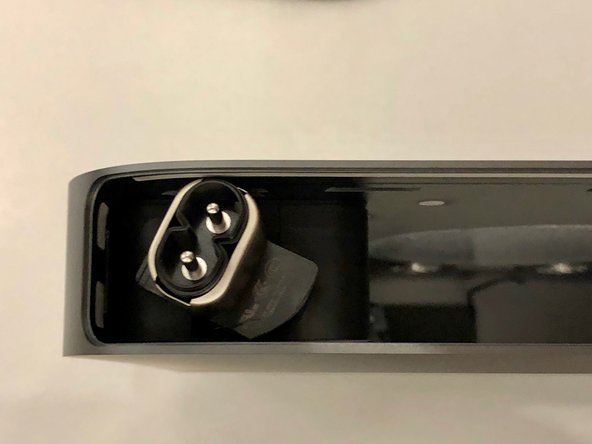
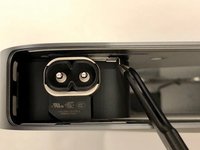
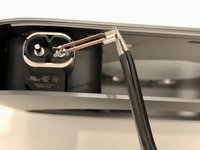
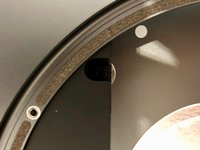
The antenna cable is very short, so watch out; rotate the cover to reveal the internals
-
-
-
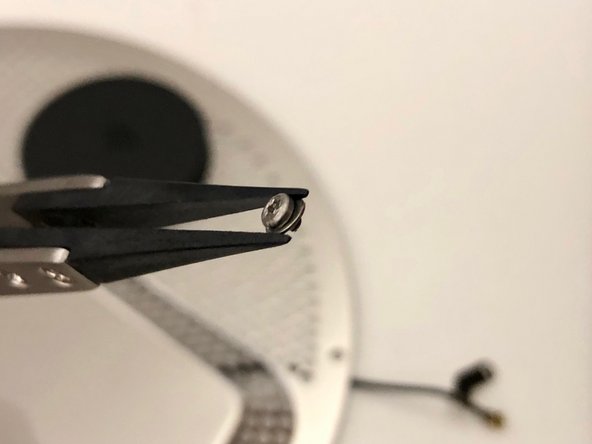
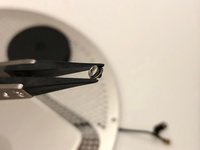
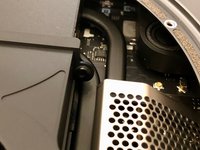
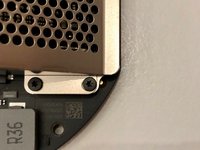
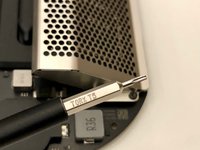
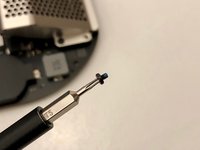
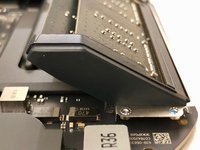
The antenna cable is held down with a little TX6 screw
-
It has a tiny washer to make sure no stress is applied to the cable
-
-
-
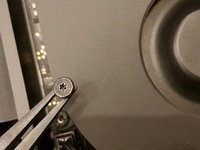
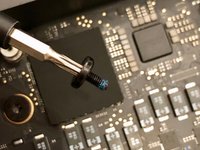
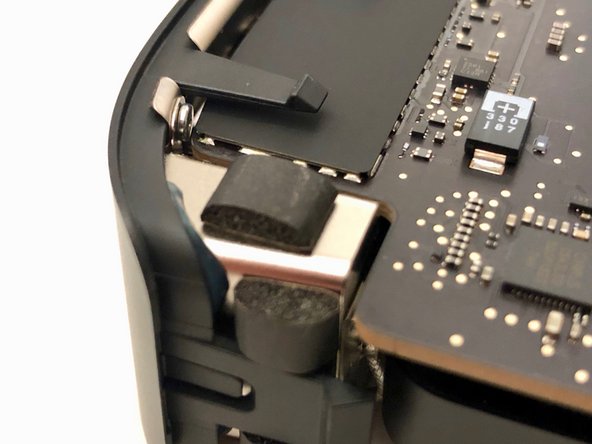
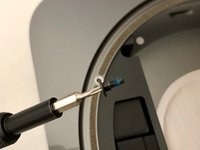
The fan has four identical TX6 screws holding it down
-
The screws go trough a rubber tube to reduce vibration
Images showing the location of the 4 screws would have been helpful
In the middle picture, the rubber tube and screw are shown as a single unit. In my case, when I removed the screw, the rubber tube stayed attached to the fan. There’s no need to remove the rubber tube from the fan to match what’s shown in the picture—it can remain inserted in the fan housing.
-
-
-
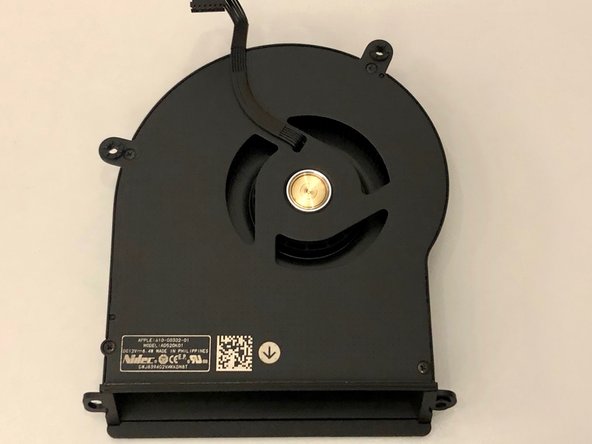
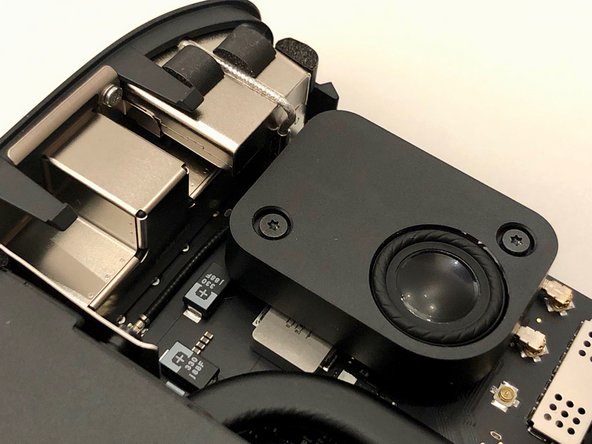
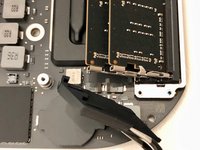
Underneath the fan the connector pops off easilly
-
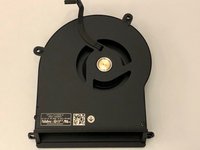
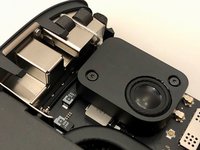
The fan feels solid. Much better than previous models
A word of warning about taking the fan out. The fan cable snaps easily in and out of its socket on the motherboard, but there’s not much holding the socket to the motherboard. No solder, no glue that I could see. After taking the fan out and replacing it repeatedly one day, I managed to bring the socket out with the cable plug. I don’t know at the moment what I can do about it, but I’m not about to plug the computer in and find out what happens.
-
-
-
-
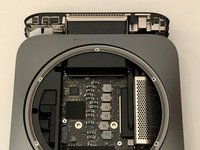
Now, lets take out the motherboard
-
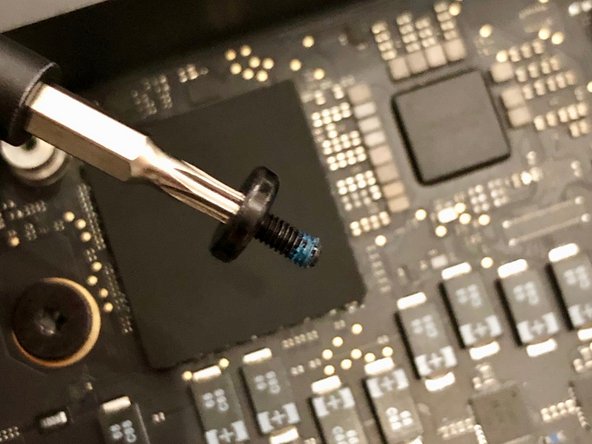
Massive (for the mini) TX10 screws secure the motherboard to the chassis
You may want to unplug the power supply first, as the two T10 screws help secure the motherboard while disconnecting the power cable. Check the next step to see if this approach works for you. If you decide to remove the screws, keep one finger on the screw hole closest to the power cable to hold the motherboard in place as you unplug it.
-
-
crwdns2935267:0crwdne2935267:0Tweezers$4.99
-
The power supply can be unplugged by as many wires as possible between your iFixit tweezers and pull upwards
-
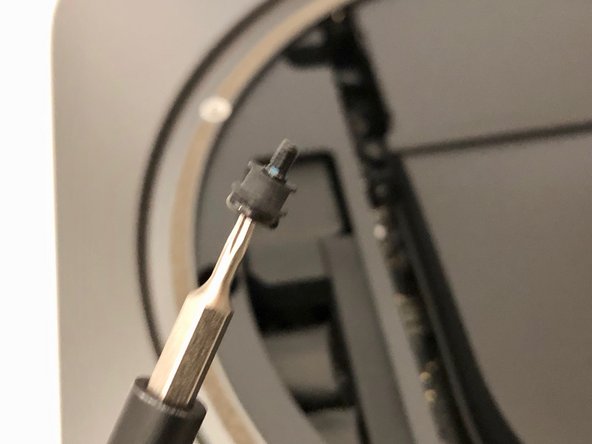
Also take off the tiny power led connector
The power supply should probably be unplugged before the previous step.
-
-
-
Slide the motherboard out by gently applying pressure to the heatsink
Reinserting the logic board is a straightforward process. Ensure that you orient it correctly, as it should be inserted in the same direction as it was removed. I found it helpful to position the machine vertically during this step. As you gently push the board toward the back until it's nearly flush, apply slight pressure on both the left and right sides of the logic board assembly. This will help push the tabs inward, creating enough clearance for the board to slide all the way back in securely.
-
-
-
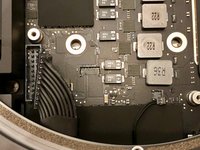
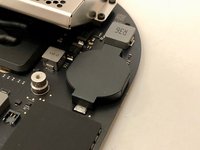
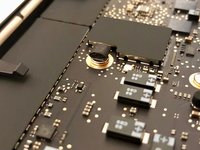
Some interesting design choices made here. A full size CMOS battery
-
The wifi wiring runs underneath the large speaker
-
The power button is attached to a ultra flat cable that runs in an arc along the heatsink
-
-
-
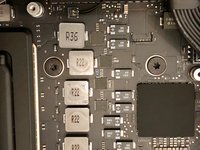
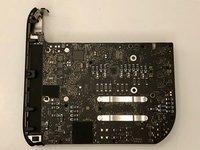
We flip over the motherboard to see a massive amount of tiny components
-
Also some familiar pieces of foam all over the place
-
-
-
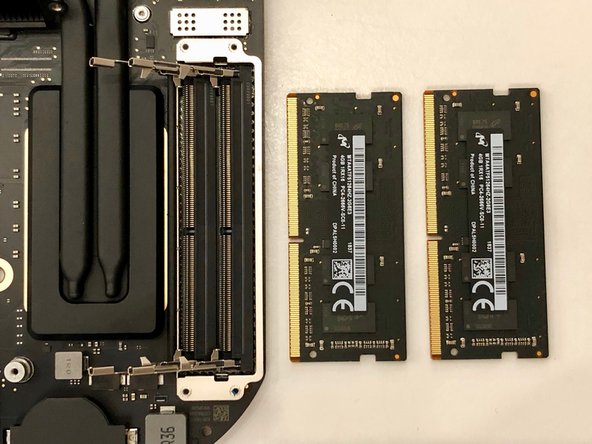
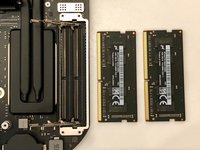
But now what we are all here for. The RAM
-
Four TX5 screws holt it down
-
-
-
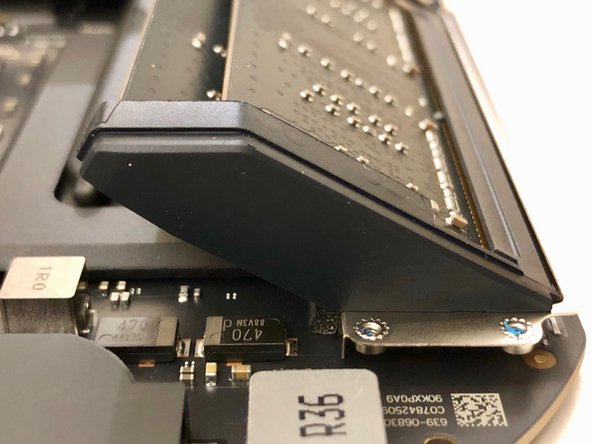
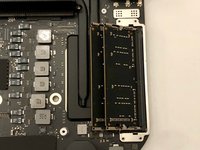
The memory cover slides off at an angle
-
-
-
These rubber parts will be a pain to put back on later.
-
There are tiny pieces of rubber in it that need to slide into the metal clips holding the memory in place
Tip: When removing the rubber slips, start by loosening the bottom first, then slide them away from the RAM, similar to how you would remove the RAM shield. This method helps prevent any unnecessary strain on the RAM and ensures a smoother removal process.
The statement "These rubber parts will be a pain to put back on later" is misleading. In reality, reattaching the rubber side covers after installing the new RAM is quite straightforward. Each cover has two short arms or fingers that easily slide into corresponding holes on the metal edge surrounding the RAM. Once the fingers are properly aligned and inserted, you simply press the base of the rubber cover toward the RAM to secure it in place. This process is typically quick and hassle-free.
-
-
-
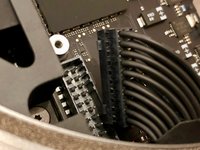
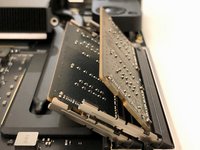
The memory itself sits upside down in its sockets
-
The springs are very strong and will shoot the memory in your face if you're not careful!
Does anybody knows if this memory is ECC?
ECC modules have a chip-count divisible by 3 or 5. Usually the extra chip is smaller than others.
I see only four chips but the extra smaller fifth one maybe is hidden behind the sticker.
No, the RAM for the Mac Mini (2018) is not ECC (Error-Correcting Code) memory. The Mac Mini 2018 uses non-ECC DDR4 memory, which is standard for most consumer desktop computers. ECC memory is typically found in servers and workstations where data integrity is critical. The Mac Mini 2018 supports up to 64 GB of DDR4 memory, and it can be configured with 8 GB, 16 GB, or 32 GB of RAM
When inserting new RAM, begin with the slot farthest from the edge of the logic board. Slide the memory into the slot at a slight angle, greater than the angle at which it will settle. This allows you to press inward gradually. As you do this, you’ll notice the RAM may bump against two tabs. Gently spread these tabs away from the RAM to facilitate its insertion without applying excessive pressure. Take your time and carefully analyze each step of the process to ensure proper installation.
-
-
-
The power supply is secured in a similar way as with the previous models
-
A little clip has to be removed, and the connector can be rotated
-
-
-
The power supply is held down with three TX6 screws
-
They look just like the fan screws, but they appear just a little bit thicker and with longer thread
-
-
-
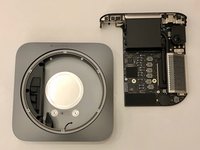
After taking out the power supply we are left with an empty shell
-
I really enjoyed taking this mini apart. My verdict is it's much easier than the 2014 model as cables are in a more logical place
-


To reassemble your device, follow these instructions in reverse order.
To reassemble your device, follow these instructions in reverse order.
crwdns2935221:0crwdne2935221:0
crwdns2935229:014crwdne2935229:0
crwdns2947412:06crwdne2947412:0
What happens to the machine if the SSD fails? Will the entire logic board need to be replaced? I have a feeling that the chances of SSD failing would be significantly higher than Ram… So shouldn’t apple make SSD removable as well?
Failing SSD means a failing motherboard. In my experience, apple ssd-s are very reliable. Upgradable memory allows you to use a device longer. If you configure it with 16GB today, you might want to max out the memory in the future, once prices go down.
What about the CPU, is it in a socket or soldered in?
I didn’t have the courage to take the heatsink off. So we’ll have to wait for someone who does.
Mich würde interessieren, wie die CMOS Batterie getauscht wird, bzw. welcher Typ es ist.
Please advise. How can I change pram battery? It seems very hard to take off cover? from battery.
Before you begin, I encourage you to use an antistatic wristband, but wear it around your ankle instead. This approach allows for greater freedom of movement, making it more convenient to work on your hardware without being tethered by a wristband. Although this guide doesn’t specifically advise antistatic precautions, it’s wise to ensure you’re not a source of static that could transfer to sensitive components, potentially causing damage. Taking this small precaution can help protect your hardware from unintended static discharge.
Alex Santos - crwdns2934203:0crwdne2934203:0