crwdns2915892:0crwdne2915892:0
RAM effects the total memory and speed of a laptop. If your RAM is faulty, you will need a lot of patience for it to always be slow. However, if you replace it, like this guide tells you to, your device will perform much better.
crwdns2942213:0crwdne2942213:0
-
-
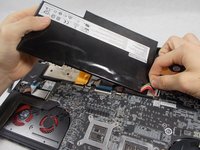
Use the spudger to separate the back plate from the rest of the computer with the screen up like in the picture.
-
Once the back plate is loose, close the screen for an easier time properly removing it.
-
-
-
Using a Phillips Head #1 screwdriver, unscrew the 15 screws on the bottom of the device
-
After all the screws are unscrewed, remove the bottom plate. If this is the first time that you are removing this back cover, the last screw is hidden under the "factory seal" label. You will need to break that label to reach that screw.
-
-
-
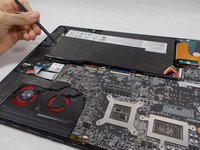
Locate the battery.
-
Wedge the spudger underneath the battery, and apply pressure to lift it away from the rest of the device.
-
Gently pull and wiggle the multiple colored wired connector out from the socket.
-
-
-
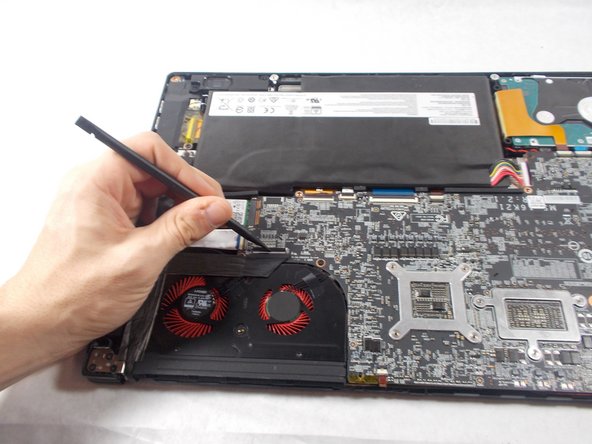
Locate the hard drive.
-
Using a spudger lift the ribbon cable connector.
-
-
-
crwdns2935267:0crwdne2935267:0Tweezers$4.99
-
Use the tweezers to lift the back tab and pull it back until the ribbon cable disconnects.
-
Wedge the spudger between the hard drive and the device and apply pressure to pry the two apart, and then remove the hard drive.
-
-
crwdns2935267:0crwdne2935267:0Tweezers$4.99
-
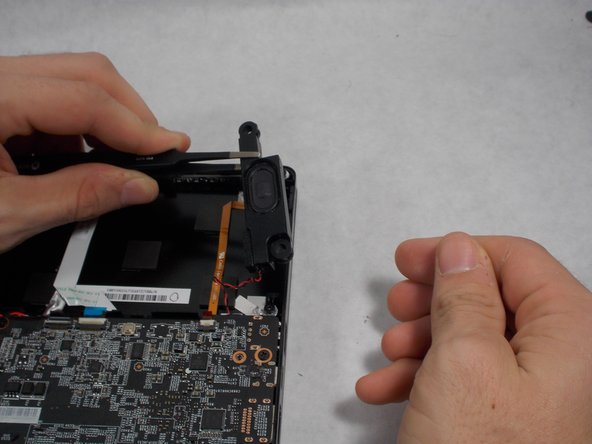
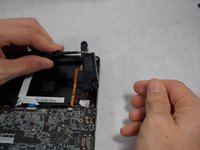
First locate the speaker(s).
-
Use the tweezers to lift the speaker from its position.
-
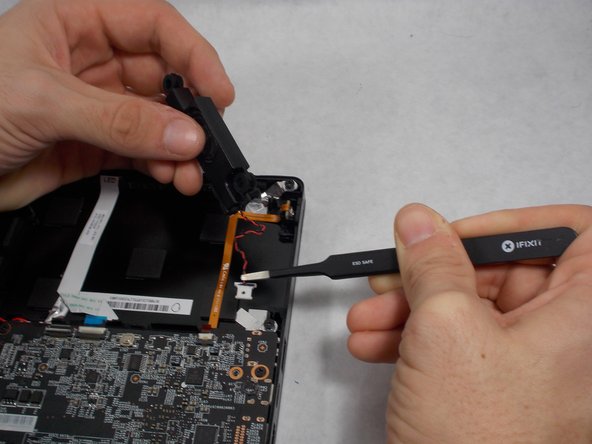
Grab the multi-colored wire with the tweezers and gently pull back until the speakers releases from its socket.
-
-
crwdns2935267:0crwdne2935267:0Tweezers$4.99
-
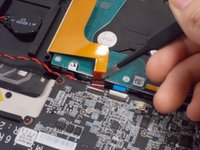
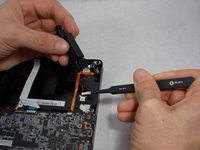
First, locate all the ribbon cables that are connected to the motherboard.
-
Lift the ribbon cable connector tabs with the spudger gently.
-
Using the tweezers, gently pull back on the ribbon cable until it is completely out of the socket.
-
-
-
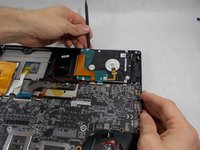
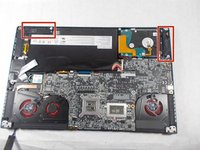
First, locate all the screws holding down the Motherboard.
-
Remove all the screws using the #1 Phillips head screw driver.
-
-
-
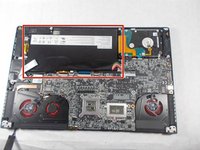
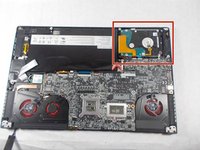
Next, locate the Wi-Fi chip.
-
Use the #1 Phillips head screwdriver to remove the screw attaching the Wi-fi chip to the motherboard.
-
-
-
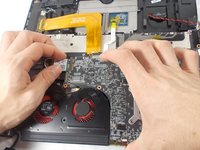
Use the spudger to lift the motherboard up and remove it from the laptop, then flip the now separated motherboard over.
-
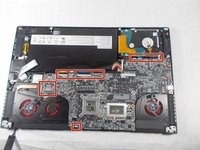
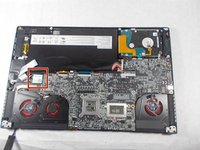
Using tweezers, disconnect the red wire circled in the picture; where the hard drive would be.
-
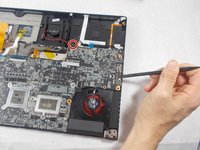
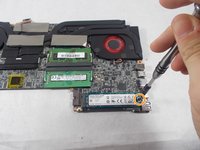
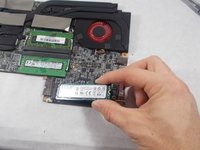
Locate the SSD and the screw holding it in.
-
Unscrew the one Screw using a #1 Phillips Head screwdriver.
-
The SSD will want to lift with that screw being removed, from here grab it and pull it out gently.
-
-
-
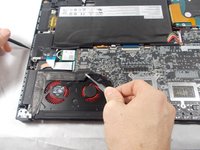
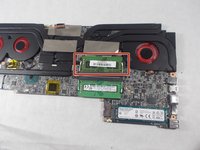
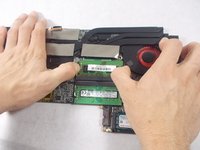
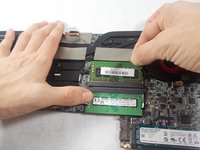
Locate the RAM.
-
Pull back the two tabs holding it into place, it will pop out.
-
Pull it out.
-


To reassemble your device, follow these instructions in reverse order.
To reassemble your device, follow these instructions in reverse order.
crwdns2935221:0crwdne2935221:0
crwdns2935229:013crwdne2935229:0
crwdns2915084:0crwdne2915084:0

UMass Dartmouth, Team S2-G1, Julie Fall 2017 crwdns2935289:0UMass Dartmouth, Team S2-G1, Julie Fall 2017crwdne2935289:0
UMASSD-JULIE-F17S2G1
crwdns2931471:03crwdne2931471:0
crwdns2935297:05crwdne2935297:0
crwdns2947412:04crwdne2947412:0
Super helpful. Thanks.
Thanks, it works on my gs63 8re with minor adjustments (no need to move the speakers)
Great guide! I used this guide to replace the GPU and CPU fans since one has to remove the mobo in order to do so.
Which screws go where?