crwdns2915892:0crwdne2915892:0
When printing, your extruder may not work properly, the reason of this may be related to one of the two motors. If you determined that one of the motors could be the ones causing trouble, you will need to replace it. Through this guide we intend to show the step by step process that one must take to safely remove and replace the motor of a M3D Micro.
crwdns2942213:0crwdne2942213:0
-
-
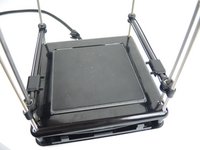
Removing the frame is necessary to access the z axis belt, motors and ports. Make sure the unit is unplugged and set on a hard level surface.
-
-
-
Pull the x-rods away from the plastic sliders on the y-rods, and flip the slider upwards to release the tracks. Lift the extruder assembly out of the way.
-
-
-
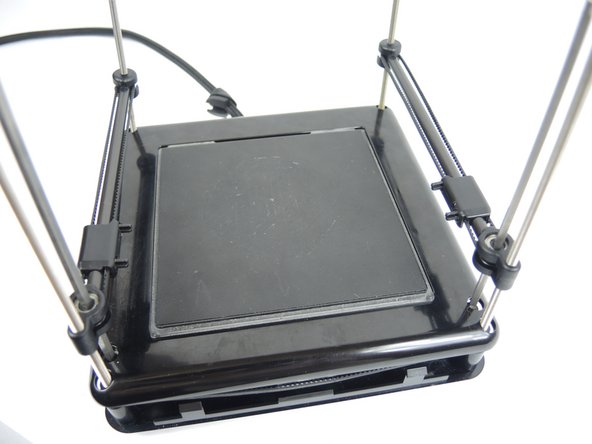
No tools are required to remove the frame. Press down on the printing bed with your thumbs while lifting the frame with your fingers. The frame easily slides up.
-
-
-
-
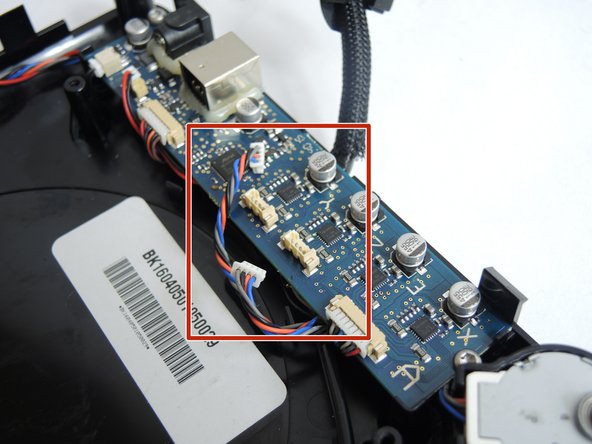
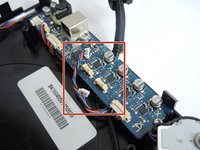
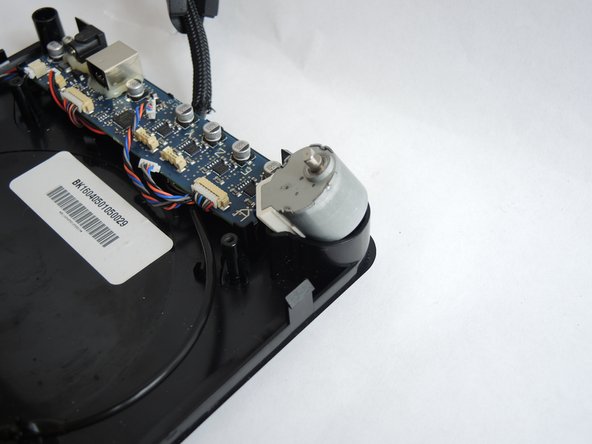
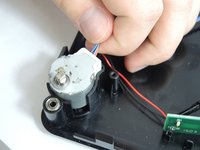
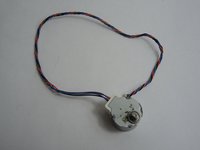
Once the base is opened you should find a circuit board and two motors like the one on the right, select the motor to be replaced.
-
-
-
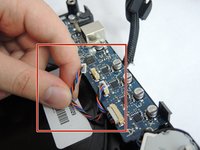
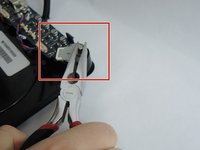
Unplug the connectors for the Orange, Blue, Gray and Black cables. These would be the motor cables.
-
-
-
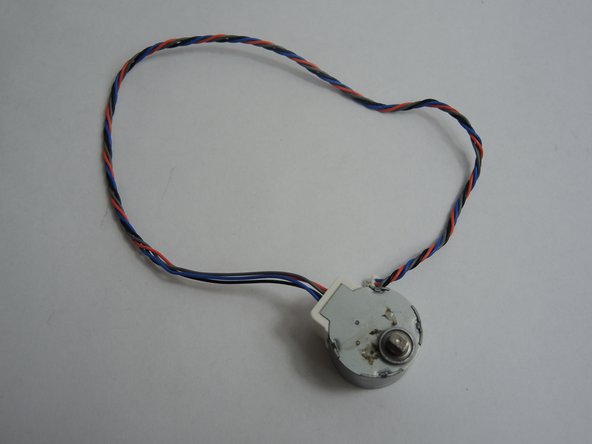
Once disconnected you will proceed to lift the motor using pliers.
-


To reassemble your device, follow these instructions in reverse order.
crwdns2935221:0crwdne2935221:0
crwdns2935227:0crwdne2935227:0
crwdns2935287:0crwdne2935287:0

USF Tampa, Team S3-G2, Nance Fall 2017 crwdns2935289:0USF Tampa, Team S3-G2, Nance Fall 2017crwdne2935289:0
USFT-NANCE-F17S3G2
crwdns2931471:04crwdne2931471:0
crwdns2935297:010crwdne2935297:0
crwdns2947410:01crwdne2947410:0
Hello, good work and explanation. Is there any possibility to replace MICRO+ X-AXIS MOTOR “gear” please. Thanks