crwdns2933423:0crwdne2933423:0

M3D Micro Frame Removal

  1. M3D Micro Frame Removal, M3D Micro Frame Removal: crwdns2935265:01crwdnd2935265:01crwdnd2935265:01crwdne2935265:0
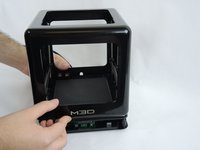
    • Removing the frame is necessary to access the z axis belt, motors and ports. Make sure the unit is unplugged and set on a hard level surface.

  2. M3D Micro Frame Removal: crwdns2935265:02crwdnd2935265:01crwdnd2935265:03crwdne2935265:0 M3D Micro Frame Removal: crwdns2935265:02crwdnd2935265:02crwdnd2935265:03crwdne2935265:0 M3D Micro Frame Removal: crwdns2935265:02crwdnd2935265:03crwdnd2935265:03crwdne2935265:0
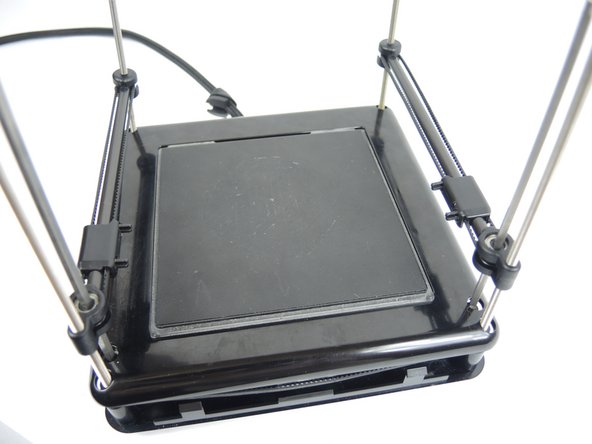
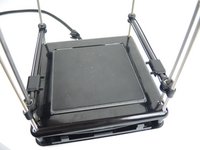
    • Pull the x-rods away from the plastic sliders on the y-rods, and flip the slider upwards to release the tracks. Lift the extruder assembly out of the way.

  3. M3D Micro Frame Removal: crwdns2935265:03crwdnd2935265:01crwdnd2935265:02crwdne2935265:0 M3D Micro Frame Removal: crwdns2935265:03crwdnd2935265:02crwdnd2935265:02crwdne2935265:0
    • No tools are required to remove the frame. Press down on the printing bed with your thumbs while lifting the frame with your fingers. The frame easily slides up.

crwdns2915888:0crwdne2915888:0

To reassemble your device, follow these instructions in reverse order.

crwdns2935229:02crwdne2935229:0

Danyel Browning

crwdns2935283:009/28/17crwdne2935283:0

255 crwdns2915208:0crwdne2915208:0

crwdns2935297:02crwdne2935297:0

crwdns2915084:0crwdne2915084:0

USF Tampa, Team S3-G2, Nance Fall 2017 crwdns2935289:0USF Tampa, Team S3-G2, Nance Fall 2017crwdne2935289:0

USFT-NANCE-F17S3G2

crwdns2931471:04crwdne2931471:0

crwdns2935297:010crwdne2935297:0

crwdns2944067:00crwdne2944067:0

crwdns2917038:0crwdne2917038:0

crwdns2936625:0crwdne2936625:0:

crwdns2936751:024crwdne2936751:0 0

crwdns2936753:07crwdne2936753:0 0

crwdns2936753:030crwdne2936753:0 8

crwdns2942667:0crwdne2942667:0 1,260