crwdns2915892:0crwdne2915892:0
The lens of the Lorex MC 6950 is to be replaced. This will require taking the camera apart and removing the circuit board from it's LED containment. To do this, a metal spudger and a #J0 screwdriver will be needed.
crwdns2942213:0crwdne2942213:0
-
-
To remove the circuit board, you must begin by removing the three screw caps and the 15mm JIS 0 screws associated with them located on the plastic containment shell that the camera is in.
-
-
-
Next, the camera must be removed. A metal spudger will be useful to pry this out as it is sealed inside the outer containment shell.
-
Once the camera is removed, remove the wires from the outer containment shell.
-
Be careful. The metal spudger could damage the camera if not handled with care.
-
-
-
-
With the camera in hand, the circuit board must be separated from the LED containment shell. There is a 5mm JIS 0 screw at every corner of the circuit board.
-
The wires attaching the circuit board to the shell should be removed as well.
-
-
-
Now the motor, lens, and wires must be removed from the circuit board. There are three 5mm JIS 0 screws located on the lens side of the circuit board to remove the motor housing.
-
-
-
The lens has two 5 mm JIS 0 screws located under the motor's previous location.
-
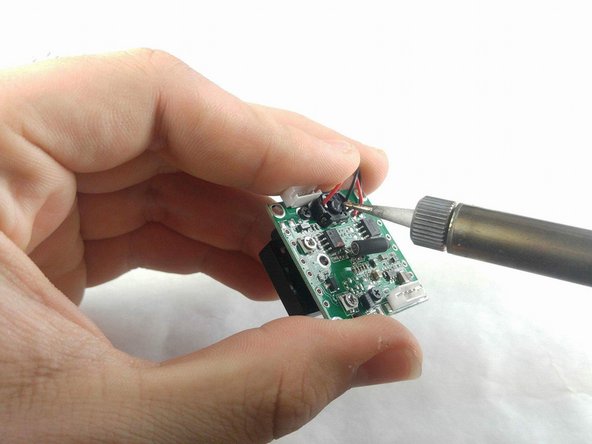
As a final step, the wires that connected the board to the containment shell will need to be removed from the board.
-


To reassemble your device, follow these instructions in reverse order.
crwdns2935221:0crwdne2935221:0
crwdns2935227:0crwdne2935227:0
crwdns2935287:0crwdne2935287:0

IUPUI, Team S2-G2, Harley Fall 2017 crwdns2935289:0IUPUI, Team S2-G2, Harley Fall 2017crwdne2935289:0
IUPUI-HARLEY-F17S2G2
crwdns2931471:03crwdne2931471:0
crwdns2935297:04crwdne2935297:0