crwdns2915892:0crwdne2915892:0
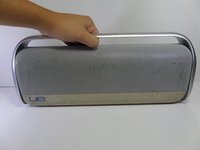
This guide will walk you through the procedure of removing the speaker grille.
crwdns2942213:0crwdne2942213:0
-
-
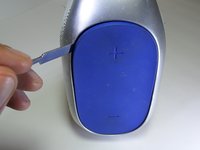
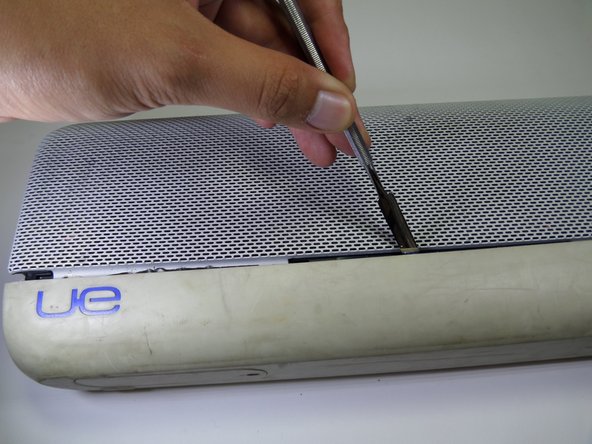
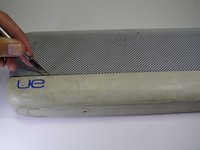
Use a metal spudger to pry open the power button cover.
-
Once the power button cover is slightly opened, use your fingers to remove the power button cover.
-
-
-
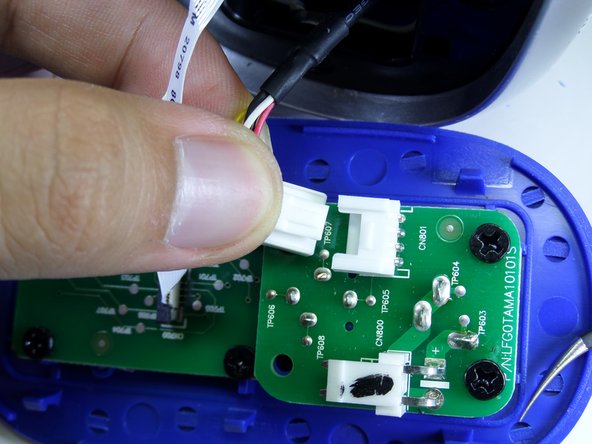
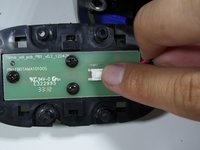
Press firmly on the end of the latch and pull the two-wire connector away from the base to separate.
-
-
-
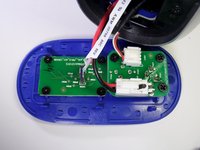
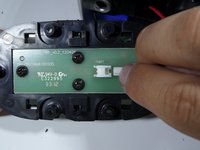
Firmly press on the end of the latch and pull the four-wire connector away from the base to separate.
-
-
-
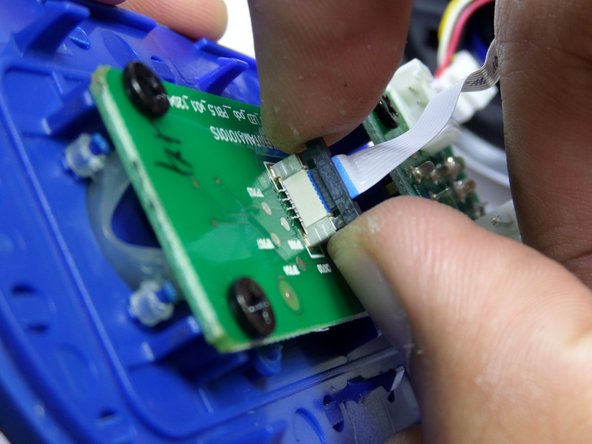
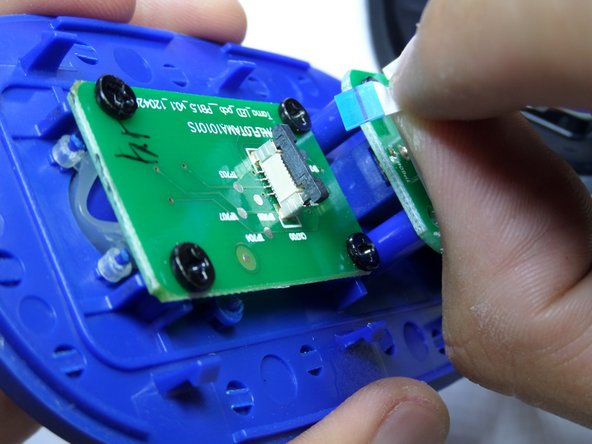
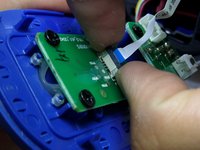
Lightly, pry up on each side of the black band connector lock using your fingertips.
-
Once unlocked, pull straight up on the connector to remove.
-
-
-
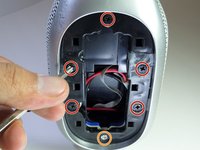
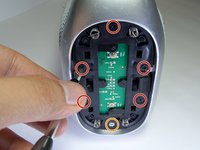
Remove the five black 14mm Phillips #2 screws from the black plastic side panel.
-
Remove the one silver 16mm Phillips #2 screws from the black plastic side panel.
-
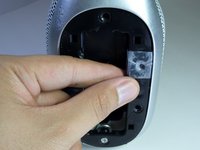
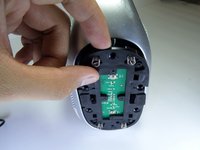
Remove the black plastic screw panel from the boombox.
-
-
-
-
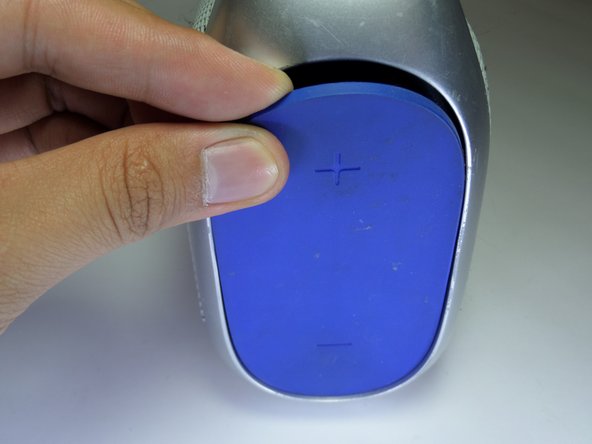
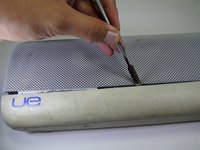
On the opposite side of the device, pry open the volume rocker with a metal spudger.
-
Remove the panel with your fingers once the volume rocker is slightly opened.
-
-
-
Remove the five black 14mm Phillips #2 screws from the black plastic side panel.
-
Remove the one silver16 mm Phillips #2 screw from the black plastic side panel.
-
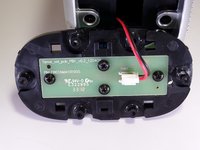
Once all screws are removed, take the screw panel out of the device to gain access to the back of the panel.
-
-
-
Firmly press on the end of the latch and pull the two-wire connector away from the base.
-
-
-
Pull up on the aluminum boombox handle to remove.
-
-
-
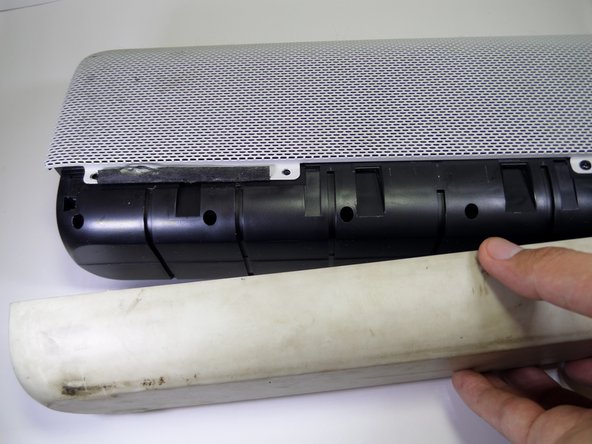
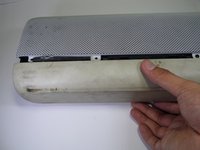
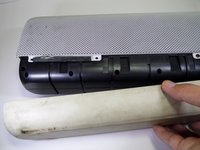
Use a metal spudger to pry the rubber base apart from the aluminum grille.
-
-
-
Pull the rubber base away from the boombox.
-
-
-
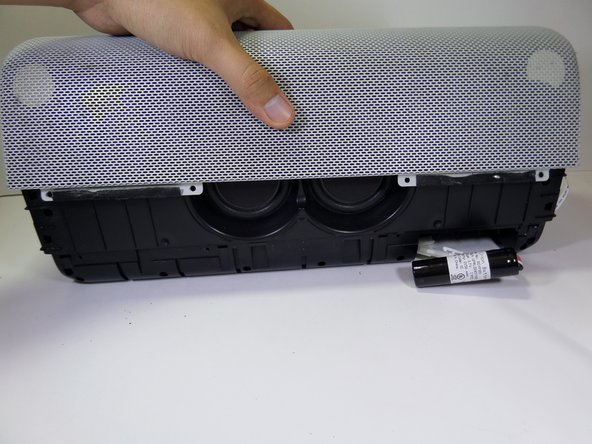
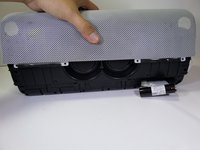
Remove the four black 7.5mm Phillips #2 screws on each side of the device.
-
-
-
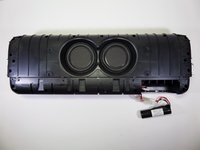
Pull vertically on the speaker grille to remove it from the boombox.
-


To reassemble your device, follow these instructions in reverse order.
To reassemble your device, follow these instructions in reverse order.
crwdns2935221:0crwdne2935221:0
crwdns2935227:0crwdne2935227:0
crwdns2915084:0crwdne2915084:0

CSU Fullerton, Team 1-1, Bruce Fall 2016 crwdns2935289:0CSU Fullerton, Team 1-1, Bruce Fall 2016crwdne2935289:0
CSUF-BRUCE-F16S1G1
crwdns2931471:04crwdne2931471:0
crwdns2935297:05crwdne2935297:0
crwdns2947410:01crwdne2947410:0
Awesome guide thanks. Had to strip mine down as it stopped working, replugged it all and it’s good as new. Knowing how it’s down saves brute force and ignorance :)