crwdns2915892:0crwdne2915892:0
This guide will show you how to replace the flex circuit in your Logitech K480 keyboard. A flex circuit is used as a connector between electrical components when saving space and flexibility are most important in a device. A flex circuit might need to be replaced if the components are not connecting properly or if the circuit is damaged. The circuit is fragile and easily torn or bent, so be gentle when handling it.
crwdns2942213:0crwdne2942213:0
-
-
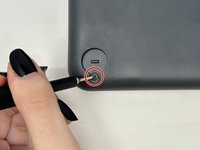
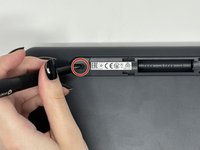
Remove the four rubber feet with a spudger.
-
-
-
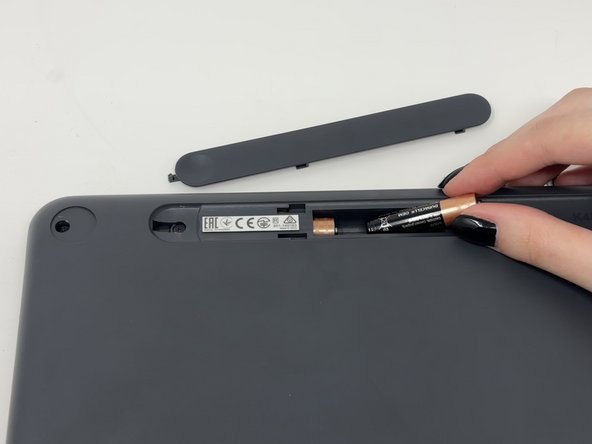
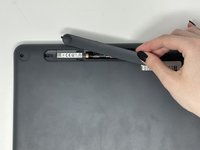
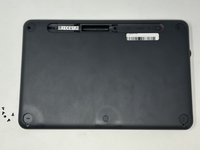
Slide open battery panel.
-
Remove the batteries.
-
-
-
Remove the three 4 mm screws under the rubber feet using a Phillips #0 screwdriver.
-
-
-
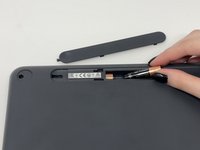
Remove the two 4 mm screws from beneath the battery cover using a Phillips #0 screwdriver.
-
-
-
-
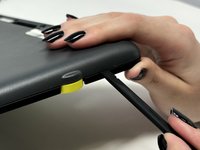
Starting by the dial, slide the spudger between the front and back panels until it lifts and snaps.
-
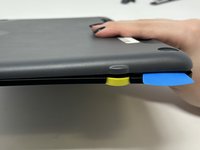
Slide a blue pick in to keep the pieces apart while you work on other areas.
-
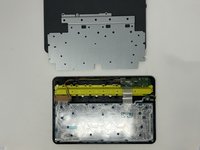
Continue prying along the edges until you have enough opened that you can pull both pieces apart gently with your hands.
-
-
-
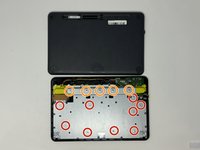
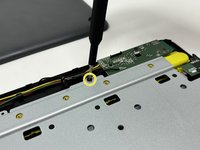
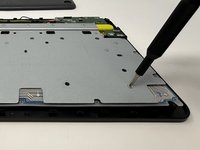
Remove the eight 3 mm screws using a Phillips #00 screwdriver
-
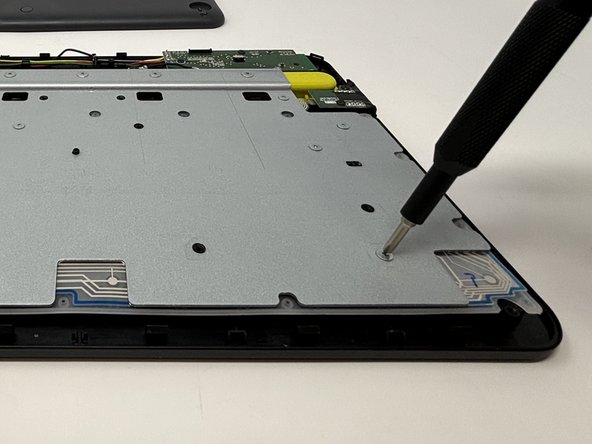
Remove the five 2 mm silver screws from the metal plate using a Phillips #00 screwdriver.
-
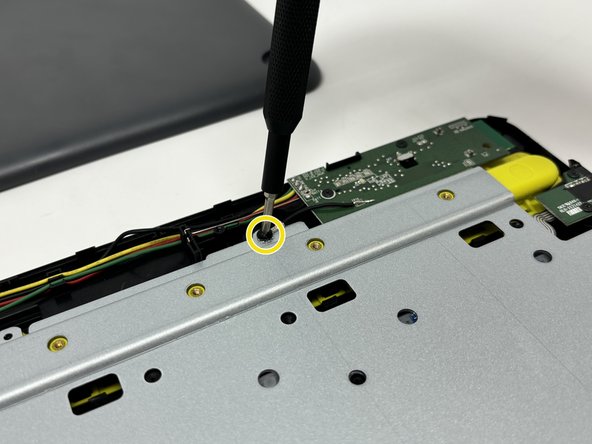
Remove the single 4 mm black screw by the motherboard using a Phillips #00 screwdriver.
-
-
-
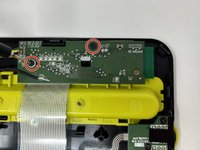
Remove the two black 4 mm screws from the motherboard with a Phillips #00 screwdriver.
-
-
-
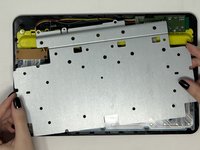
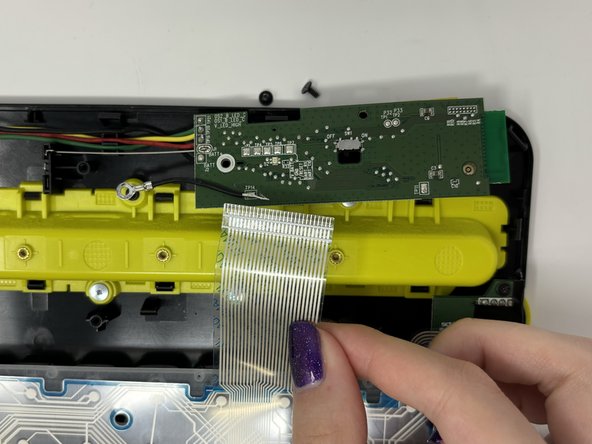
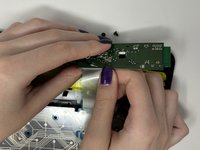
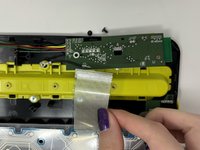
Gently pull the flex circuit from the back of the motherboard.
-
-
-
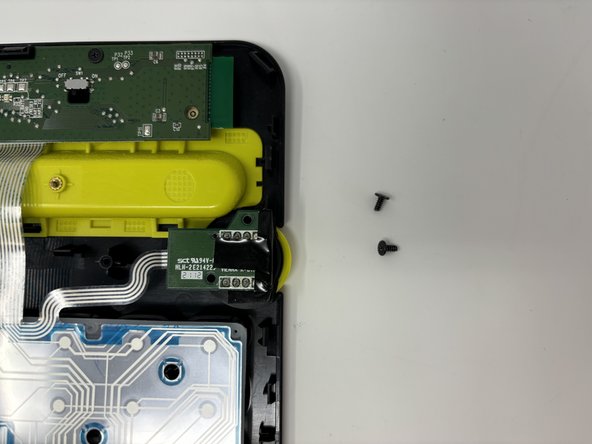
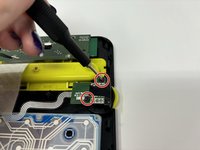
Remove the two black 4 mm screws from the dial motherboard below the regular motherboard with a Phillips #00 screwdriver.
-
-
-
Gently pull the circuit sheet from behind the dial motherboard.
-
-
-
Remove the two black 4 mm screws holding the Bluetooth component on the left side using a Phillips #00 screwdriver.
-


To reassemble your device, follow these instructions in reverse order.
crwdns2935221:0crwdne2935221:0
crwdns2935229:02crwdne2935229:0
