crwdns2915892:0crwdne2915892:0
Use this guide to remove and replace a keyswitch on the Logitech G915 TKL keyboard. A keyswitch may need to be replaced if the key is no longer registering inputs, and you've confirmed that the issue isn't the keycap.
Before using this guide, ensure that the issue with your key isn't due to a broken keycap or a buildup of dust or debris in the area around the key.
Steps 7 and 8 require you to desolder the broken keyswitch and solder a new one in place.
A Phillips #00 Screwdriver is required to complete this guide, as well as a soldering iron, solder, and a desoldering braid.
crwdns2942213:0crwdne2942213:0
-
-
Remove all of the keycaps on the keyboard.
-
Unscrew the 2mm #00 Phillips screws circled in the picture provided.
-
-
-
Turn the keyboard around and peel back the Logitech sticker near the top center of the keyboard, as well as the plastic layer underneath.
-
Unscrew the two 2.5mm #0 Phillips screws circled in the picture provided.
-
Remove the backplate by grabbing the notch to the right and pulling up.
-
-
-
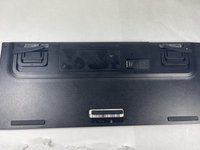
Remove the foam strips shown in the picture provided.
-
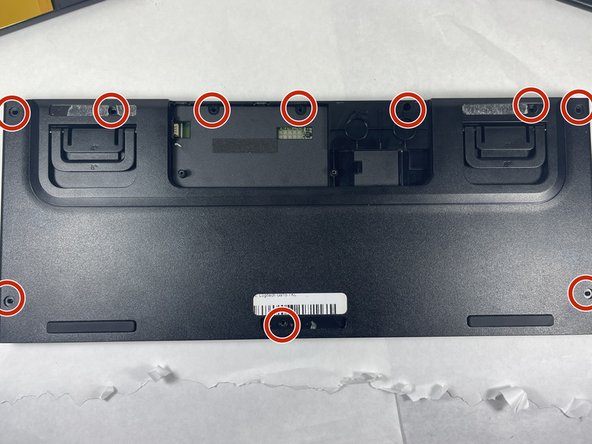
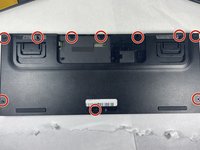
Unscrew all the 2mm #00 Phillips screws on the back of the keyboard circled in the picture provided.
-
-
-
-
Remove the casing on the keyboard to reveal the motherboard.
-
-
-
Find the corresponding soldering point for the keyswitch you wish to replace.
-
-
-
Insert your new keyswitch in place of the old one.
-
Solder the new keyswitch into place.
-


To reassemble your device, follow these instructions in reverse order.
crwdns2935221:0crwdne2935221:0
crwdns2935229:03crwdne2935229:0

crwdns2935287:0crwdne2935287:0

UMass Dartmouth, Team 3-6, Petersen Spring 2023 crwdns2935289:0UMass Dartmouth, Team 3-6, Petersen Spring 2023crwdne2935289:0
UMASSD-PETERSEN-S23S3G6
crwdns2931471:04crwdne2931471:0
crwdns2935297:016crwdne2935297:0