
Logitech G733 Microphone Jack Replacement

crwdns2959932:0crwdnd2959932:0Antonio Jensencrwdnd2959932:0crwdnd2959932:0crwdnd2959932:03crwdnd2959932:0crwdne2959932:0
crwdns2959936:0Mud 17, 2023crwdne2959936:0
crwdns2869540:0crwdne2869540:0: 3500
crwdns2959988:0crwdne2959988:0
- crwdns2959990:0crwdne2959990:0
- 9
- crwdns2959992:0crwdne2959992:0
- 43
- crwdns2959994:0crwdne2959994:0
- 161
- crwdns2959996:0crwdne2959996:0
- 3,500
crwdns2955950:0crwdne2955950:0: 2
crwdns2960002:01crwdne2960002:0, crwdns2960006:01crwdne2960006:0
crwdns2960000:0crwdne2960000:0crwdns2959984:0crwdne2959984:0: 0 1
crwdns2959956:0crwdne2959956:0
crwdns2959968:01crwdne2959968:0
crwdns2959986:0crwdne2959986:0: 0 1
crwdns2959958:0crwdne2959958:0
crwdns2959976:01crwdne2959976:0
crwdns2915892:0crwdne2915892:0
crwdns2959928:0crwdne2959928:0 ↓If the microphone in your Logitech G733 Wireless Headset is no longer working and you suspect the microphone jack needs to be replaced, you can replace it with this guide. Since getting to the microphone jack requires taking off the circuit board, you can also access many other components with these same steps. For this guide, you will need a Phillips #000 screwdriver, a Torx T4 screwdriver, and soldering equipment. This is a difficult replacement. Soldering experience is advised.
crwdns2959930:0crwdne2959930:0
crwdns2943215:0crwdne2943215:0


-
-
-
Gently pull the left ear pad off, starting from the top.
-
Slide your finger around the edges until it releases completely.
-
Remove the ear pad.
 crwdns2952109:0crwdne2952109:0
-
-
-
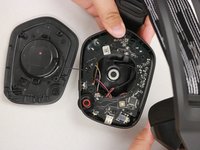
Remove the four screws securing the speaker housing with the T4 Torx screwdriver.
-
-
-
-
Remove the speaker housing with care not to strain the connected cable.
-
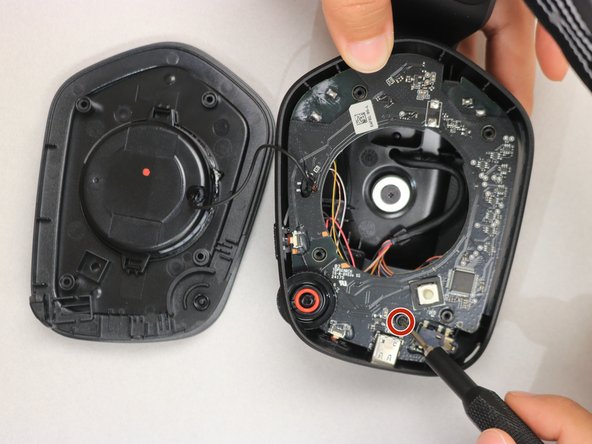
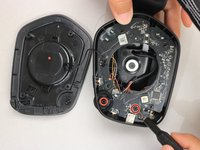
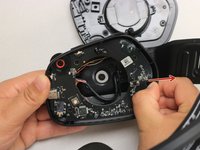
Remove the screw on the bottom right-hand side of the motherboard using the Phillips #00 screwdriver.
-
-
-
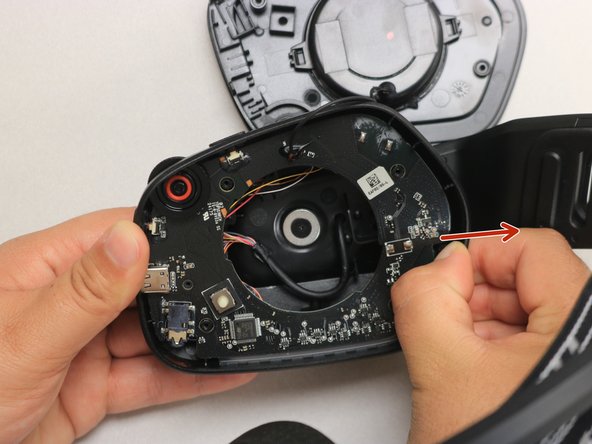
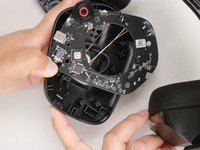
Use your thumb to gently pull back the tab at the upper right-hand corner of the headphone and simultaneously pull the motherboard out.
-
-
-
Once the cover is loose, pull the wire out of its harness.
-
-
-
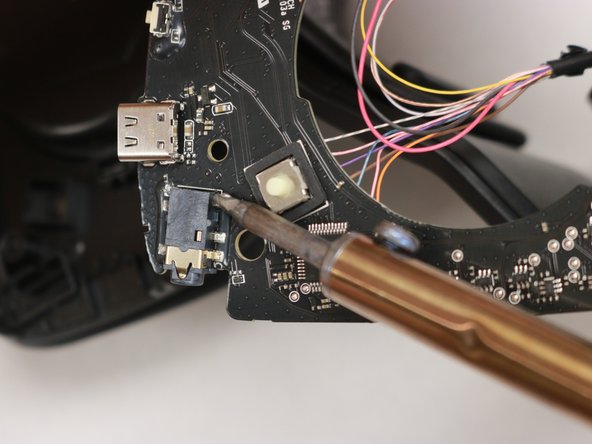
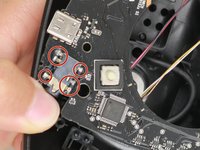
Identify the headphone jack and unsolder all six pins. Using the soldering iron, apply heat to three pins on one side and wiggle the jack free from the melted pool of solder. Repeat for the opposite side.
-
Use the soldering iron again to solder the new microphone jack back to in its spot.
-
-







To reassemble your device, follow these instructions in reverse order.

crwdns2935287:0crwdne2935287:0

Western Carolina University, Team 1-5, Virtue Spring 2023 crwdns2935289:0Western Carolina University, Team 1-5, Virtue Spring 2023crwdne2935289:0
WCU-VIRTUE-S23S1G5
crwdns2931471:04crwdne2931471:0
crwdns2935297:060crwdne2935297:0
crwdns2947410:01crwdne2947410:0
What is the model of the jack socket
An_G733_owner - crwdns2934203:0crwdne2934203:0 crwdns2950251:0crwdne2950251:0
