
Logitech G733 Battery Replacement

crwdns2959932:0crwdnd2959932:0Antonio Jensencrwdnd2959932:0crwdnd2959932:0crwdnd2959932:05crwdnd2959932:0crwdne2959932:0
crwdns2959936:0Sun 22, 2025crwdne2959936:0
crwdns2869540:0crwdne2869540:0: 18K
crwdns2959988:0crwdne2959988:0
- crwdns2959990:0crwdne2959990:0
- 3
- crwdns2959992:0crwdne2959992:0
- 25
- crwdns2959994:0crwdne2959994:0
- 96
- crwdns2959996:0crwdne2959996:0
- 17,566
crwdns2955950:0crwdne2955950:0: 6
crwdns2960002:01crwdne2960002:0, crwdns2960008:05crwdne2960008:0
crwdns2960000:0crwdne2960000:0crwdns2959984:0crwdne2959984:0: 6 7
crwdns2959974:06crwdne2959974:0
crwdns2959970:07crwdne2959970:0
crwdns2959986:0crwdne2959986:0: 0 1
crwdns2959958:0crwdne2959958:0
crwdns2959976:01crwdne2959976:0
crwdns2915892:0crwdne2915892:0
crwdns2959928:0crwdne2959928:0 ↓If your battery will no longer accept a charge and you need to replace the battery, you can do so with this guide. For this guide, you will need a T4 Torx screwdriver and a spudger. This is a popular repair and it is very easy to do!
crwdns2959930:0crwdne2959930:0
crwdns2959948:0crwdne2959948:0
crwdns2959952:0crwdne2959952:0

crwdns2943213:0crwdne2943213:0

crwdns2943215:0crwdne2943215:0
-
Spudger4.9
-


-
-
-
Gently pull the right ear pad off, starting from the top.
-
Slide your finger around the edges until it releases completely.
-
Remove the ear pad.
 crwdns2952109:0crwdne2952109:0
-
-
-
Remove the four screws that secure the speaker housing using a Phillips screwdriver.
-
-
-
-
Lift off the speaker housing with care not to strain the connected cable.
-
Gently wiggle the white battery cable connector side to side while pulling it out to disconnect the battery.
-
-
-
Remove the battery, using a spudger to gently pry it up if necessary.
-
-


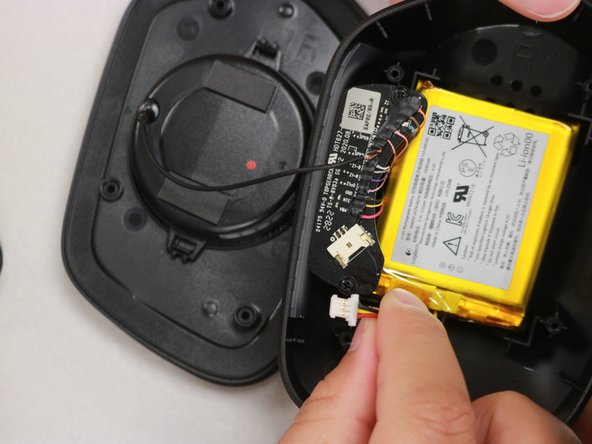
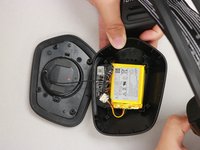
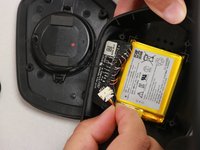
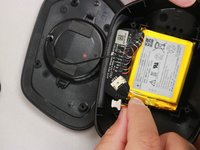

To reassemble your device, please follow these instructions in reverse order.
crwdns2935221:0crwdne2935221:0
crwdns2935229:06crwdne2935229:0

crwdns2935287:0crwdne2935287:0

Western Carolina University, Team 1-5, Virtue Spring 2023 crwdns2935289:0Western Carolina University, Team 1-5, Virtue Spring 2023crwdne2935289:0
WCU-VIRTUE-S23S1G5
crwdns2931471:04crwdne2931471:0
crwdns2935297:060crwdne2935297:0
crwdns2947412:05crwdne2947412:0
This guide is great, but mentioning what kind of battery to purchase for the headset would make it infinitely better...
Darbii Rue - crwdns2934203:0crwdne2934203:0 crwdns2950251:0crwdne2950251:0
Its a 1.5 phillips on the right side. On the left side its a T5 screw not a T4. And you can easily remove the battery without a spudger. It came out with my bare hands.
Heather Dasher - crwdns2934203:0crwdne2934203:0 crwdns2950251:0crwdne2950251:0
took 2 mins to find battery info ..........................
Logi 533-000181
Stephen Burrows - crwdns2934203:0crwdne2934203:0 crwdns2950251:0crwdne2950251:0
after a quick search i bought this and it fit:
https://he.aliexpress.com/item/100500538...
Jad Ghanayem - crwdns2934203:0crwdne2934203:0 crwdns2950251:0crwdne2950251:0
