crwdns2915892:0crwdne2915892:0
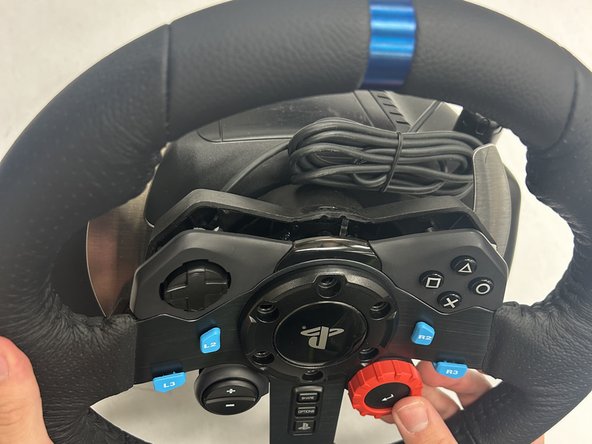
This guide explains how to remove and replace the buttons on the Logitech G29 Driving Force wheel.
If the buttons are malfunctioning, disassembling the wheel may help identify the issue and allow for an effective repair—potentially saving the device from being discarded.
The procedure is straightforward and requires minimal disassembly.
crwdns2942213:0crwdne2942213:0
-
-
Remove the six black screws holding the Playstation center cap using the Hex 4.0 bit.
-
-
-
Gently lift the faceplate and wheel off the stand.
-
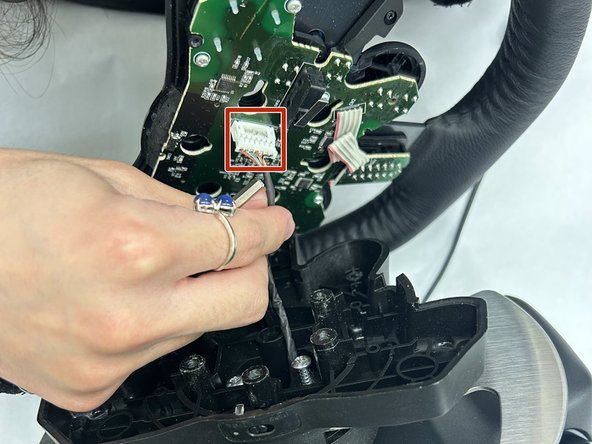
Pull the white 7-pin cable connector from the wheel PCB.
-
-
-
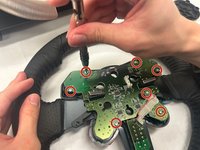
Use a Phillips #1 screwdriver to remove the seven 8 mm silver screws that secure the main wheel PCB.
-
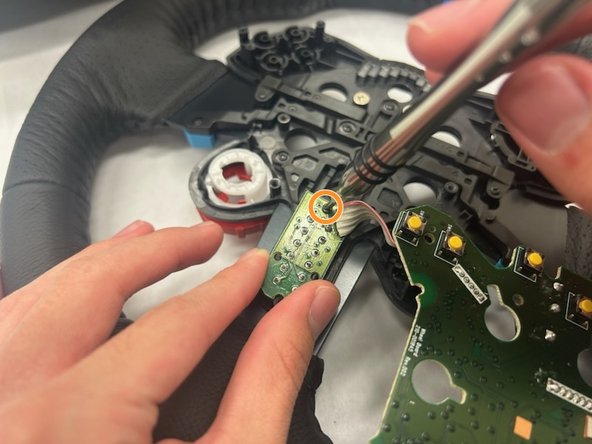
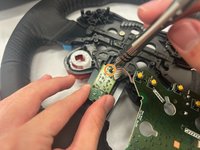
Use a Phillips #00 screwdriver to remove the single 5 mm screw from the Share/Options/PlayStation button PCB.
-
-
-
crwdns2935267:0crwdne2935267:0Tweezers$3.99
-
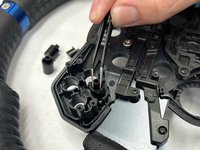
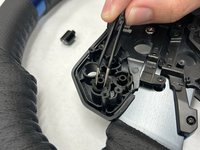
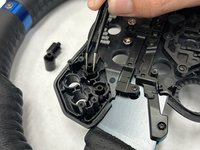
Once the PCB is out, the triangle, square, circle, x button will be exposed. Use the angled tweezers to remove all four buttons.
-
-
-
Once the PCB is out, the D-PAD will fall out as well. Use the angled tweezers to remove the D-PAD.
-
-
-
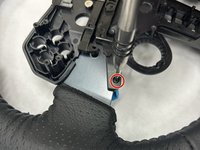
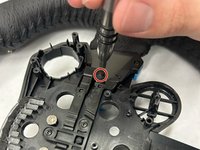
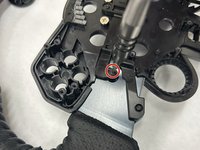
Remove the four black 5 mm screws holding the four buttons in place using a Phillips #00 screwdriver. These are located directly under the buttons.
-
-
-
Remove the four black screws holding the four buttons in place using a Phillips #00 screwdriver. These are located directly under the buttons. The whole housing is not required to come out since only the blue buttons need to come out. Once the screws are removed the buttons will fall out.
-
To reassemble your device, follow these instructions in reverse order.


