crwdns2933423:0crwdne2933423:0

Logitech G X56 HOTAS Joystick Flying Pinky Replacement

crwdns2942213:0crwdne2942213:0

  1. Logitech G X56 HOTAS Joystick Flying Pinky Replacement, Logitech G X56 HOTAS Joystick Opening Joystick Disassembly: crwdns2935265:01crwdnd2935265:01crwdnd2935265:02crwdne2935265:0 Logitech G X56 HOTAS Joystick Flying Pinky Replacement, Logitech G X56 HOTAS Joystick Opening Joystick Disassembly: crwdns2935265:01crwdnd2935265:02crwdnd2935265:02crwdne2935265:0
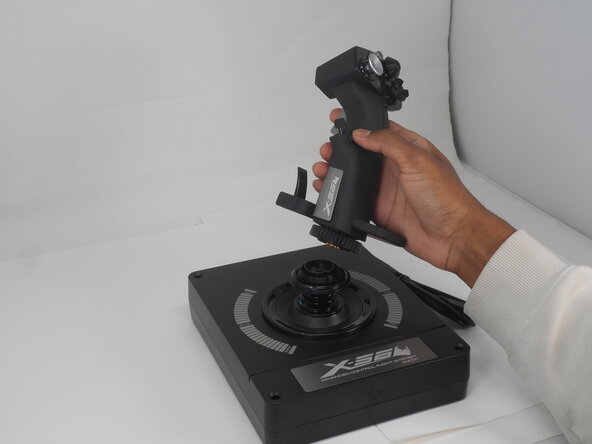
    • Turn the locking bezel counterclockwise, then remove the joystick from the joystick base.

  2. Logitech G X56 HOTAS Joystick Flying Pinky Replacement: crwdns2935265:02crwdnd2935265:01crwdnd2935265:03crwdne2935265:0 Logitech G X56 HOTAS Joystick Flying Pinky Replacement: crwdns2935265:02crwdnd2935265:02crwdnd2935265:03crwdne2935265:0 Logitech G X56 HOTAS Joystick Flying Pinky Replacement: crwdns2935265:02crwdnd2935265:03crwdnd2935265:03crwdne2935265:0
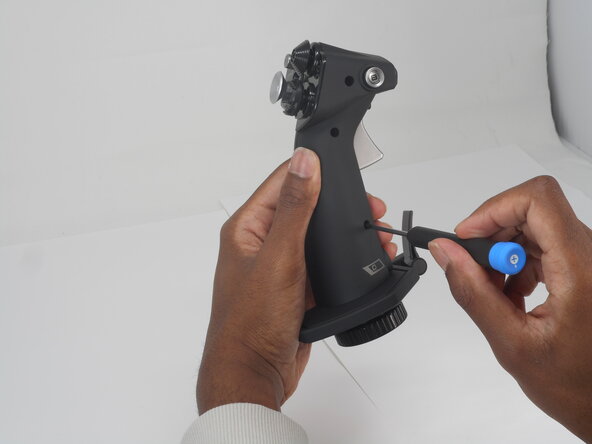
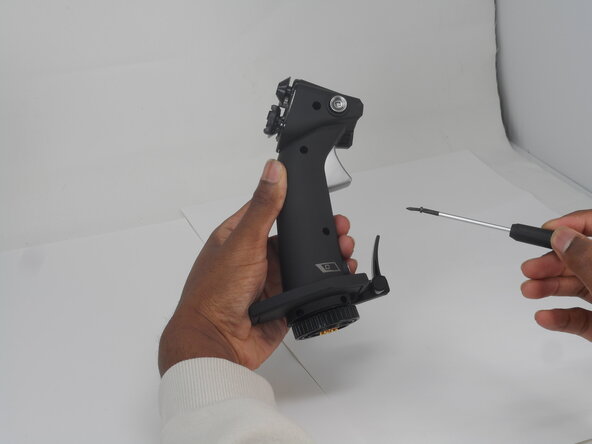
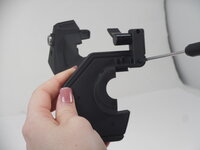
    • Remove the five 11.7 mm-long Phillips #0 screws that secure the case.

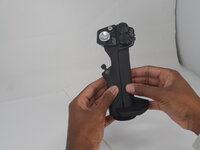
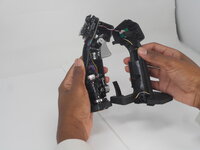
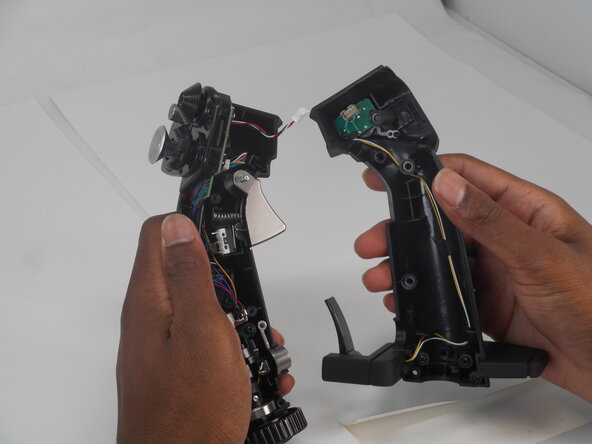
  3. Logitech G X56 HOTAS Joystick Flying Pinky Replacement: crwdns2935265:03crwdnd2935265:01crwdnd2935265:02crwdne2935265:0 Logitech G X56 HOTAS Joystick Flying Pinky Replacement: crwdns2935265:03crwdnd2935265:02crwdnd2935265:02crwdne2935265:0
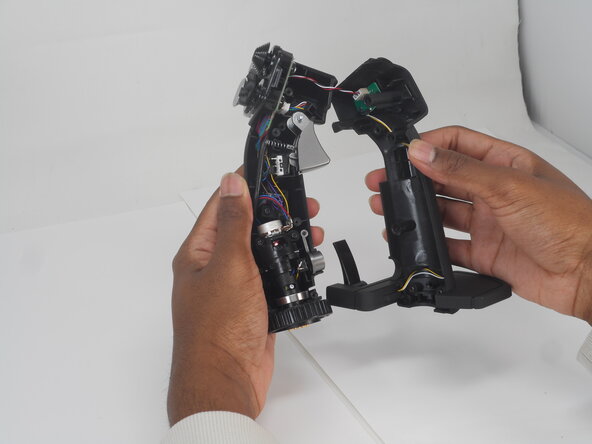
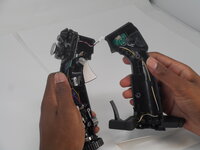
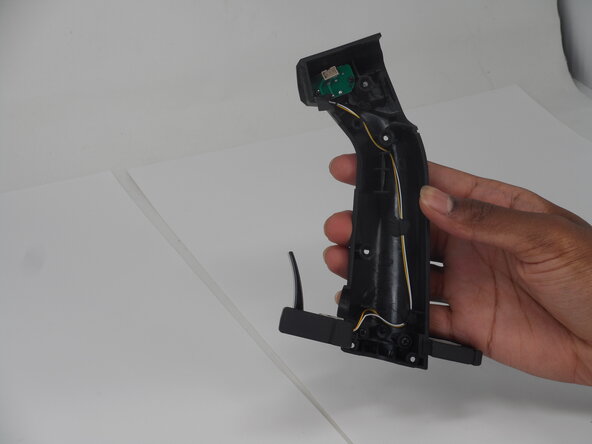
    • Pull the joystick casing apart to reveal the internal components.

    • The casing will need a little force to split open.

    • Take care not to damage or strain the connected cable.

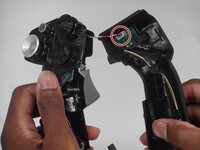
  4. Logitech G X56 HOTAS Joystick Flying Pinky Replacement: crwdns2935265:04crwdnd2935265:01crwdnd2935265:02crwdne2935265:0 Logitech G X56 HOTAS Joystick Flying Pinky Replacement: crwdns2935265:04crwdnd2935265:02crwdnd2935265:02crwdne2935265:0
    • Grip and pull the white connector directly out of its socket.

    • The connector is fragile. If removed forcefully, it may affect the PCB performance.

  5. Logitech G X56 HOTAS Joystick Flying Pinky Replacement: crwdns2935265:05crwdnd2935265:01crwdnd2935265:02crwdne2935265:0 Logitech G X56 HOTAS Joystick Flying Pinky Replacement: crwdns2935265:05crwdnd2935265:02crwdnd2935265:02crwdne2935265:0
    • Refer to the left or right side for replacement guides of other parts (left, then right side in order).

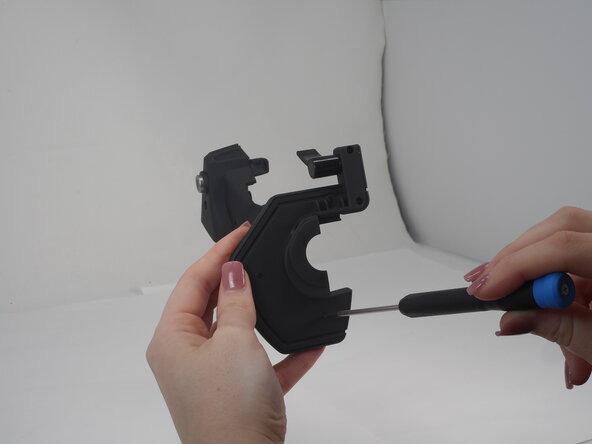
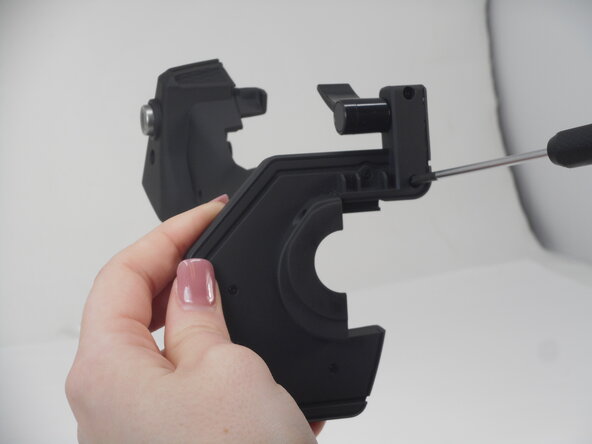
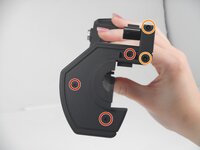
  6. Logitech G X56 HOTAS Joystick Flying Pinky Replacement, Flying Pinky: crwdns2935265:06crwdnd2935265:01crwdnd2935265:03crwdne2935265:0 Logitech G X56 HOTAS Joystick Flying Pinky Replacement, Flying Pinky: crwdns2935265:06crwdnd2935265:02crwdnd2935265:03crwdne2935265:0 Logitech G X56 HOTAS Joystick Flying Pinky Replacement, Flying Pinky: crwdns2935265:06crwdnd2935265:03crwdnd2935265:03crwdne2935265:0
    • Remove the following screws on the underside of the right joystick half:

    • Three Phillips #000 5.7 mm screws

    • Two Phillips #00 6.9 mm screws

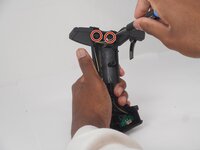
  7. Logitech G X56 HOTAS Joystick Flying Pinky Replacement: crwdns2935265:07crwdnd2935265:01crwdnd2935265:02crwdne2935265:0 Logitech G X56 HOTAS Joystick Flying Pinky Replacement: crwdns2935265:07crwdnd2935265:02crwdnd2935265:02crwdne2935265:0
    • Remove the two Phillips #0 11.7 mm screws.

  8. Logitech G X56 HOTAS Joystick Flying Pinky Replacement: crwdns2935265:08crwdnd2935265:01crwdnd2935265:02crwdne2935265:0 Logitech G X56 HOTAS Joystick Flying Pinky Replacement: crwdns2935265:08crwdnd2935265:02crwdnd2935265:02crwdne2935265:0
    • Separate the base plate connected to the joystick casing.

    • Take care not to strain the connected cables.

  9. Logitech G X56 HOTAS Joystick Flying Pinky Replacement: crwdns2935265:09crwdnd2935265:01crwdnd2935265:01crwdne2935265:0
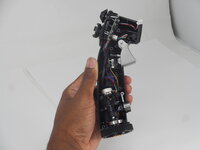
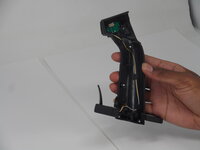
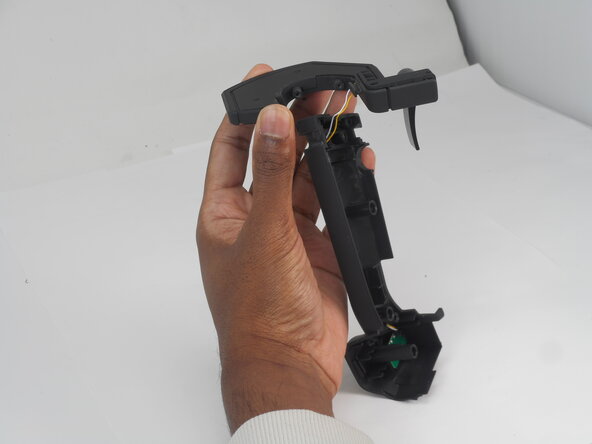
    • Remove the top panel of the base plate.

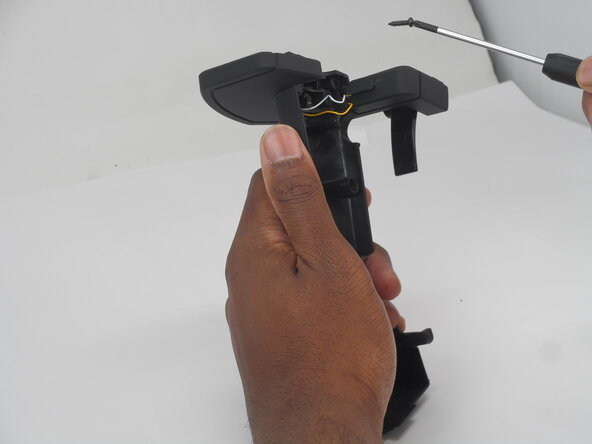
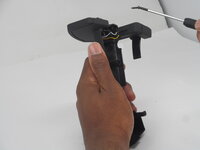
  10. Logitech G X56 HOTAS Joystick Flying Pinky Replacement: crwdns2935265:010crwdnd2935265:01crwdnd2935265:02crwdne2935265:0 Logitech G X56 HOTAS Joystick Flying Pinky Replacement: crwdns2935265:010crwdnd2935265:02crwdnd2935265:02crwdne2935265:0
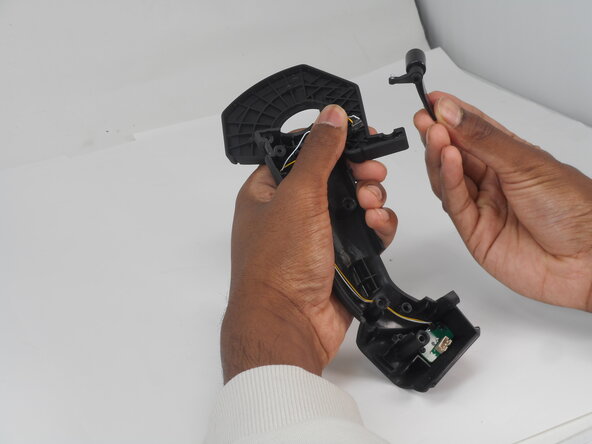
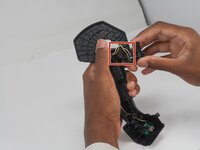
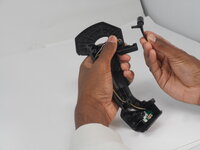
    • Use your fingers to remove and flying pinky switch.

    • If not done carefully, the yellow and white wiring connecting to the PCB board and the spring attached to the flying pinky will fall out.

crwdns2915888:0crwdne2915888:0

To reassemble your device, follow the above steps in reverse order.
Repair didn’t go as planned? Try some basic troubleshooting or ask our Answers community for help.

Hannah Henderson

crwdns2935283:002/19/25crwdne2935283:0

555 crwdns2915208:0crwdne2915208:0

crwdns2935297:05crwdne2935297:0

crwdns2915084:0crwdne2915084:0

University of Memphis, Team 1-5, Sneed Spring 2025 crwdns2935289:0University of Memphis, Team 1-5, Sneed Spring 2025crwdne2935289:0

UM-SNEED-S25S1G5

crwdns2931471:03crwdne2931471:0

crwdns2935297:06crwdne2935297:0

crwdns2947412:00crwdne2947412:0

crwdns2917038:0crwdne2917038:0

crwdns2936625:0crwdne2936625:0:

crwdns2936751:024crwdne2936751:0 0

crwdns2936753:07crwdne2936753:0 16

crwdns2936753:030crwdne2936753:0 25

crwdns2942667:0crwdne2942667:0 57