
Logitech G Cloud L2-R2 Trigger Replacement

crwdns2959932:0crwdnd2959932:0Spencer Daviscrwdnd2959932:0crwdnd2959932:0crwdnd2959932:03crwdnd2959932:0crwdne2959932:0
crwdns2959936:0Kho 24, 2025crwdne2959936:0
crwdns2869540:0crwdne2869540:0: 893
crwdns2959988:0crwdne2959988:0
- crwdns2959990:0crwdne2959990:0
- 4
- crwdns2959992:0crwdne2959992:0
- 37
- crwdns2959994:0crwdne2959994:0
- 129
- crwdns2959996:0crwdne2959996:0
- 893
crwdns2955950:0crwdne2955950:0: 6
crwdns2960004:06crwdne2960004:0.
crwdns2959984:0crwdne2959984:0: 0 1
crwdns2959956:0crwdne2959956:0
crwdns2959968:01crwdne2959968:0
crwdns2959986:0crwdne2959986:0: 0 1
crwdns2959958:0crwdne2959958:0
crwdns2959976:01crwdne2959976:0
crwdns2915892:0crwdne2915892:0
crwdns2959928:0crwdne2959928:0 ↓Replacing the L2-R2 triggers for the Logitech G Cloud is sophisticated and can be accomplished in six steps. You will need a wedge tool and a Phillips #00 screwdriver. Carefully read the instructions before starting to disassemble the Logitech G Cloud. You may hear loud popping noises when you remove the interior plating. Once the screws are removed, the triggers should be simple to pop out.
crwdns2959930:0crwdne2959930:0
crwdns2943215:0crwdne2943215:0
-
Spudger4.9
-


-
-
-
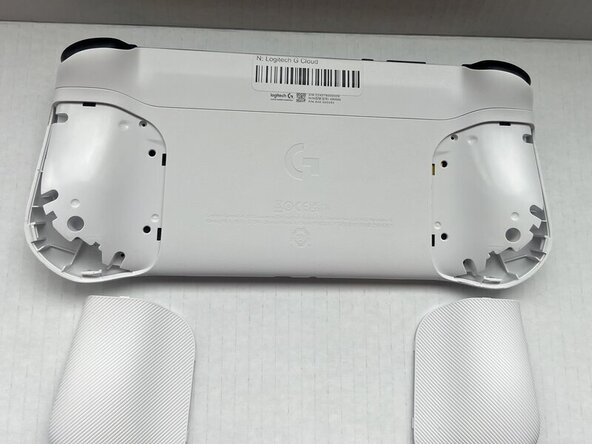
Power the device off and turn it over so the screen is face down.
-
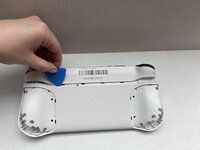
Insert an opening pick into the seam between the back plate and left handguard.
-
Pry around the entire perimeter until the handguard fully releases.
-
Remove the handguard.
-
Repeat the previous three bullets on the right handguard.
 crwdns2952109:0crwdne2952109:0
-
-
-
Use a Phillips #00 screwdriver to remove all eight 10 mm screws from the rear case located under where the handguards were.
-
-
-
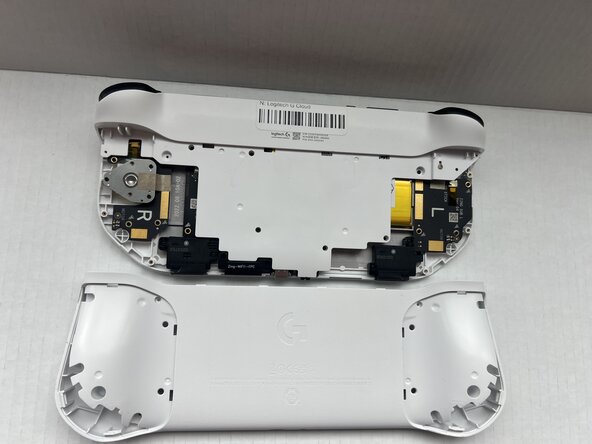
Insert an opening pick into the seam between the midframe and rear case.
-
Gently pry the rear case upwards to separate it from the midframe.
-
-
-
Use a Phillips #00 screwdriver to remove all seven 10 mm screws that secure the midframe.
-
-
-
-
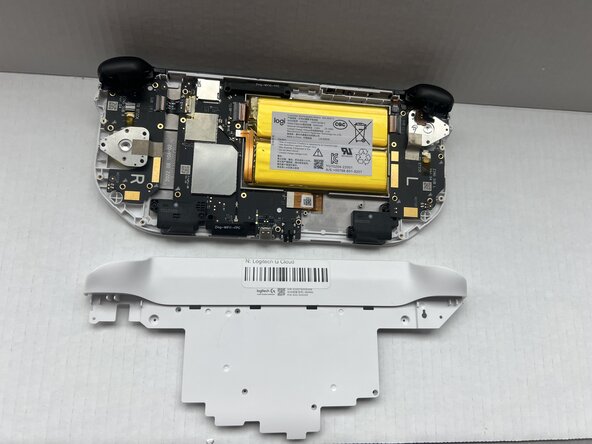
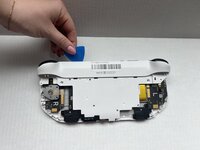
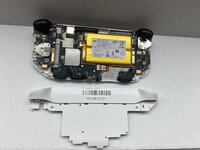
Insert an opening pick into the seam between the midframe and front case at the top of the device to separate the interior plating.
-
Gently pry out the midframe by lifting an opening pick.
-
-
-
-
-
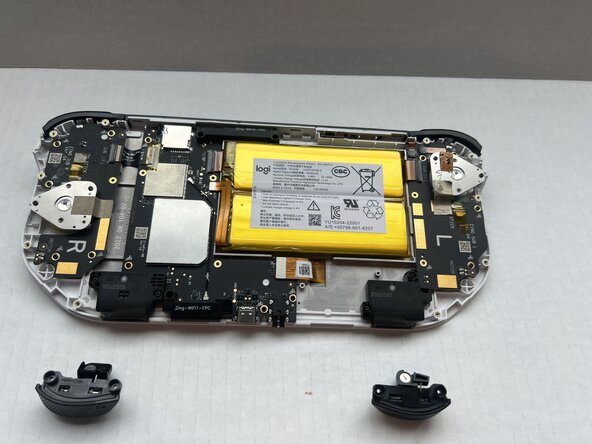
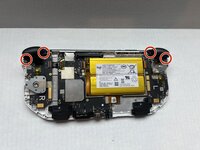
Use a Phillips #00 screwdriver to remove all four 10 mm screws that secure the L2 and R2 triggers.
-
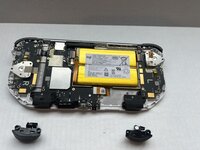
Pop the L2 and R2 triggers out with your fingers.
-
-






To reassemble your device, follow these instructions in reverse order.

crwdns2935287:0crwdne2935287:0

Western Carolina University, Team 1-1, Virtue Spring 2025 crwdns2935289:0Western Carolina University, Team 1-1, Virtue Spring 2025crwdne2935289:0
WCU-VIRTUE-S25S1G1
crwdns2931471:04crwdne2931471:0
crwdns2935297:072crwdne2935297:0
