crwdns2933423:0crwdne2933423:0
crwdns2947577:0crwdnd2947577:0crwdne2947577:0
Logitech Extreme 3D Pro Top button circuit board Replacement

Logitech Extreme 3D Pro Top button circuit board Replacement

Emanuel Canela

crwdns2944109:0crwdnd2944109:0Emanuel Canelacrwdnd2944109:0crwdnd2944109:0crwdnd2944109:0crwdne2944109:0

crwdns2944111:0June 26, 2018crwdne2944111:0

5 - 10 crwdns2931279:0crwdne2931279:0
crwdns2937799:0crwdne2937799:0

crwdns2915892:0crwdne2915892:0

crwdns2942287:0crwdne2942287:0

The top buttons and the trigger are typically the most used, meaning the dip switches could become the first to be worn. This will require replacement for full use of the joystick.

crwdns2942213:0crwdne2942213:0

crwdns2943215:0crwdne2943215:0

crwdns2944105:0crwdne2944105:0

  1. Logitech Extreme 3D Pro Top button circuit board Replacement, Disassembly of the handle: crwdns2935265:01crwdnd2935265:01crwdnd2935265:01crwdne2935265:0
    • Remove these three Phillips #1 screws:

    • Two 10mm screws.

    • One 7mm screw.

  2. Logitech Extreme 3D Pro Top button circuit board Replacement: crwdns2935265:02crwdnd2935265:01crwdnd2935265:01crwdne2935265:0
    • Using your fingers, lower the rubber boot to reveal two screws underneath the joystick.

    • Remove the two 10mm Phillips #1 screws.

  3. Logitech Extreme 3D Pro Top button circuit board Replacement: crwdns2935265:03crwdnd2935265:01crwdnd2935265:02crwdne2935265:0 Logitech Extreme 3D Pro Top button circuit board Replacement: crwdns2935265:03crwdnd2935265:02crwdnd2935265:02crwdne2935265:0
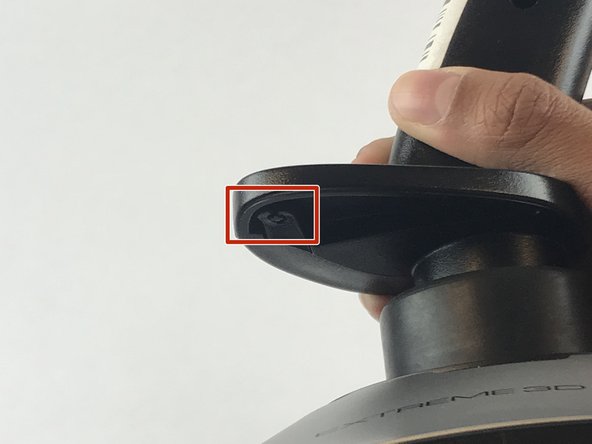
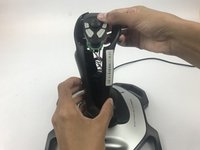
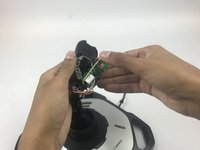
    • Pull apart the joystick chassis by hand.

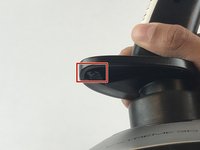
    • Release this clip located underneath the hand rest

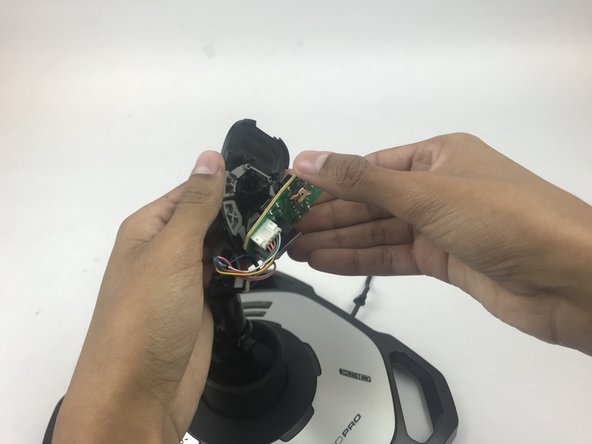
    • The circuit board will be loose and may fall down.

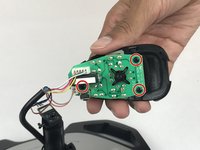
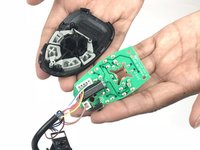
  4. Logitech Extreme 3D Pro Top button circuit board Replacement, Top button circuit board: crwdns2935265:04crwdnd2935265:01crwdnd2935265:03crwdne2935265:0 Logitech Extreme 3D Pro Top button circuit board Replacement, Top button circuit board: crwdns2935265:04crwdnd2935265:02crwdnd2935265:03crwdne2935265:0 Logitech Extreme 3D Pro Top button circuit board Replacement, Top button circuit board: crwdns2935265:04crwdnd2935265:03crwdnd2935265:03crwdne2935265:0
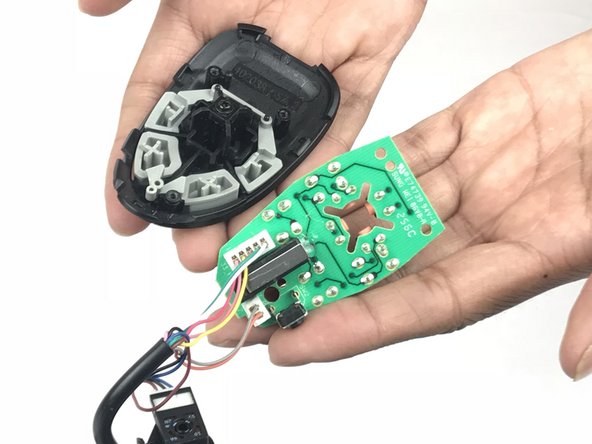
    • Remove the three 7mm Phillips #1 screws from the button board.

    • Remove the button board from the plastic top.

    • When taken apart the plastic buttons can fall out.

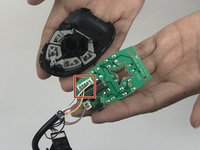
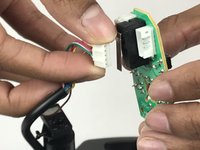
  5. Logitech Extreme 3D Pro Top button circuit board Replacement: crwdns2935265:05crwdnd2935265:01crwdnd2935265:02crwdne2935265:0 Logitech Extreme 3D Pro Top button circuit board Replacement: crwdns2935265:05crwdnd2935265:02crwdnd2935265:02crwdne2935265:0
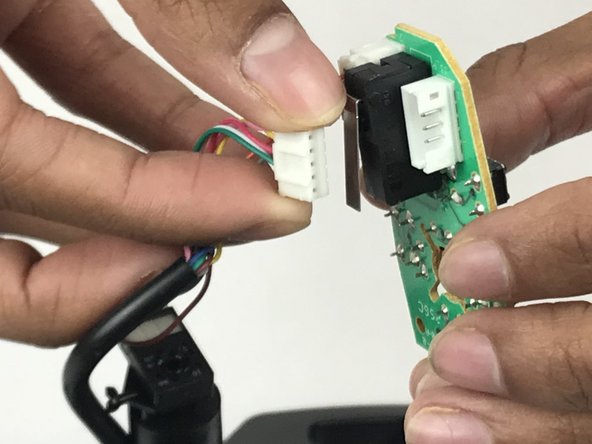
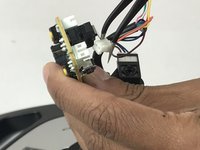
    • Disconnect the cable from the button board.

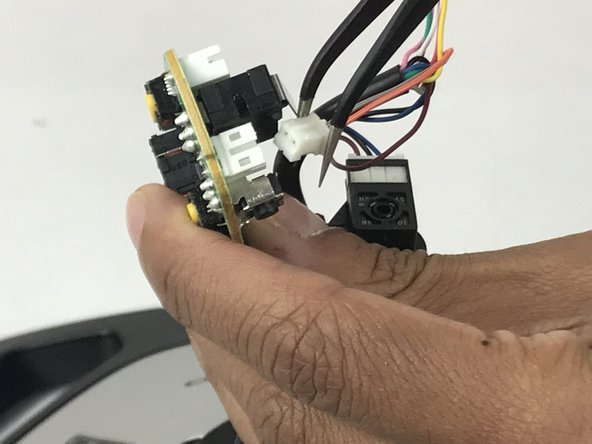
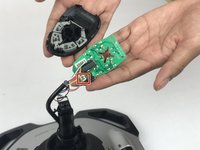
  6. Logitech Extreme 3D Pro Top button circuit board Replacement: crwdns2935265:06crwdnd2935265:01crwdnd2935265:02crwdne2935265:0 Logitech Extreme 3D Pro Top button circuit board Replacement: crwdns2935265:06crwdnd2935265:02crwdnd2935265:02crwdne2935265:0
    • Disconnect the smaller cable from the button board.

crwdns2915888:0crwdne2915888:0

To reassemble your device, follow these instructions in reverse order.

crwdns2935229:04crwdne2935229:0
Emanuel Canela

crwdns2935283:001/25/18crwdne2935283:0

1,321 crwdns2915208:0crwdne2915208:0

crwdns2935297:07crwdne2935297:0

crwdns2915084:0crwdne2915084:0

USF Tampa, Team S7-G1, Passmore Spring 2018 crwdns2935289:0USF Tampa, Team S7-G1, Passmore Spring 2018crwdne2935289:0

USFT-PASSMORE-S18S7G1

crwdns2931471:04crwdne2931471:0

crwdns2935297:07crwdne2935297:0

crwdns2947412:00crwdne2947412:0

crwdns2917038:0crwdne2917038:0

crwdns2936625:0crwdne2936625:0:

crwdns2936751:024crwdne2936751:0 0

crwdns2936753:07crwdne2936753:0 5

crwdns2936753:030crwdne2936753:0 32

crwdns2942667:0crwdne2942667:0 2,443