crwdns2942213:0crwdne2942213:0
-
-
To get into the controller, you will need to unscrew the 7 screws on the back.
-
-
-
With the screws removed, turn the controller upside down and separate the front end from the back end.
-
-
-
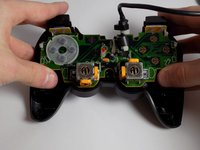
There should be 4 circular buttons labeled 1-4, 4 smaller circular buttons for the D-Pad, and 3 oval shaped buttons.
-
-
-
-
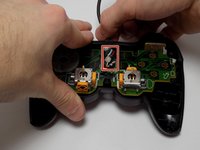
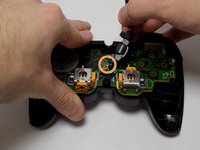
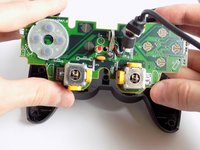
In the center of the controller, pull upwards on the USB cord.
-
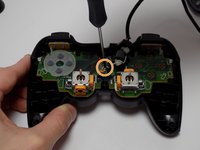
With the wire out of the way, remove the screw it exposed. This will disconnect the logic board from the controller.
-
-
-
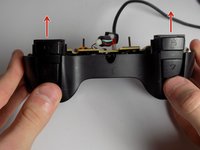
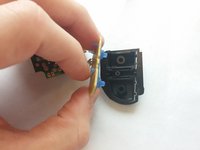
To remove the triggers, push upwards from the back on them.
-
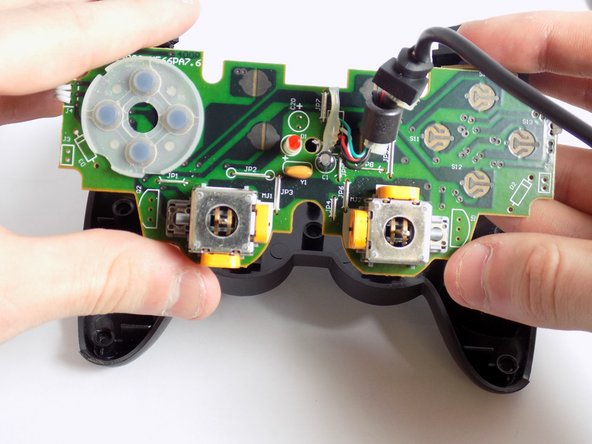
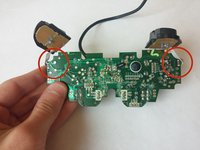
Once far enough, detach the logic board from the back cover piece and the triggers.
-
-
-
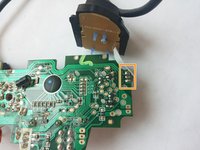
If the wire is unplugged solely from the logic board, you can fasten it back into its place.
-
Look at the second picture to see where the wires go.
-
-
-
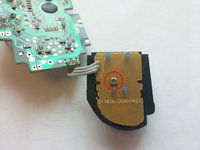
Unscrew the screw on the trigger to remove the back cover.
-
Once removed, carefully pull the back cover off.
-
-
-
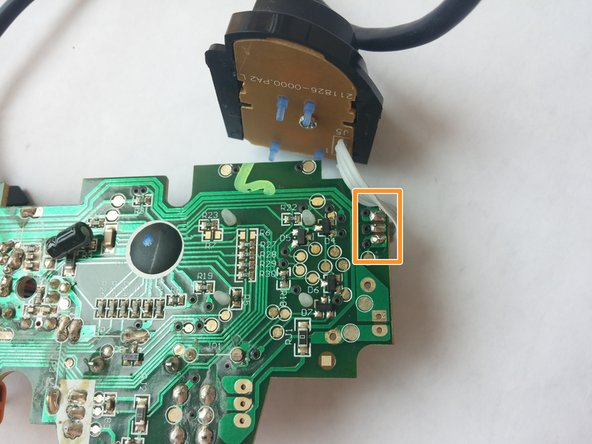
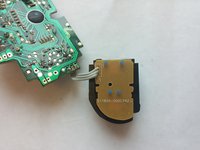
The 3 wires are soldered into the 3 spots circled on the picture.
-
To reassemble your device, follow these instructions in reverse order.
crwdns2935221:0crwdne2935221:0
crwdns2935229:05crwdne2935229:0
crwdns2947412:04crwdne2947412:0
Hi dear, can you say me the order of colours in the USB cable? I think green, white, red, black thin and black thick. Is It correct?
Where can I get conductive pads for this?
Hi dear, can you say me the order of colours in the USB cable? I think green, white, red, black thin and black thick. Is It correct?
Hi dear, can you say me the order of colours in the USB cable? I think green, white, red, black thin and black thick.


