crwdns2915892:0crwdne2915892:0
This repair will require using a soldering iron to remove and replace damaged Ethernet ports. This is very delicate operation, involving 8 contacts per port. Be very careful as to not gob the solder around, and do not damage the Printed Circuit board.
crwdns2942213:0crwdne2942213:0
-
-
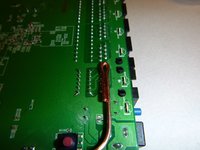
The PC board is loosely attached to the plastic base. Note the micro-soldered terminals on the Ethernet ports. These are very small and require significant expertise to desolder and replace.
-
-
-
Do to modern manufacturing, you will need to cover the area in solder flux; it is messy, so be careful.
-
Prep your desoldering braid by pulling it into a shape that will allow it to contact the solder on the baord itself.
-
Touch the soldering iron to the top of the contact after it has heated sufficiently; the flux will melt, as will the solder, and both should flow into the desoldering braid.
-
-
-
-
After removing all of the solder from each terminal, you may try pushing out the ethernet port. If it won't go, you need to remove more solder.
-
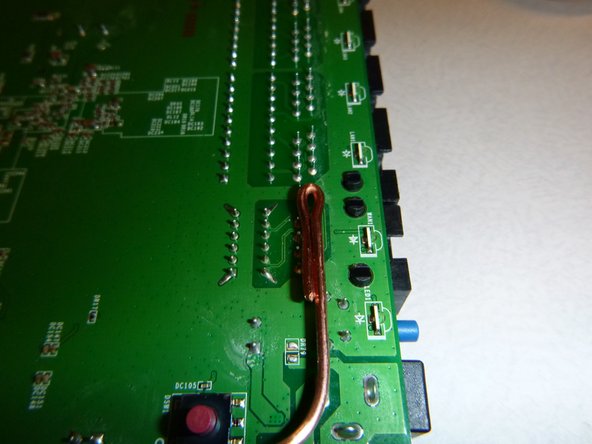
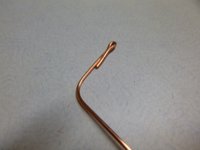
If neccessary, you will need to make a custom tool to touch all of the contacts at once. This one is made of bent copper wire and can replace the tip on a pencil-style soldering iron.
-
-
-
Once the ethernet port is removed, you may replace it (or anything else you had to remove), and solder it to the circuit board.
-
You can find many fine soldering guides online, here is a reccommended one: http://www.wikihow.com/Solder-%28Electro... Remember to add flux to the joint prior to soldering.
-


To reassemble your device, follow these instructions in reverse order.
To reassemble your device, follow these instructions in reverse order.
crwdns2915084:0crwdne2915084:0

Michigan Tech, Team 5-4, Lauer Spring 2014 crwdns2935289:0Michigan Tech, Team 5-4, Lauer Spring 2014crwdne2935289:0
MTU-LAUER-S14S5G4
crwdns2931471:03crwdne2931471:0
crwdns2935297:07crwdne2935297:0