crwdns2915892:0crwdne2915892:0
Sending and receiving wireless signals requires an antenna. If the antenna is faulty, the device will not work as intended. Replacing the antenna should resolve most connectivity issues.
crwdns2942213:0crwdne2942213:0
-
-
Disconnect the power cables and ethernet from the device.
-
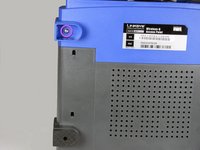
Unscrew the external plastic antennas. There is one antenna on each side of the device.
-
-
crwdns2935267:0crwdne2935267:0Tweezers$4.99
-
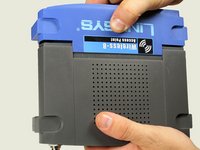
Use the tweezers to remove the two rubber boots from the front two legs. Insert the tweezers in the hole of the boot and pull outwards.
-
This will reveal two small Phillips-head screws. Remove them.
-
-
-
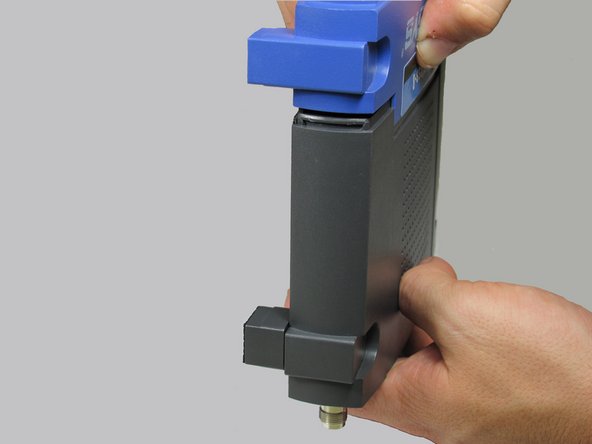
Using two hands, pull on the top and bottom sections to separate the blue and the black pieces.
-
The seal is located where the blue plastic meets the black plastic. This is where you will apply pressure.
-
-
-
-
After the face of the device has been removed, slide the base of the device off to reveal the motherboard and other internal components.
-
-
-
This is what the device looks like when it is fully opened.
-
-
-
Using a Phillips screwdriver remove the the three screws that fasten the main circuit board to the chassis.
-
-
-
Using a pair of needle nose pliers, remove the nuts that secure the antenna ports to the rear panel.
-
-
-
Using a soldering iron and desoldering wick, desolder and remove the two antennas from the motherboard.
-
The antenna can now be replaced with a new one.
-


To reassemble your device, follow these instructions in reverse order.
crwdns2935287:0crwdne2935287:0

Cal Poly, Team 3-17, Regan Fall 2011 crwdns2935289:0Cal Poly, Team 3-17, Regan Fall 2011crwdne2935289:0
CPSU-REGAN-F11S3G17
crwdns2931471:05crwdne2931471:0
crwdns2935297:08crwdne2935297:0