crwdns2915892:0crwdne2915892:0
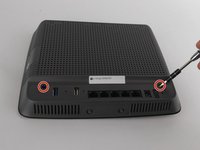
In the following guide you will be taking apart the outer casing to the Linksys EA9200, and desoldering the power switch from the circuit board. To complete this power switch removal you will need to have several tools as well as some practice desoldering. Both the tools needed as well as the steps to practicing desoldering are included in the guide.
crwdns2942213:0crwdne2942213:0
-
-
Remove the sticker on the bottom.
-
Remove the two screws holding the bottom plate in place. Use Phillips screwdriver tip #1 , the screw head-size is 5mm.
-
-
-
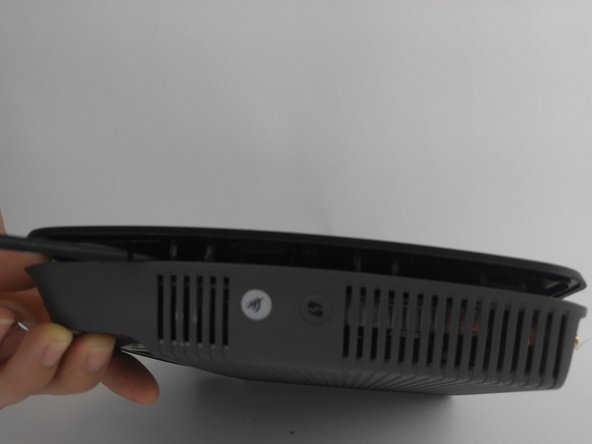
Remove the back sticker that has all the labels.
-
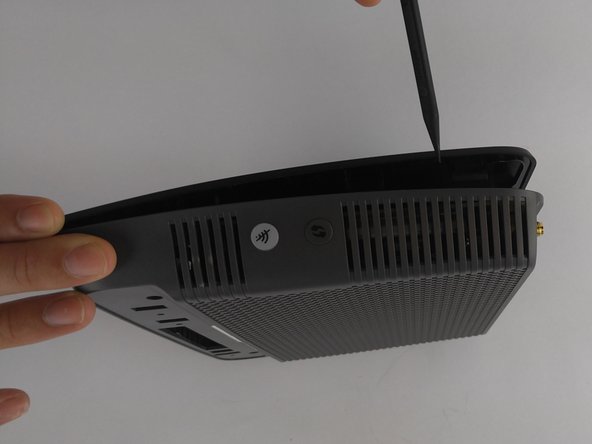
There are two screws to remove. They are 6mm in diameter, use phillips screw tip #1.
-
-
-
-
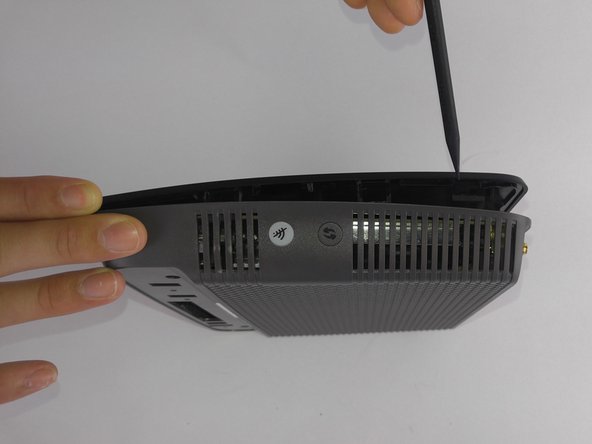
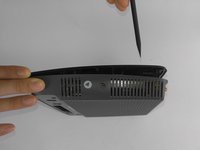
Depress the 12 clips along the edge into the router. Use the nylon spudger as using a metal object could cause damage.
-
-
-
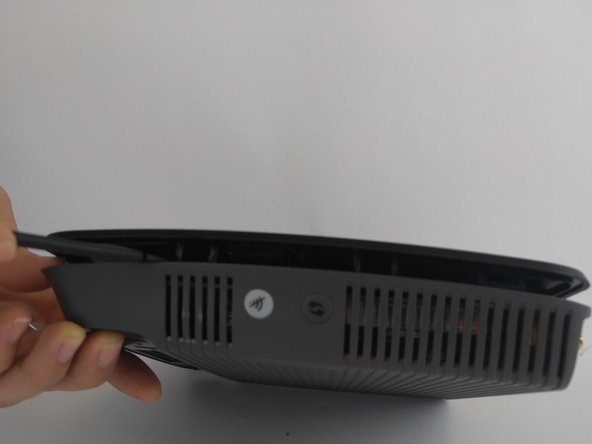
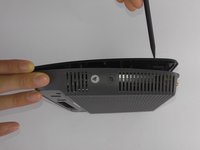
Once you have one side open, keep a spudger wedged between both sides. This will help keep it open in case it tries to snap back together.
-
-
-
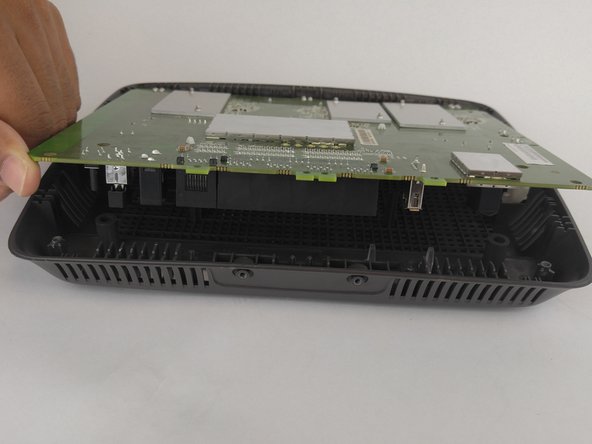
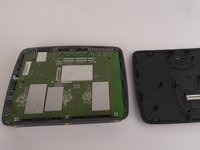
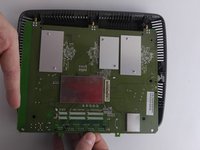
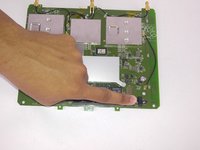
Lift the board and pull down, away from the antennas.
-
-
-
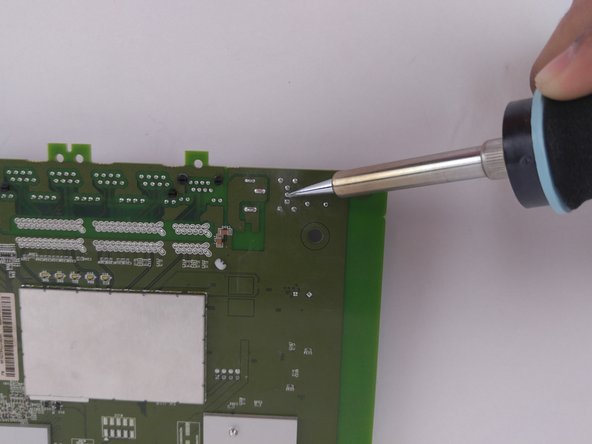
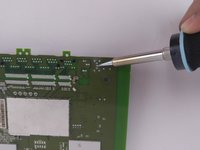
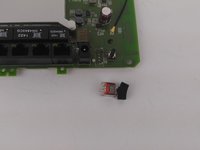
Desolder the 7 pins for the power switch from the backside of the circuit board.
-


To reassemble your device, follow these instructions in reverse order.
To reassemble your device, follow these instructions in reverse order.
crwdns2915084:0crwdne2915084:0

USF Tampa, Team 9-1, Lacy Fall 2016 crwdns2935289:0USF Tampa, Team 9-1, Lacy Fall 2016crwdne2935289:0
USFT-LACY-F16S9G1
crwdns2931471:04crwdne2931471:0
crwdns2935297:010crwdne2935297:0