crwdns2915892:0crwdne2915892:0
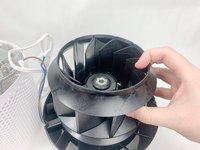
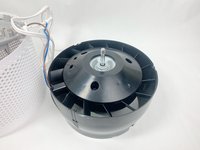
A non-functioning fan can significantly reduce your Levoit Core 300-RAC air purifier’s performance. If your device isn’t outputting enough air or the fan isn’t spinning, it may be time to clean or replace it.
This guide demonstrates how to replace the fan. You can also use it to access the fan for cleaning with an air blower and brush. Cleaning the fan may improve performance and help avoid replacement.
Before you begin, ensure the device is turned off and unplugged.
crwdns2942213:0crwdne2942213:0
-
-
Turn the Levoit Core 300-RAC over so the bottom is facing up.
-
-
-
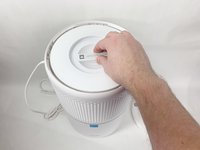
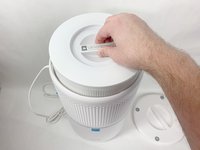
Turn the bottom cover counterclockwise and lift it off to remove it.
-
-
-
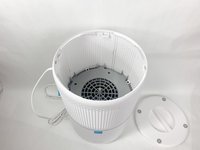
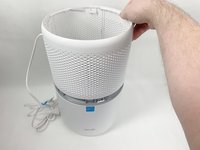
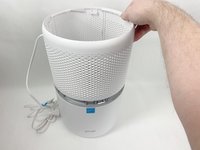
Lift the filter straight up and out of the device.
-
-
-
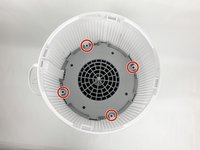
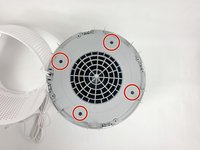
Use a Phillips #2 screwdriver to remove the four screws that secure the gray lid towards the base of the device.
-
-
-
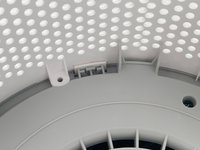
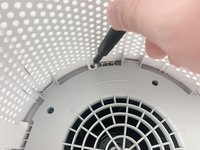
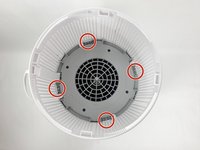
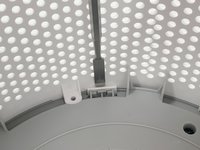
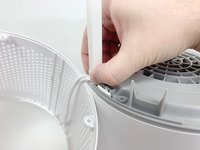
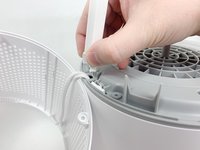
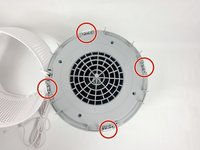
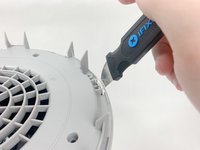
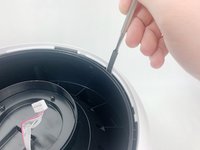
Use a metal spudger or Jimmy to gently pry between the four white tabs and the white housing to release the outer housing.
-
-
-
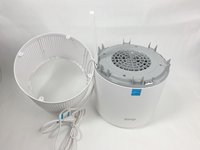
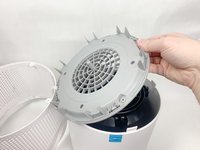
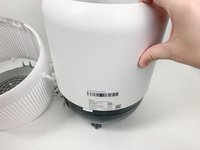
Remove the outer white housing and set it to the side.
-
-
-
-
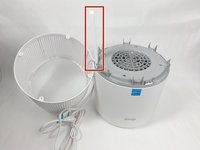
Grab the cable channel by its base, squeeze, and pull up at the same time to remove it.
-
-
-
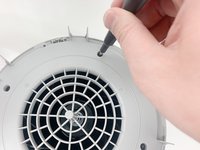
Remove the four Phillips #2 screws securing the gray face plate.
-
-
-
Insert a Jimmy or spudger between the white tab and the gray faceplate body to release the faceplate.
-
Lift it out.
-
-
-
Turn your device over so it is upright again.
-
-
-
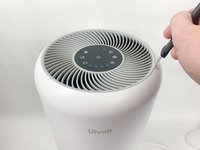
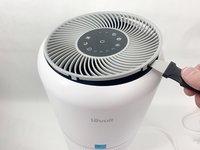
Insert the Jimmy between the gray grille cover and the top of the device.
-
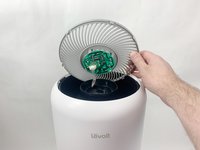
Work your way around the grille cover with the Jimmy to release the clips holding it in place.
-
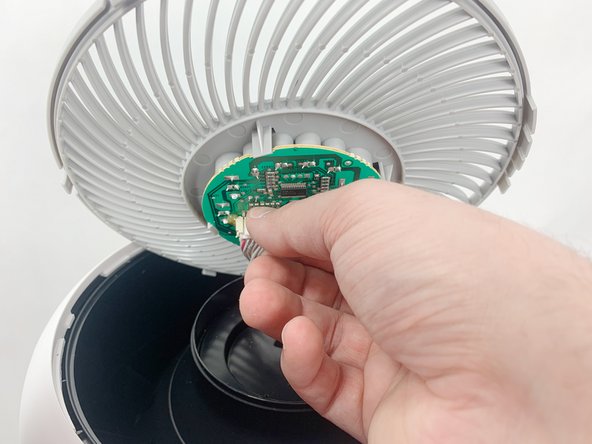
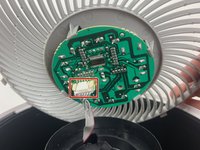
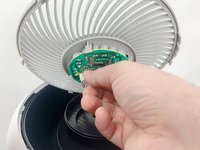
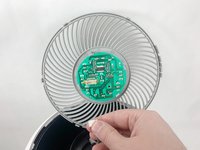
Remove the grille cover gently as it is connected by a ribbon cable.
-
-
-
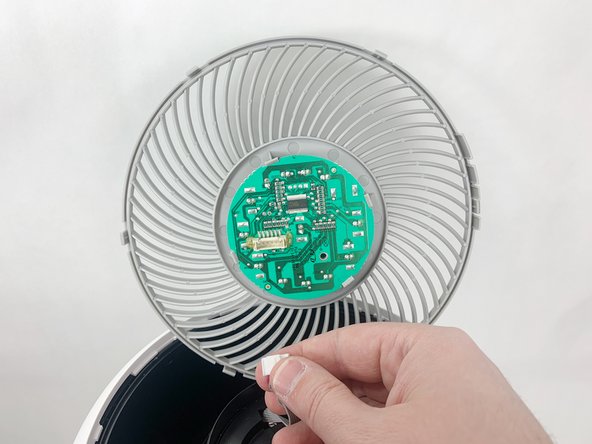
Squeeze the tab on the connector to release the bundled cable from the control board.
-
-
-
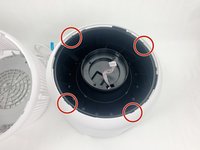
Insert a spudger or Jimmy into the four tabs to release them from holding the outer white housing to the inner black core.
-
Remove the white outer housing.
-
-
-
Flip your device over again so the fan is facing up.
-
-
-
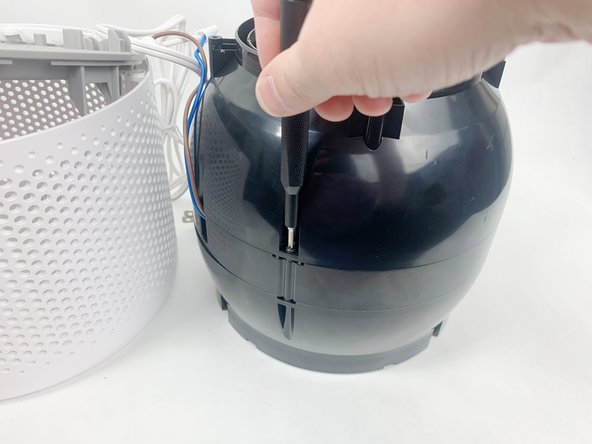
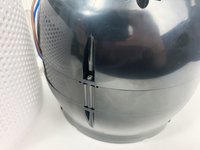
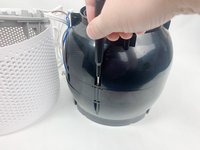
Use a Phillips #2 screwdriver to remove the three screws on the upper portion of the black housing.
-
-
-
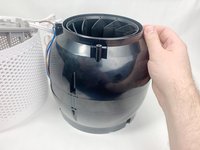
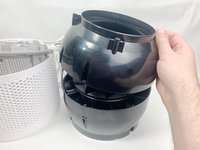
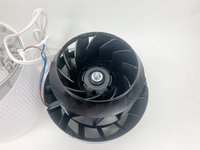
Remove the upper portion of the black housing.
-
-
-
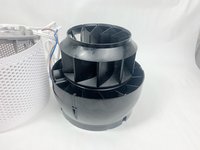
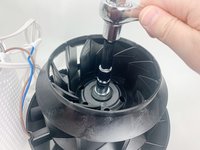
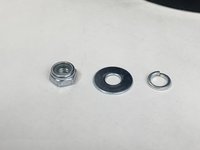
Use a 13mm socket wrench with an extension to remove the nut holding the fan in place and remove all hardware from the threaded shaft.
-
-
-
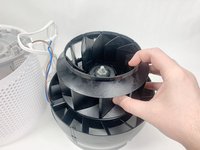
Lift the fan up and off of the threaded shaft.
-
To reassemble your device, follow these instructions in reverse order.
crwdns2935221:0crwdne2935221:0
crwdns2935227:0crwdne2935227:0


