crwdns2915892:0crwdne2915892:0
This guide will walk you through the process of removing and replacing a damaged display on your Lenovo Yoga Tablet 2 830-F, ensuring each step is handled carefully to avoid any further damage.
crwdns2942213:0crwdne2942213:0
-
-
Remove the three screws on the back of the device with the Phillips Screwdriver #00 bit.
-
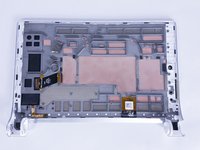
Using the blue opening tools or spudger, gently remove the back cover to expose the interior of the tablet.
-
-
-
Remove the six screws on the back of the motherboard with the Phillips Screwdriver #00 bit.
-
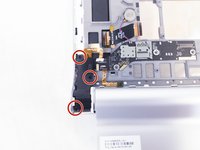
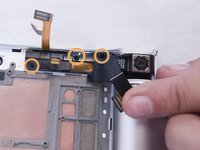
Remove the three screws on the back of the secondary board with the Phillips Screwdriver #00 bit.
-
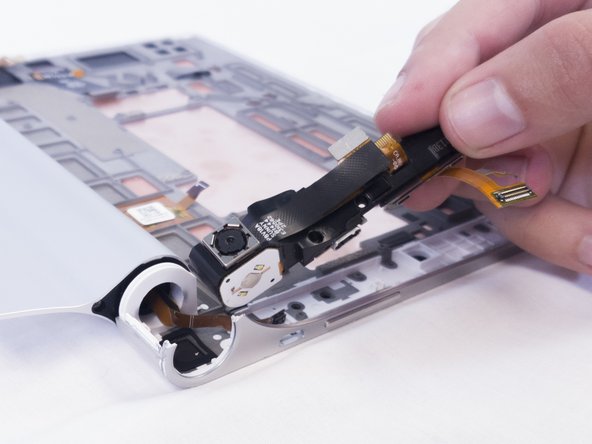
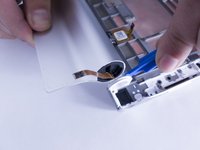
Remove the ribbon cables connecting the boards to the other electrical components
-
-
-
-
Remove the three 2mm screws on the back of the left speaker module with the Phillips Screwdriver #00 bit.
-
Remove the three 2mm screws on the back of the right speaker module.
-
-
-
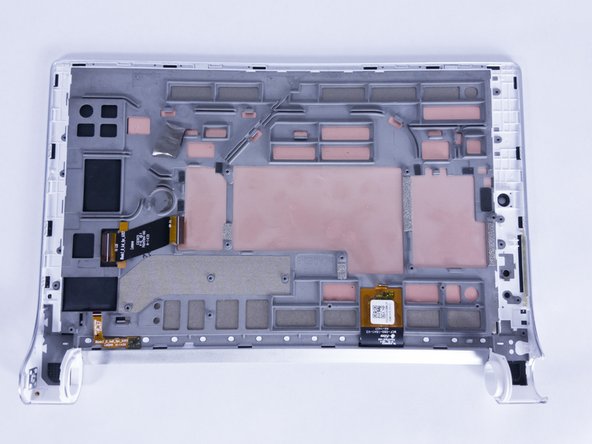
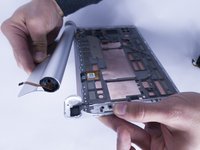
Use the opening tool to pry the battery compartment off the right hand side of the back.
-


Well done on replacing your tablet's display! Reassemble your device by following these instructions backwards, ensuring all parts are correctly aligned and secure. Enjoy your refreshed Lenovo Yoga Tablet!
crwdns2935221:0crwdne2935221:0
crwdns2935229:04crwdne2935229:0
crwdns2935287:0crwdne2935287:0

USF Tampa, Team S2-G4, Nance Fall 2017 crwdns2935289:0USF Tampa, Team S2-G4, Nance Fall 2017crwdne2935289:0
USFT-NANCE-F17S2G4
crwdns2931471:03crwdne2931471:0
crwdns2935297:013crwdne2935297:0