crwdns2915892:0crwdne2915892:0
Lenovo Yoga Book X90F. Model number: Lenovo YB-J912F. This guide will help to replace the hard drive if the hard drive is not functioning properly. Please follow this link to troubleshoot the device and determine if the problems are indicative of a faulty hard drive.
The hard drive is the operating process of the computer that contains the software necessary to run the computer, so a faulty hard drive will significantly impact the operation of the device.
Please be aware that the bottom screen needed for removal to complete this repair is very fragile, so be cautious of broken glass. A cracked bottom screen will not operate as it should, so the bottom screen may need to be replaced as well.
crwdns2942213:0crwdne2942213:0
-
-
Turn off and power down the device before beginning this process. A heat gun or hair dryer will be suitable to heat the adhesive that holds down the screen. Apply heat to the entire surface area of the bottom screen.
-
-
-
Once the adhesive has been heated up, take the iFixIt suction cup and lift in a corner. The screen should be separating from the adhesive here.
-
While the screen is lifted, insert the ifixit opening pick to help pry off the screen.
-
-
-
While the screen has been lifted, insert the plastic opening picks. Heat the adhesive and follow with the screen removal tool to ensure that you are not prying it apart with excessive force.
-
-
crwdns2935267:0crwdne2935267:0Tweezers$4.99
-
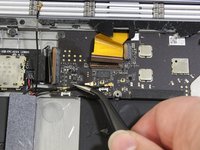
After the screen has been opened, disconnect the ribbon connecting the bottom screen to the motherboard by gently pulling the ribbon with tweezers.
-
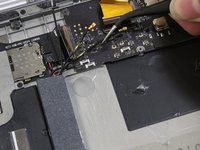
If there are black coverings on the tabs as shown in the second image, carefully remove them using a pair of tweezers.
-
-
-
Separate and remove the bottom screen from the device.
-
-
-
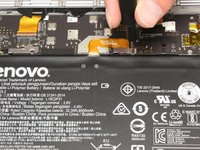
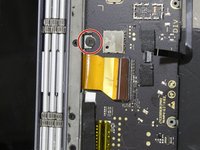
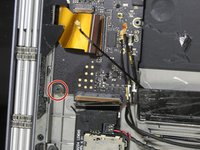
Using a JIS #0 screwdriver, remove the single 8 mm screw.
-
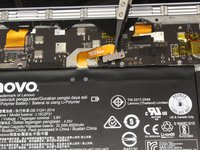
Disconnect the battery cable from the motherboard.
-
-
-
-
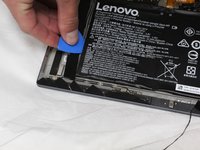
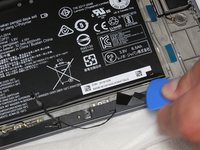
Use the opening pick to remove the two black strips on each side of the battery so the battery is cleared of any obstructions.
-
-
-
Wedge the opening pick underneath the battery and work your around the battery.
-
-
-
Once the adhesive begins to unstick from the battery, remove the battery from the device.
-
-
-
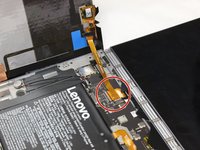
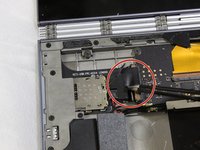
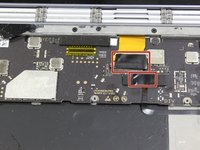
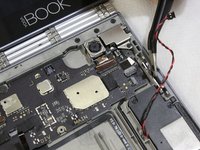
Remove the tape, and pull the connection off the motherboard.
-
-
-
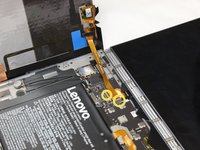
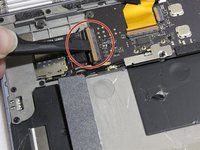
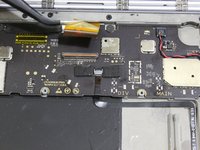
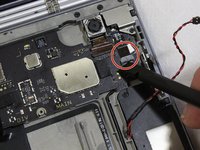
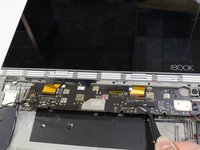
Disconnect the ribbon cable from the motherboard.
-
-
-
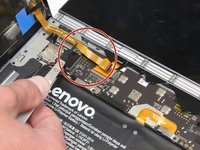
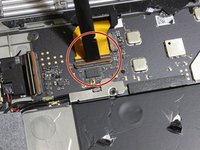
Remove the two pieces of tape to reveal two ribbon cables.
-
Disconnect the two ribbon cables from the motherboard.
-
-
-
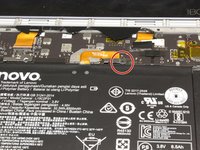
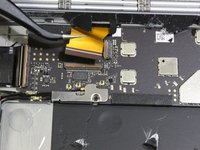
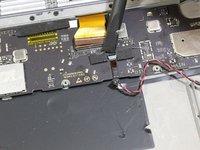
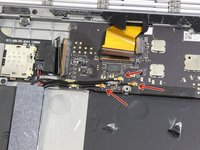
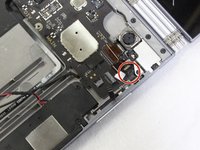
Disconnect the two cables on the right hand side of the motherboard.
-
-
-
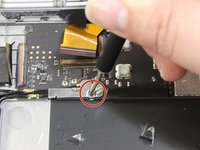
Using the JIS #00 screwdriver, remove the single 8 mm screw and the plate from over the motherboard.
-
-
-
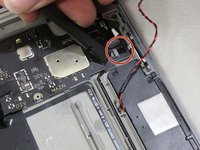
Disconnect the three cables from the motherboard.
-
-
-
Using the JIS #00 screwdriver, remove three 8 mm screws at the top of the motherboard.
-
-
crwdns2935267:0crwdne2935267:0Tweezers$4.99
-
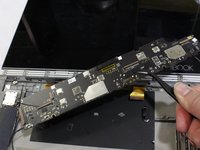
Using a pair of tweezers, pull the motherboard off the computer.
-


To reassemble your device, follow these instructions in reverse order.
crwdns2935287:0crwdne2935287:0

Clemson, Team 5-2, Hunter Fall 2021 crwdns2935289:0Clemson, Team 5-2, Hunter Fall 2021crwdne2935289:0
CLEM-HUNTER-F21S5G2
crwdns2931471:05crwdne2931471:0
crwdns2935297:06crwdne2935297:0