crwdns2915892:0crwdne2915892:0
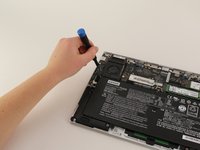
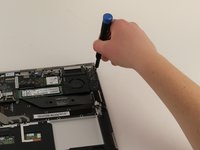
It is possible for your Lenovo Yoga 910-13IKB USB ports to degrade over time, resulting in low data transfer speeds or the inability to provide power through the port. If you notice these issues with the ports on your device, you may want to consider replacing them. Lenovo has made the fix quick, requiring only a JIS #00 screwdriver.
crwdns2942213:0crwdne2942213:0
-
-
Turn the laptop over and remove the ten Torx T5 screws along the perimeter of the bottom panel.
-
Remove the panel.
-
-
-
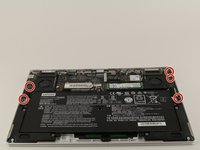
Use a Phillips screwdriver to remove the four M2 x 1.7 mm screws securing the battery to the laptop.
-
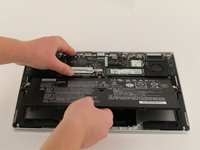
Remove the battery.
-
-
-
Remove the six Phillips screws that attach the trackpad to the device.
-
Use a spudger to disconnect the ribbon cable connector from the trackpad.
-
Remove the trackpad using a spudger.
-
-
-
Use a Phillips screwdriver to remove six screws attached to the USB ports on both sides of the device.
-
Detach both ribbon cables attached to each USB port with a spudger, then detach the USB ports.
-
-
-
Use a small Phillips screwdriver to remove all single screw securing the SSD stick to the motherboard.
-
Slide the SSD stick from the port on the motherboard.
-
-
-
-
Use a small Phillips screwdriver to remove four screws from the fans.
-
Remove the back connector strip using a spudger to pry it off of the device.
-
Remove the fans.
-
-
-
Remove the four 3 mm Phillips #0 screws holding the battery in place.
-
-
-
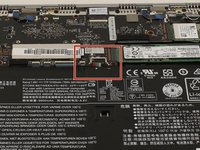
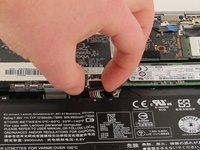
Disconnect the battery cable from its motherboard socket by gently pulling it towards the battery. The spudger tool may be needed to lift the flap seal.
-
Lift the battery out.
-
-
-
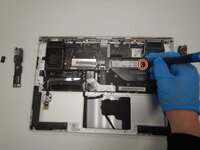
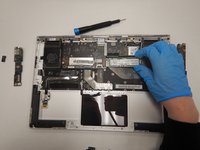
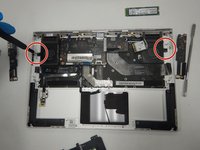
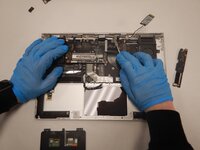
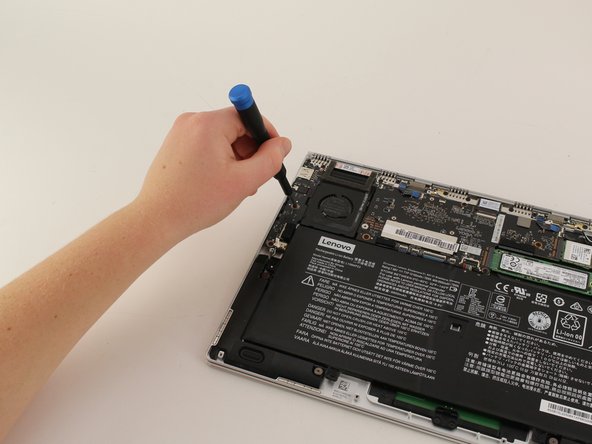
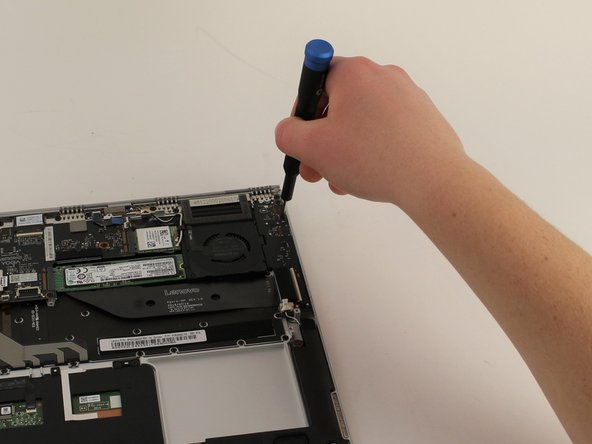
Remove the five 3mm JIS #00 screws holding the array of ports in place.
-
-
-
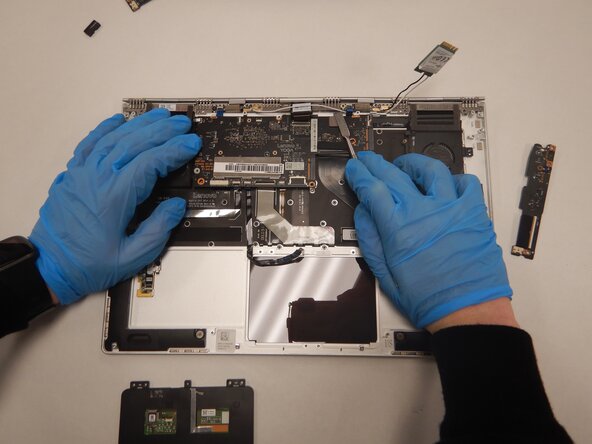
Lift up on the cover on top of the ribbon connector and gently pull the ribbon cable out.
-
-
-
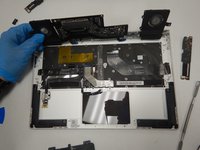
Lift up on the component and remove it.
-
-
-
Repeat the same process on the opposite side, lifting up on the connector cover and pulling the ribbon cable out of its place.
-
-
-
Lift up on the set of ports and remove it from the device.
-
To reassemble your device, follow these instructions in reverse order.
To reassemble your device, follow these instructions in reverse order.
crwdns2935221:0crwdne2935221:0
crwdns2935227:0crwdne2935227:0


