crwdns2915892:0crwdne2915892:0
If your Lenovo Yoga 910-13IKB speakers sound muffled, distorted, or fail to produce any sound at all, access and replace them using this guide. This is a simple procedure, only requiring a JIS #00 screwdriver.
crwdns2942213:0crwdne2942213:0
-
-
Turn the laptop over and remove the ten Torx T5 screws along the perimeter of the bottom panel.
-
Remove the panel.
-
-
-
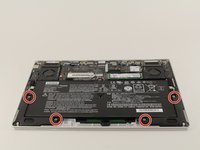
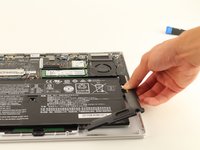
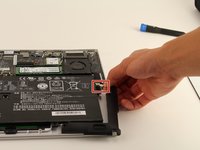
Use a Phillips screwdriver to remove the four M2 x 1.7 mm screws securing the battery to the laptop.
-
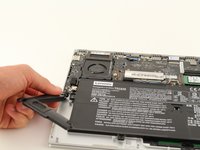
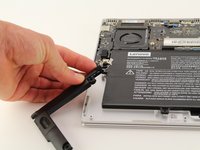
Remove the battery.
-
-
-
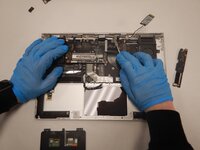
Remove the six Phillips screws that attach the trackpad to the device.
-
Use a spudger to disconnect the ribbon cable connector from the trackpad.
-
Remove the trackpad using a spudger.
-
-
-
-
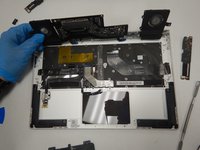
Use a Phillips screwdriver to remove six screws attached to the USB ports on both sides of the device.
-
Detach both ribbon cables attached to each USB port with a spudger, then detach the USB ports.
-
-
-
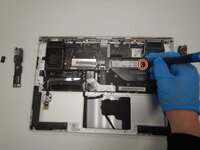
Use a small Phillips screwdriver to remove all single screw securing the SSD stick to the motherboard.
-
Slide the SSD stick from the port on the motherboard.
-
-
-
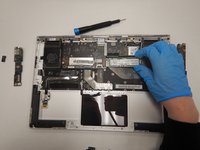
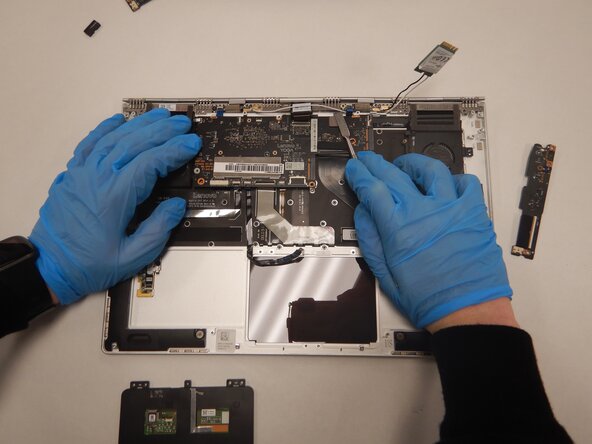
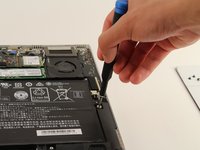
Use a small Phillips screwdriver to remove four screws from the fans.
-
Remove the back connector strip using a spudger to pry it off of the device.
-
Remove the fans.
-
-
-
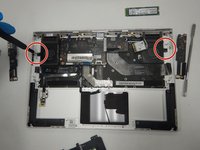
Remove the four silver 3mm JIS #00 screws holding the speakers in place.
-
-
-
Lift up the speaker from the corner of the device.
-
Pull gently on the bundled cable connector at the top of the speaker.
-
-
-
Repeat step three for the speaker on the opposite side of the device.
-


To reassemble your device, follow these instructions in reverse order.
To reassemble your device, follow these instructions in reverse order.
crwdns2935221:0crwdne2935221:0
crwdns2935229:02crwdne2935229:0
crwdns2915084:0crwdne2915084:0

Cal Poly, Team S1-G5, White Winter 2020 crwdns2935289:0Cal Poly, Team S1-G5, White Winter 2020crwdne2935289:0
CPSU-WHITE-W20S1G5
crwdns2931471:04crwdne2931471:0
crwdns2935297:014crwdne2935297:0