crwdns2915892:0crwdne2915892:0
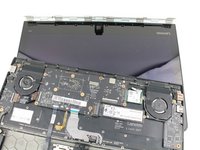
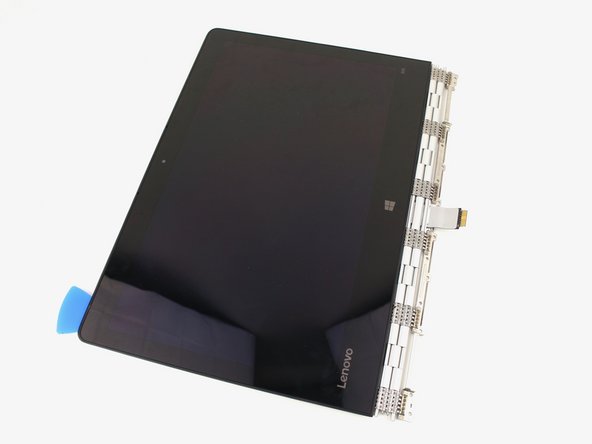
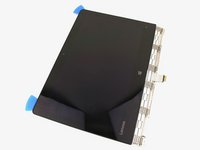
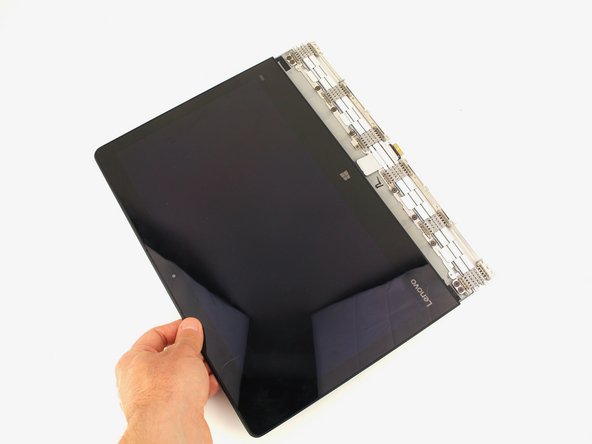
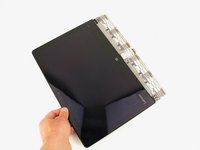
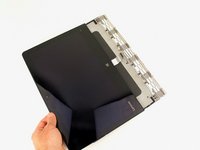
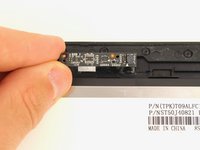
This guide will show you how to replace the display in the Lenovo Yoga 900-13ISK. The display on the Lenovo Yoga 900 has full touch capabilities, allowing the screen to be used as a tablet. However, the digitizer is integrated into the display and bezel, so replacing any one of these three components individually will require specialized tools and a lot of patience. Instead, this guide will focus on replacing the display, touch control board, screen/bezel, and digitizer as a single unit.
Note that the boards and cable connectors inside of the display assembly are extremely delicate, and patience should be exercised when working inside. To get inside the display assembly also requires you to cut away adhesive strips holding the assembly together. To ensure that your new display adheres to the back panel properly, you may want to clean and remove any old adhesive from the device and replace with some fresh adhesive strips. However, all of this can be circumvented by replacing the display assembly as a single unit instead.
If your Lenovo Yoga 900 has a cracked, broken, glitchy, or otherwise problematic display, or if it has lost its touchscreen capabilities, replacing it should return your computer to working condition.
Be sure to unplug and completely turn off your device before you start working.
crwdns2942213:0crwdne2942213:0
-
-
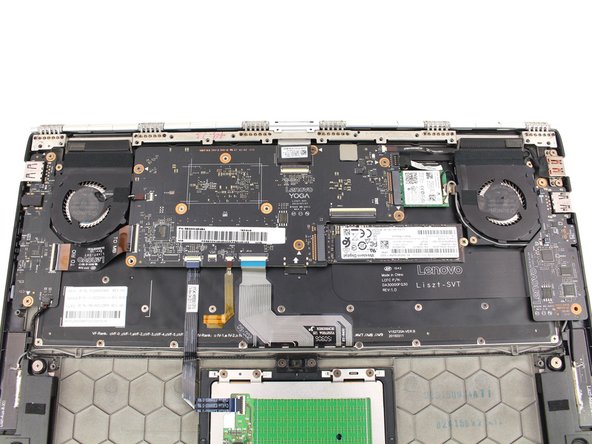
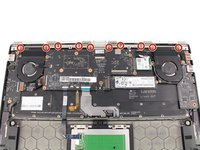
Using a T5 Torx screwdriver, remove the ten 5.5 mm screws from the back case of the laptop.
-
-
-
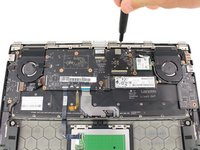
Use a spudger to pry open the back case at the hinges of the laptop.
-
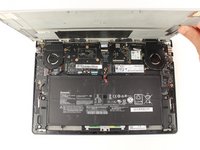
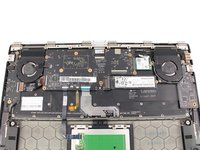
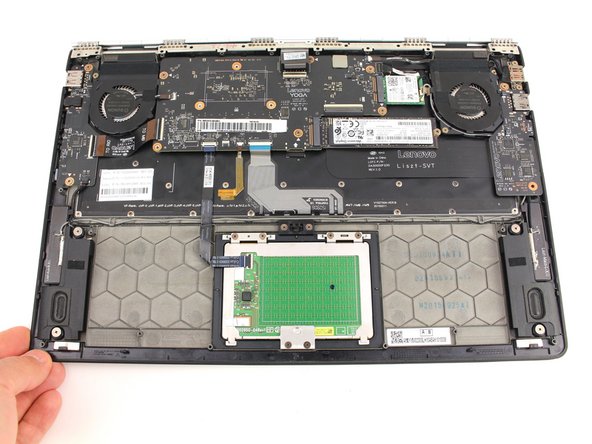
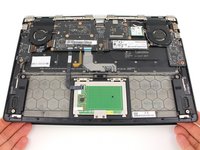
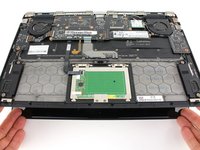
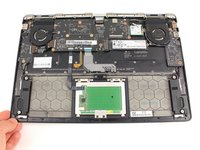
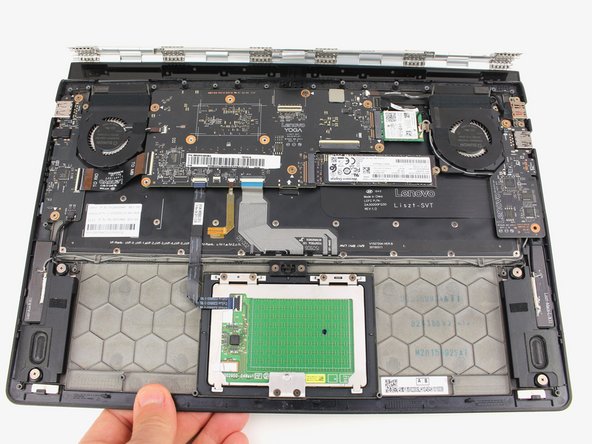
Use your fingers to completely pop off the back cover.
-
-
-
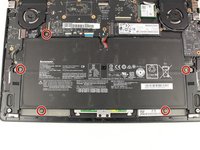
Remove the five 3.6 mm screws from the battery with a Phillips #00 screwdriver.
-
-
-
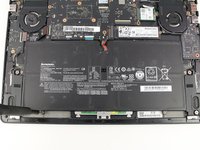
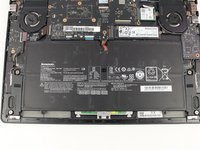
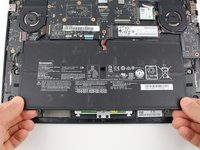
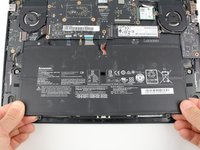
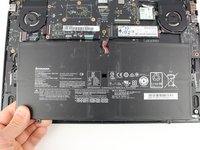
Grab the bottom corners of the battery and gently pull the battery until the cable disconnects from the connector on the motherboard.
-
-
-
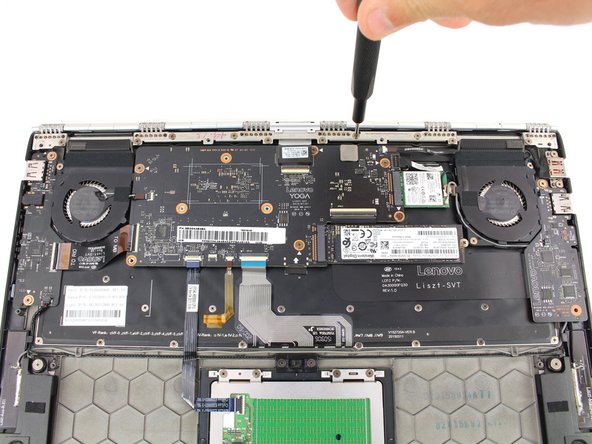
Remove the ten 3.6 mm screws from the hinge bracket with a Phillips #00 screwdriver.
-
-
-
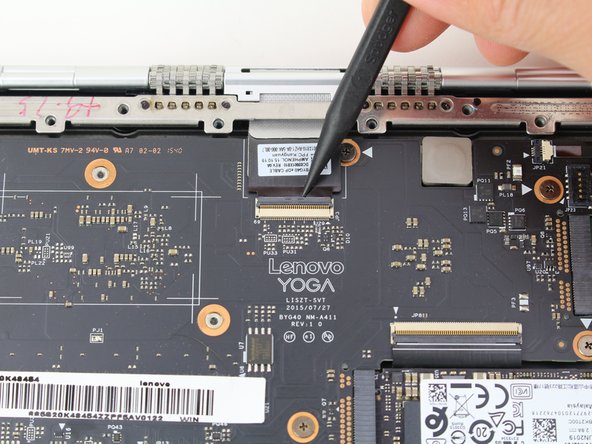
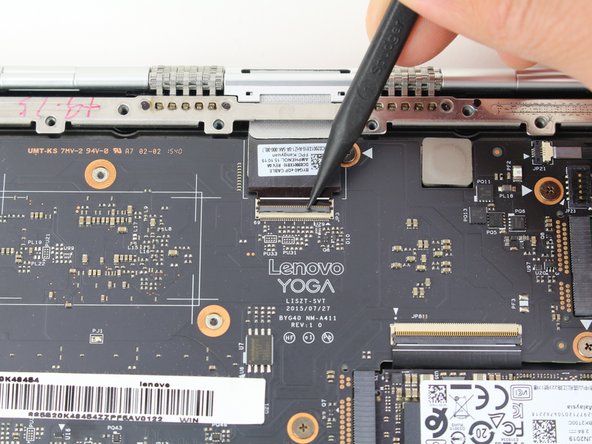
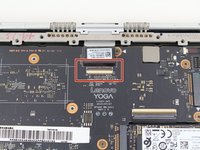
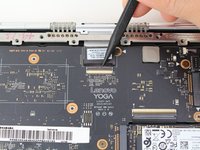
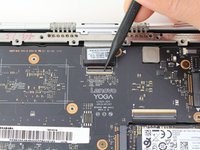
Use the pointed end of a spudger to lift the hinged locking flap of the display ZIF connector.
-
-
crwdns2935267:0crwdne2935267:0Tweezers$4.99
-
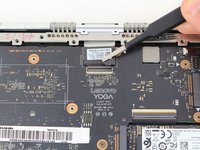
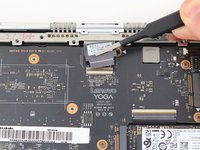
Pull out the display cable with a pair of blunt nose tweezers.
-
-
-
-
Open the laptop to a 45° angle, then close the laptop.
-
-
-
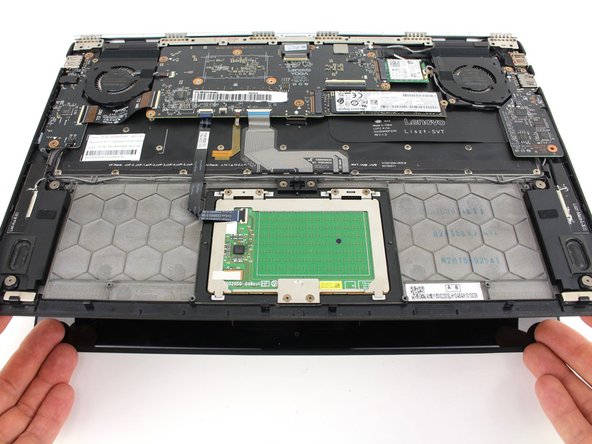
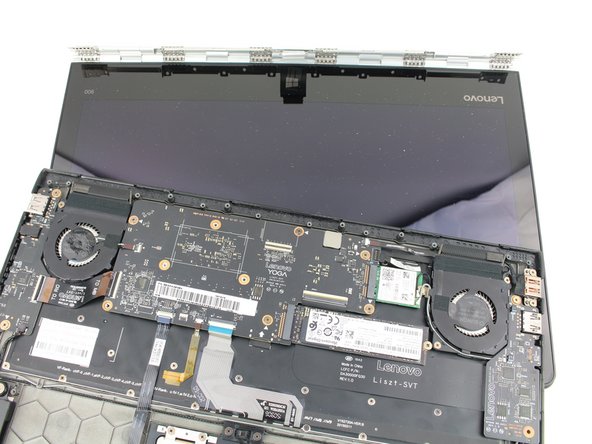
Slide the bottom case away from the hinge.
-
-
crwdns2931653:010crwdne2931653:0 Display Opening Prereq
crwdns2944590:010crwdnd2944590:016crwdnd2944590:0crwdnd2944590:0crwdne2944590:0
-
Apply heat along the bottom and left edges of the screen, either with a heat gun or iOpener.
-
-
-
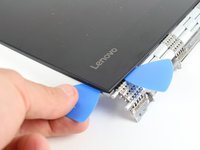
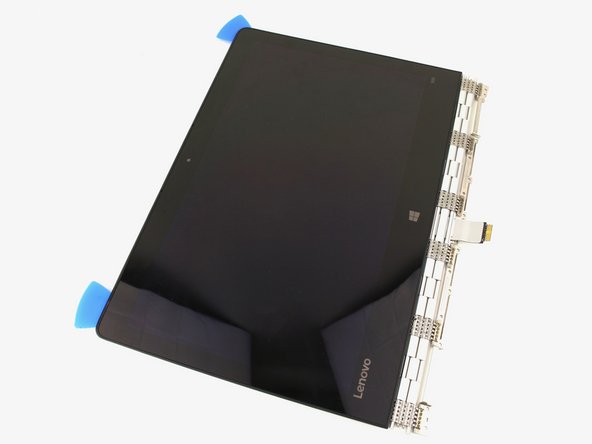
Insert an opening pick into the corner of the screen and slide it around slightly to create an opening.
-
-
-
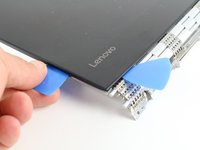
Insert a second opening pick and slide it along the side of the display, cutting away the adhesive.
-
-
-
Use a heat gun or iOpener to apply heat to the top and side edge that have not yet been opened.
-
-
-
Continue cutting away the adhesive on the top and side edges of the display.
-
-
-
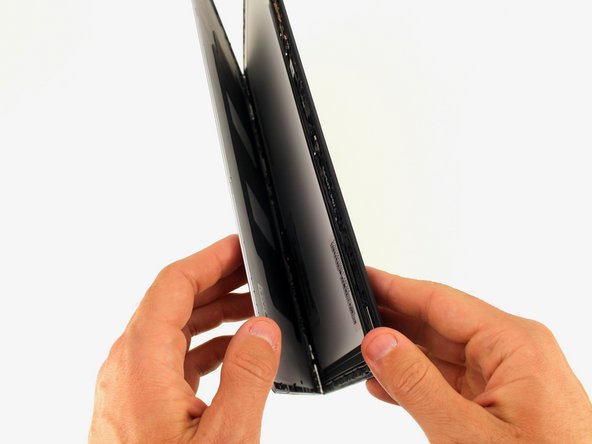
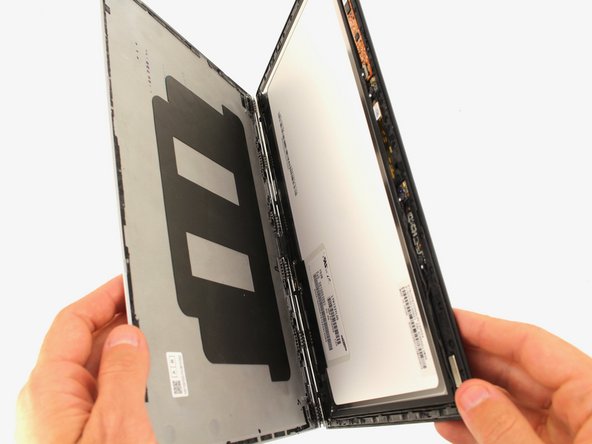
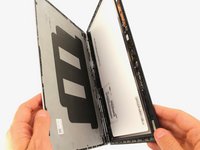
Open the display casing along the top edge.
-
-
-
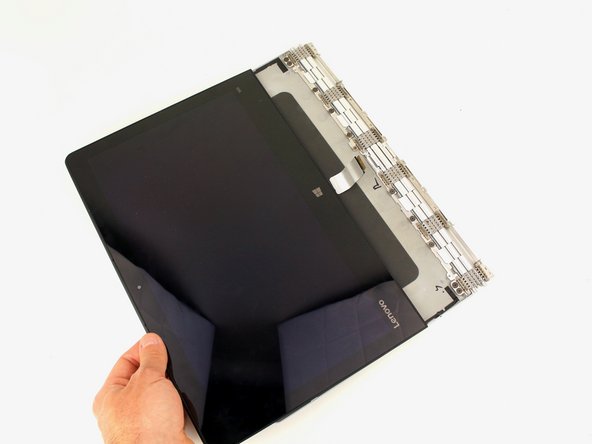
Pull the display cable out from the hinge mechanism.
-
-
-
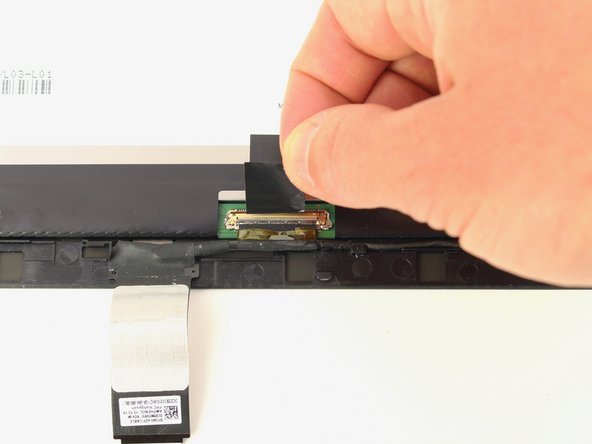
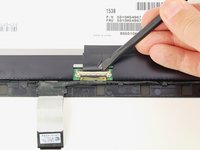
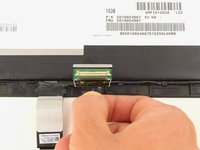
Peel up the small strip of tape wrapped around the locking bar of the display cable connector.
-
-
-
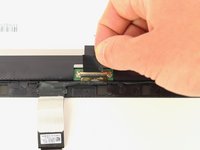
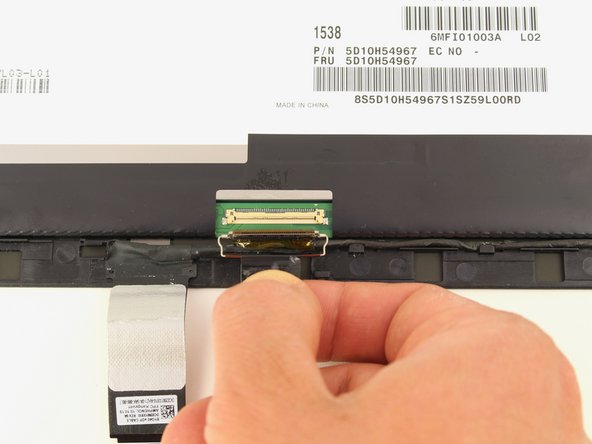
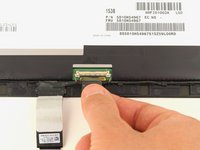
Pull the tape downward to unplug the display cable.
-
-
-
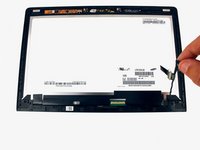
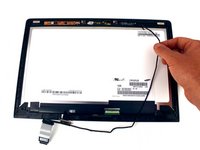
Gently pull the cable out from the routing to free it from the hooks along the edge of the screen.
-
-
crwdns2935267:0crwdne2935267:0Tweezers$4.99
-
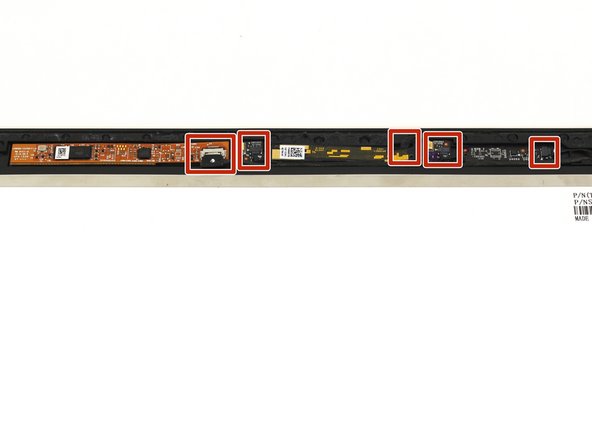
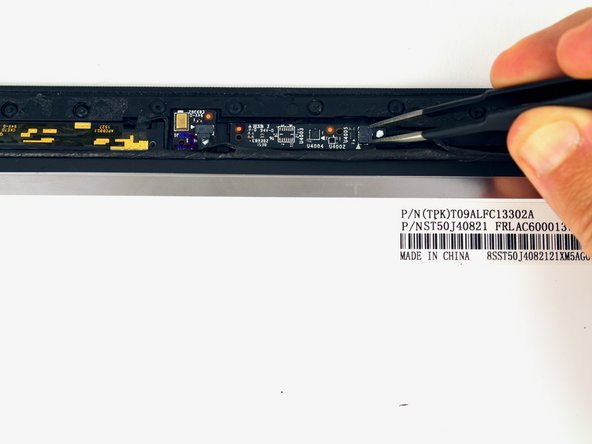
Gently unplug the five cables on the control boards on the top edge of the display with a pair of blunt nose tweezers.
-
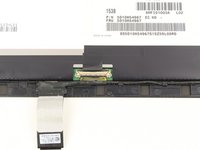
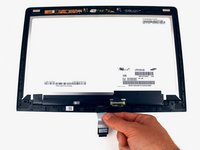
Remove the display cable.
-
-
-
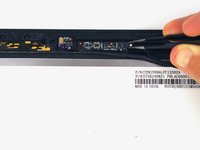
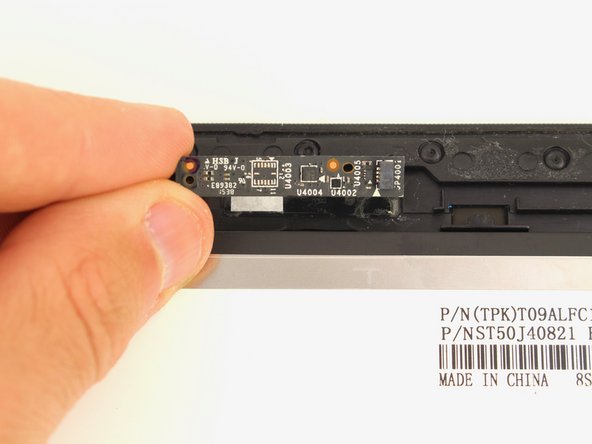
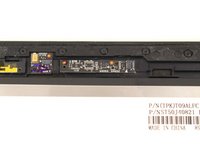
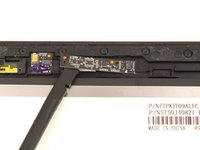
Gently pry up any of the boards that are missing from your new display with a nylon spudger and put them in the same place on the new display.
-
To reassemble your device, follow these instructions in reverse order.
To reassemble your device, follow these instructions in reverse order.
crwdns2935221:0crwdne2935221:0
crwdns2935229:02crwdne2935229:0


