crwdns2915892:0crwdne2915892:0
This guide will show you how to remove the screen for the Lenovo Yoga 3 Pro. As an extra precaution, the battery should be removed first before proceeding with the rest of the device.
crwdns2942213:0crwdne2942213:0
-
-
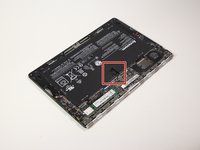
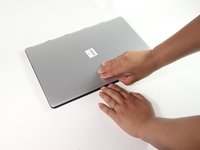
Flip the laptop so that the back panel is facing up.
-
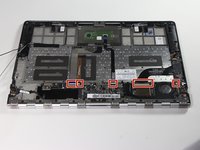
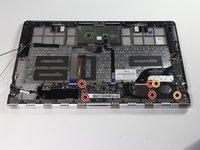
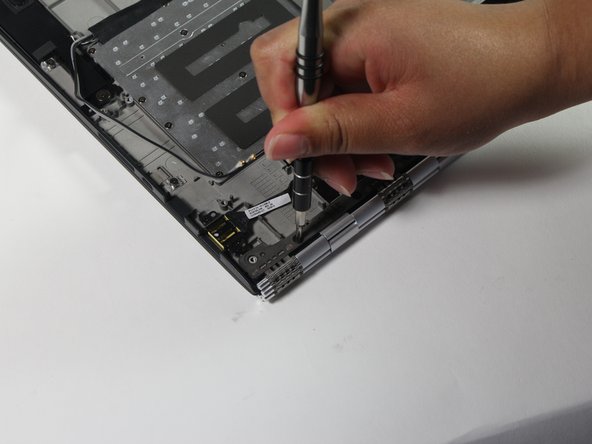
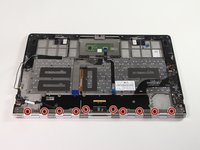
Remove the ten 4.0mm T6 Torx screws from the back of the laptop.
-
-
-
Gently lift the back cover off of the laptop.
-
-
-
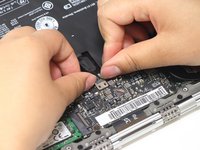
Push the black battery cable towards the battery to disconnect it.
-
-
-
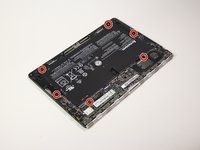
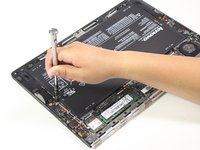
Remove the six #0 3.8mm Phillips screws from the battery.
-
-
-
Gently lift the battery out of the laptop chassis.
-
-
-
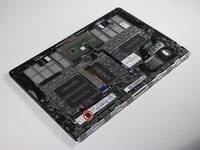
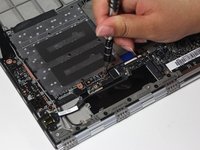
Remove the one #0 2.9mm Phillips screw from the SSD.
-
-
-
Gently lift and wiggle the SSD side to side to remove it from the laptop chassis.
-
-
-
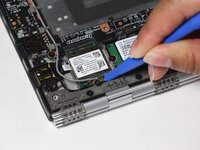
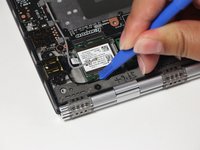
Using the plastic opening tool, gently pry the grey wire off the wifi card.
-
Pry the black wire off the wifi card.
-
-
-
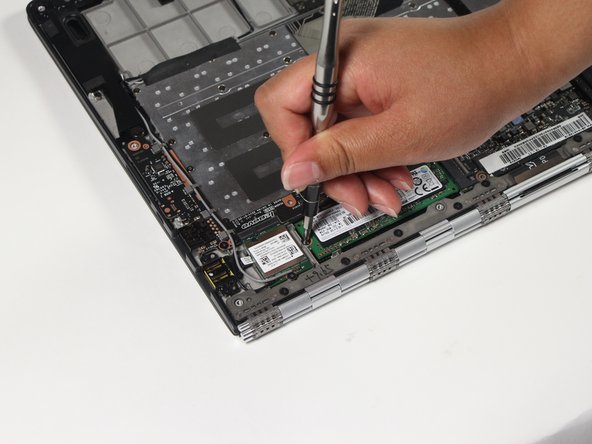
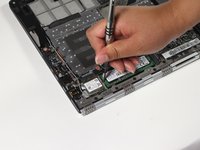
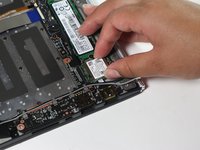
Remove the one #0 2.9mm Phillips screw from the base of the wifi card.
-
-
-
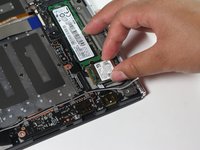
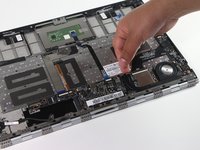
Gently lift and pull the wifi card out.
-
-
-
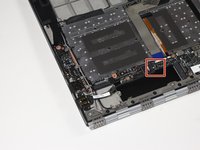
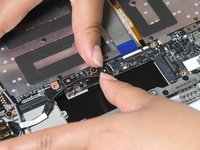
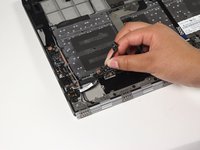
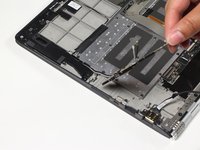
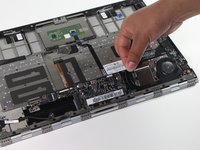
Push the cable away from the motherboard.
-
-
-
-
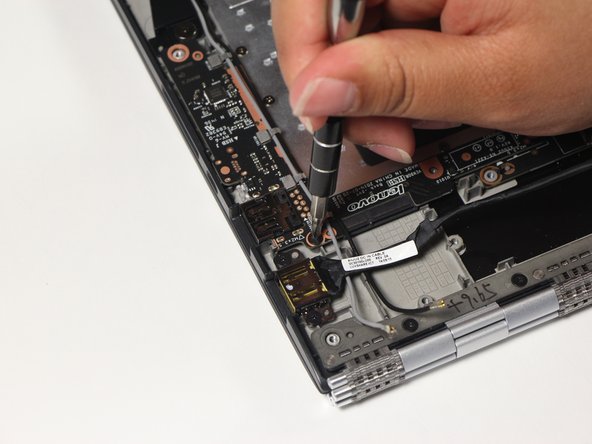
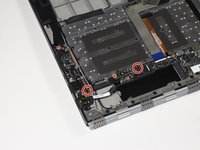
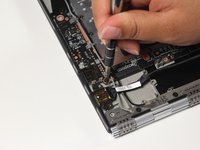
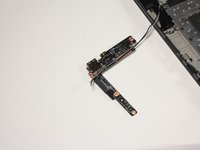
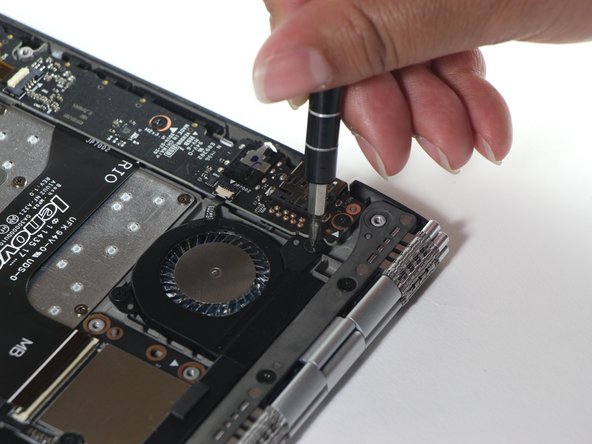
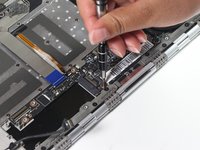
Remove the two #0 2.9mm Phillips screws from the daughter board.
-
-
-
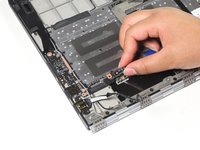
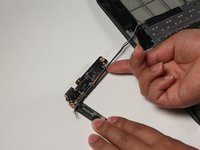
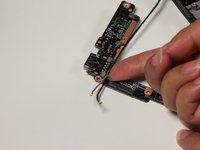
Lift the daughter board with the plastic opening tool.
-
-
-
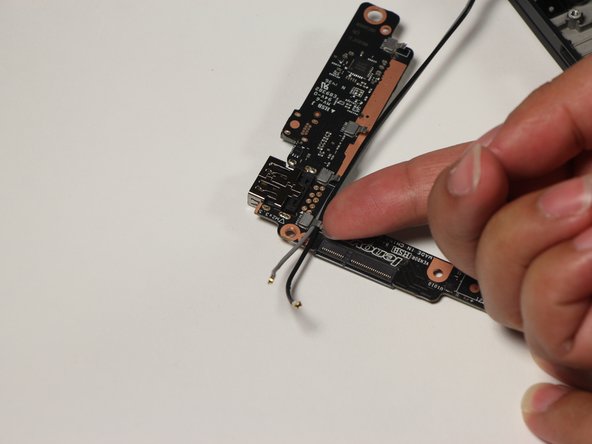
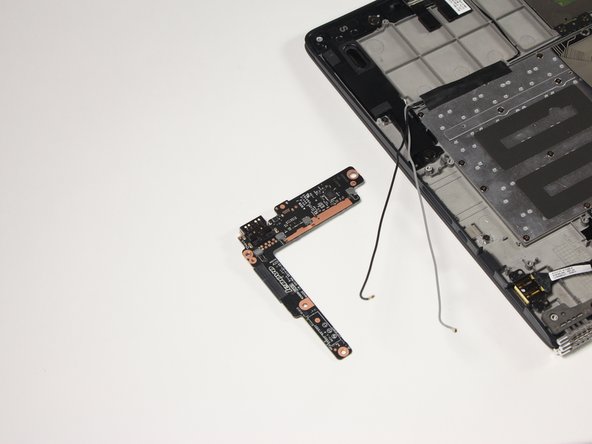
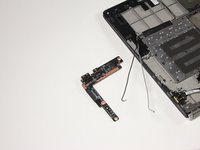
Lift the daughter board, unrouting the wireless cables from their plastic holders, and place it to the side.
-
-
-
Gently lift the metal tabs on the daughter board to free the wires.
-
-
-
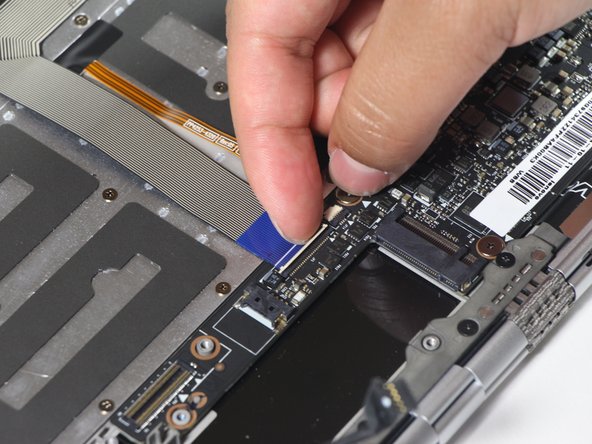
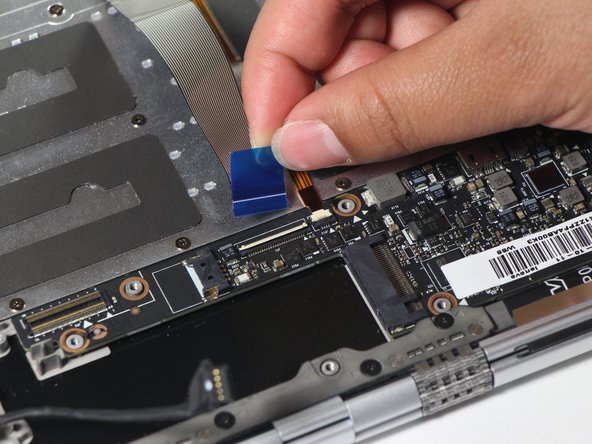
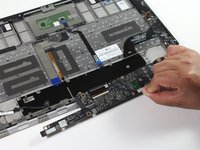
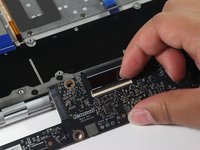
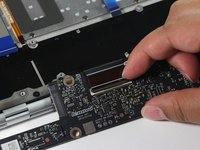
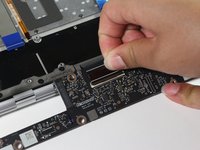
Detach the five flat flex cables attached to the motherboard as follows:
-
1. Flip the cable holder up with a finger nail
-
2. Pull on the tab to remove the cable.
-
-
-
Remove the four #0 2.3mm Phillips screws holding down the motherboard.
-
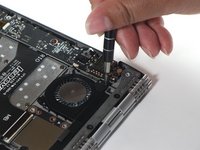
Remove the two #0 2.9mm Phillips screws holding down the fan.
-
-
-
Gently lift and flip the motherboard over.
-
-
-
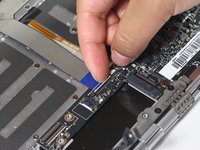
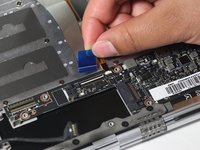
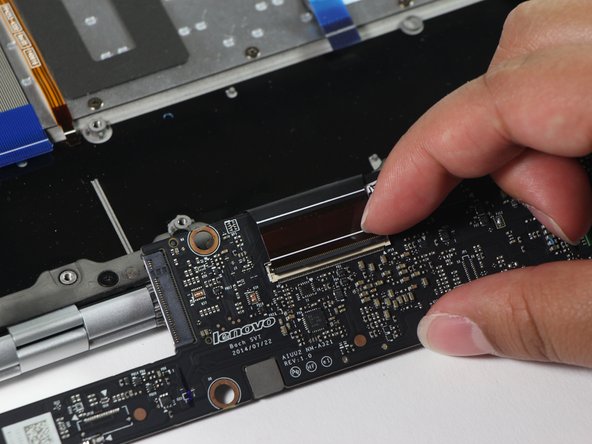
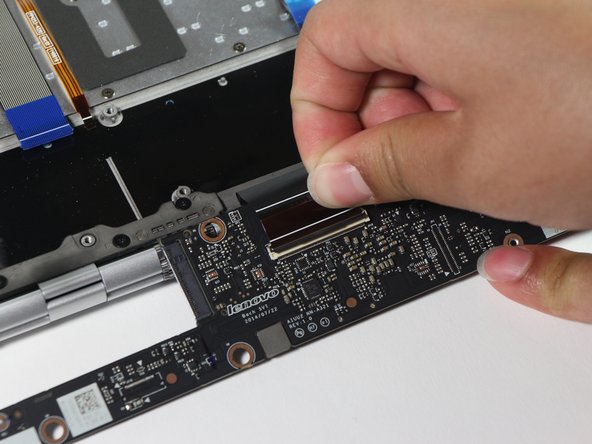
Flip the cable lock holding down the monitor connector.
-
Remove the monitor connector by tugging on the tab.
-
-
-
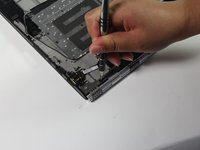
Remove the ten #0 3.7mm Phillips screws holding down the monitor assembly.
-
-
-
Flip over the laptop so that it's facing up
-
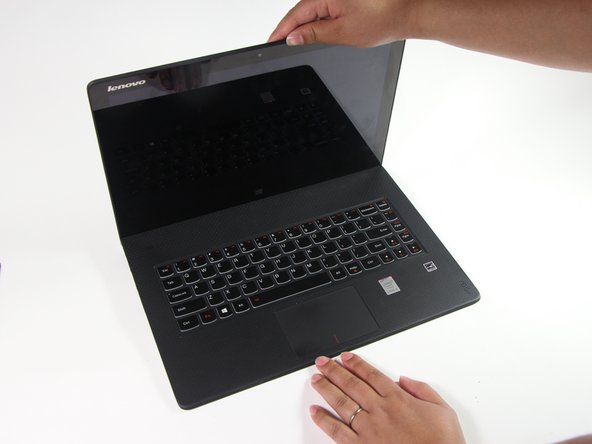
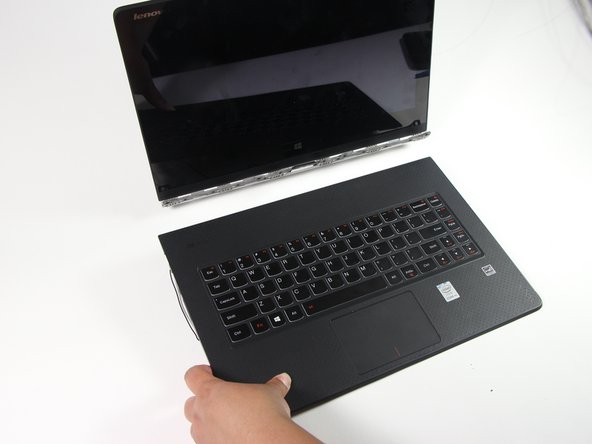
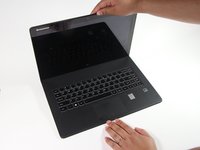
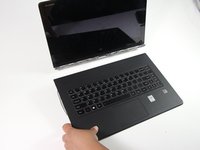
Gently open the laptop to separate the screen from the laptop chassis.
-
-
-
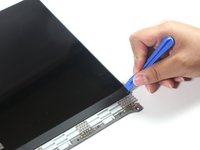
Remove the black screw cover from the screen by prying with the wide plastic opening tool.
-
Pull it off slowly.
-
-
-
Remove the eight #0 2.4mm Phillips screws holding down the monitor.
-
-
-
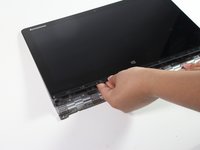
Insert the wide plastic opening tool between the rubberized plastic and the watchband hinge.
-
Pry the monitor assembly up until you can fit a few fingers under it.
-
Lift until the tabs holding the bottom of the monitor are released.
-
-
-
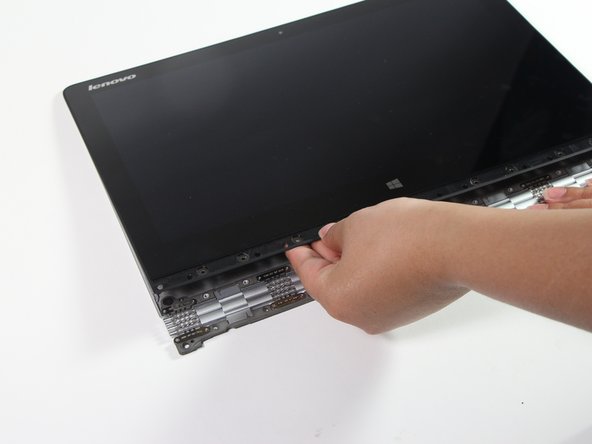
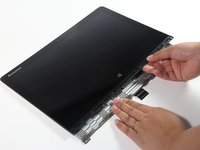
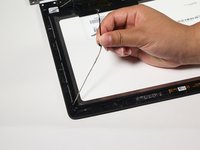
Slowly go around the perimeter of the screen with your fingers to loosen all the tabs holding down the monitor.
-
-
-
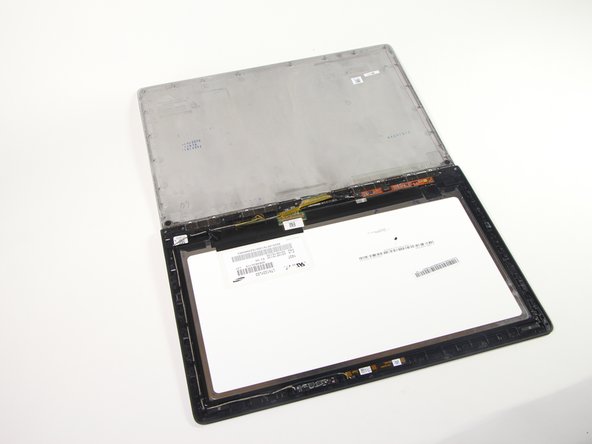
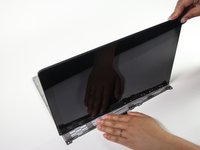
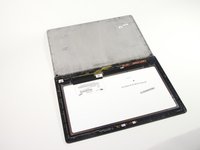
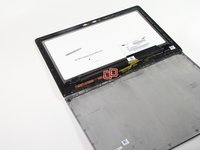
With the screen facing up, flip the screen assembly over
-
-
-
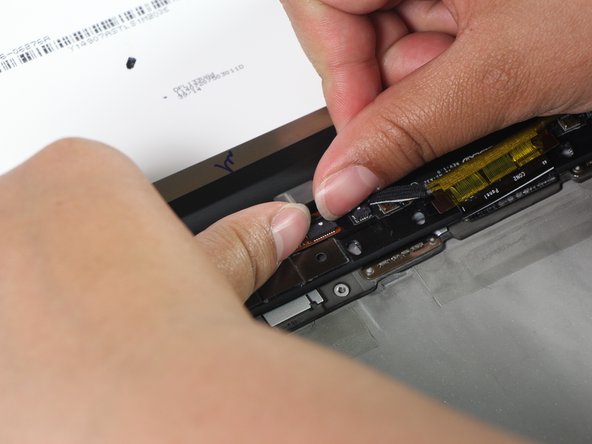
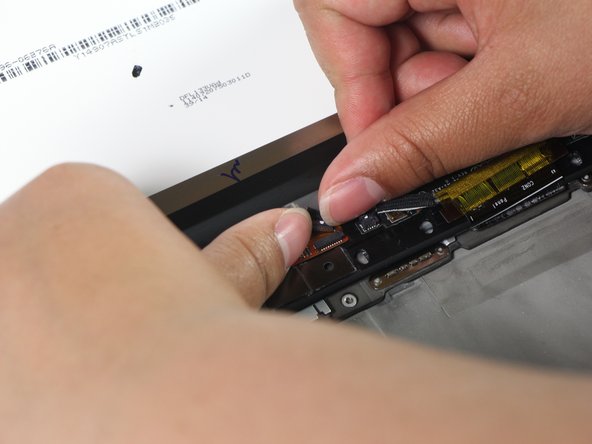
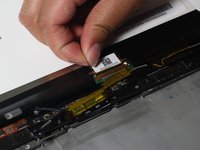
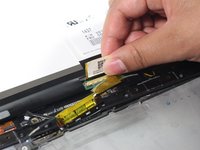
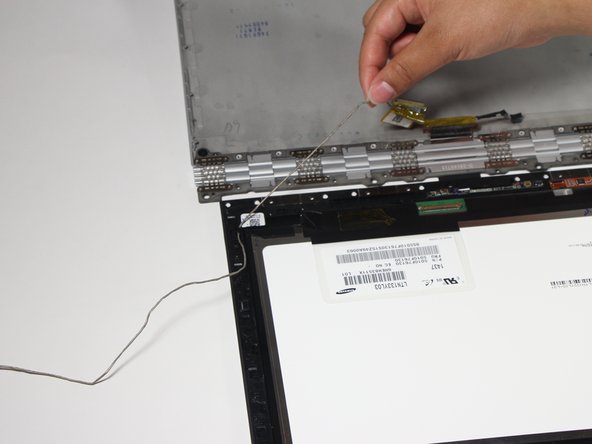
Disconnect the two monitor connectors with the tips of your fingers.
-
-
-
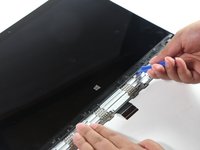
Remove the flat flex cable by first lifting the hinge then pulling the hinge away from the connector.
-
-
-
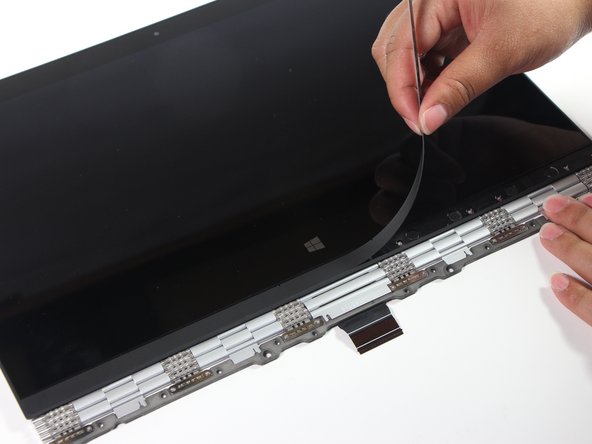
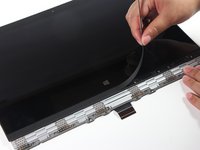
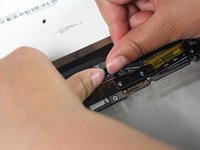
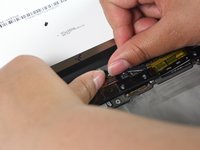
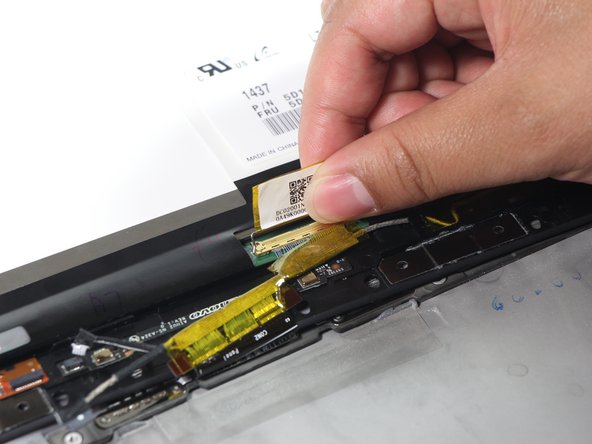
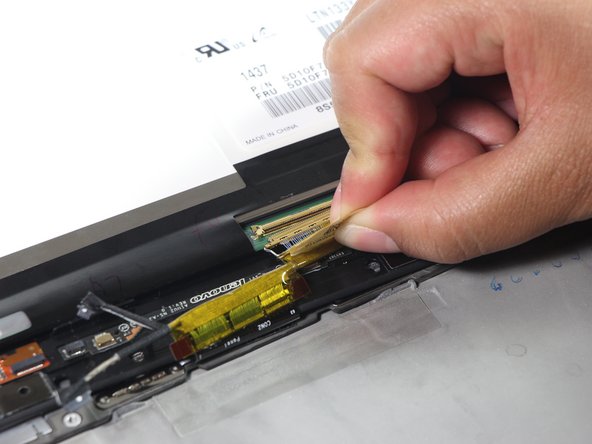
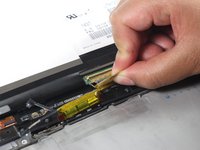
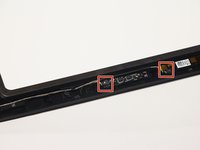
Peel off the tape holding down the webcam cable.
-
-
crwdns2935267:0crwdne2935267:0Tweezers$4.99
-
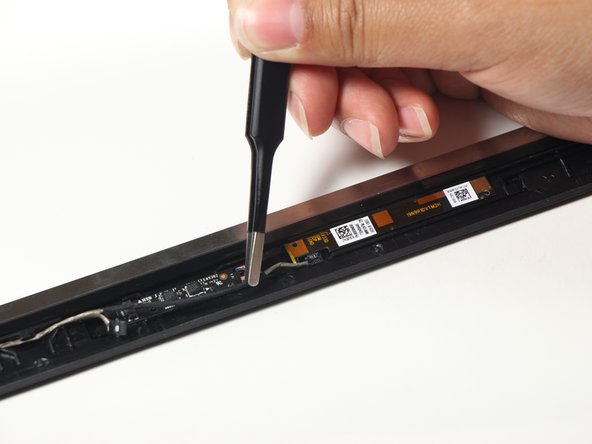
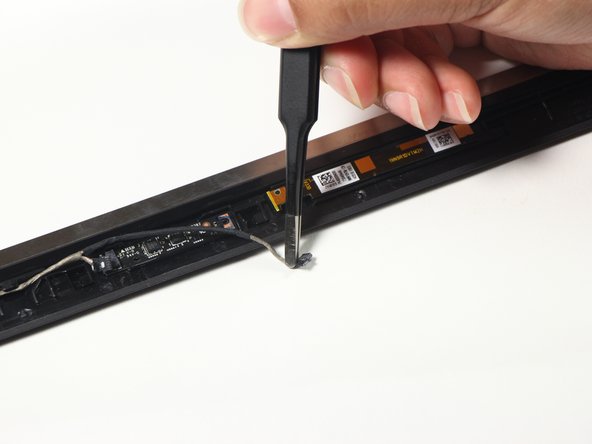
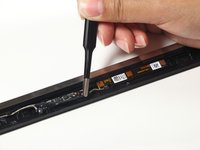
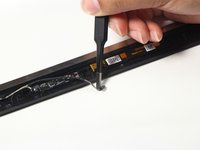
Disconnect the two cables connecting the webcam.
-
-
-
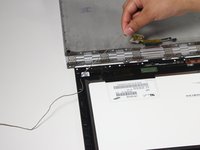
Carefully unroute the webcam connector from the plastic tabs holding it down.
-
To reassemble your device, follow these instructions in reverse order.
To reassemble your device, follow these instructions in reverse order.
crwdns2935221:0crwdne2935221:0
crwdns2935229:011crwdne2935229:0
crwdns2947412:05crwdne2947412:0
this is for the 131sk2 not the 131sk ?
i wasn’t aware the was a difference until my screen developed issues. i have read the 131SK is glued to the back panel not clipped in
is there a way to figure this out for sure?
I can confirm that the monitor on my 900 does not have the strip at the bottom of the screen to expose the screws. I have a video on YouTube here. [|https://youtu.be/mBiChrP6MAA] It shows the issue with the video cable, and that the screen is glued all the way around. Thanks for the rest of the info tho
…. and you REALLY don’t have to take apart the entire MOBO and all the DB’s as well, just to replace the screen. All that is handled on the other side of the hinge. So not needed…. in my opinion. Of course, you DO want to disconnect your battery.
https://www.youtube.com/watch?v=SEwizLj_... this shows what to do for the 900-131sk2
Is there any link that can direct the user to access any video on how to fix it?


