crwdns2942213:0crwdne2942213:0
-
-
There will be 7 Philips head screws on the bottom which will need to be removed to gain access to the battery
-
-
-
There are two screws that will need to be removed to access the keyboard.
-
-
-
-
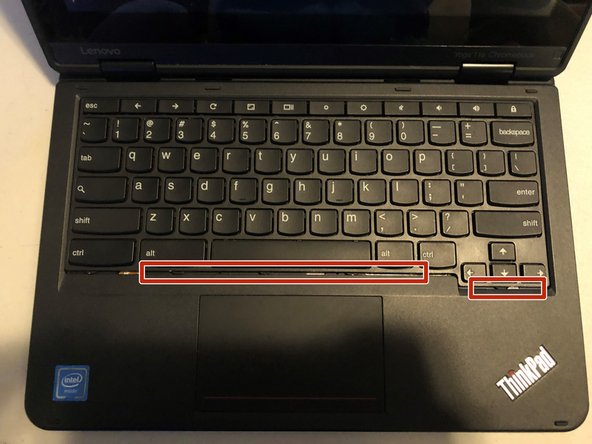
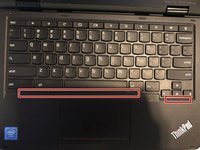
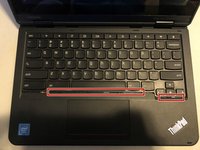
Next, flip the laptop over and open it up. The keyboard can be easily removed by pushing it back from the front. I suggest using a jimmy tool to slip into the tiny gap to push it back.
-
-
-
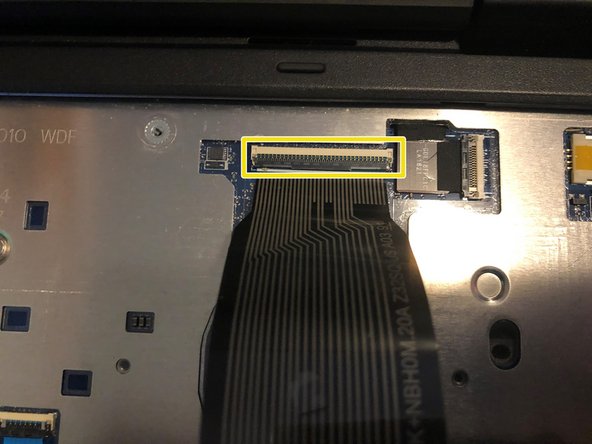
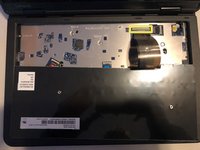
Pull slightly up from the keyboard but NOT all the way, the ribbon cable is still connected to the motherboard
-
-
-
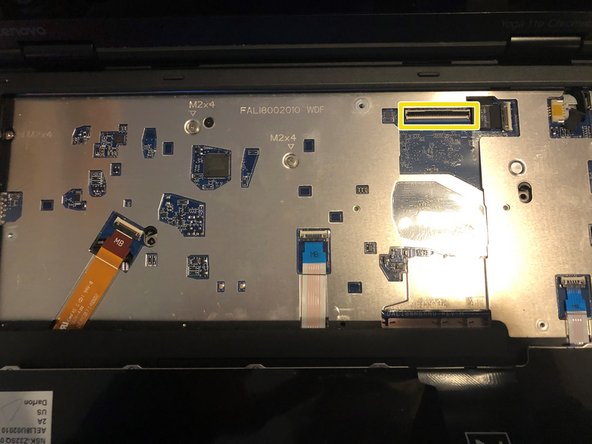
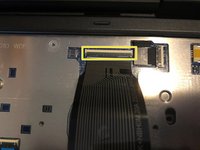
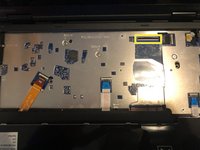
Use a plastic pry tool to lift up the plastic clip holding down the ribbon cable. Be very gentle with it so it doesn't break
-
Congratulations you’ve successfully removed the keyboard! To reassemble your device, follow these instructions in reverse order.
Congratulations you’ve successfully removed the keyboard! To reassemble your device, follow these instructions in reverse order.
crwdns2935221:0crwdne2935221:0
crwdns2935229:04crwdne2935229:0


