crwdns2915892:0crwdne2915892:0
This guide will help you remove the screen from your Lenovo Thinkpad Twist s230u. The screen is one of the most important parts of the laptop, so if your laptop’s screen is not working properly, you will probably want to replace it. Whether a pixel is out in the corner or the screen is completely unusable, this guide is for you. For more information on diagnosing problems you may have, visit our troubleshooting page.
crwdns2942213:0crwdne2942213:0
-
-
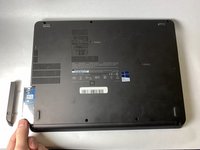
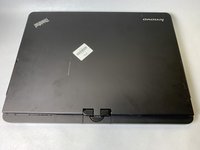
Flip the laptop over.
-
Using a Phillips #1 Screwdriver, unscrew the screw on the bottom left corner.
-
-
-
Using the iFixit Opening tool, loosen the hard drive cover.
-
-
-
Remove the hard drive by sliding it out.
-
-
-
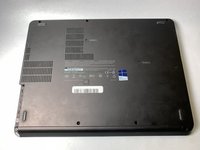
Use a Philips #1 screwdriver to remove 2 screws on the bottom of the laptop.
-
-
-
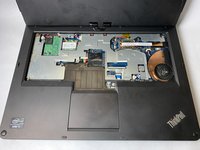
Use a spudger to loosen the keyboard around the edges.
-
Carefully push the keyboard towards the screen to unlatch it.
-
-
-
Carefully lift up the keyboard to access the wires underneath.
-
-
-
-
Open the small black flap on each of the ribbon cables. It should lift with a slight effort.
-
Pull out the ribbon cables and remove the keyboard from the device.
-
-
-
Flip your device over.
-
Use the Phillips #1 screwdriver to remove the nine screws.
-
-
-
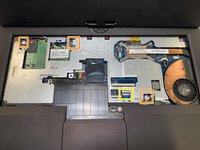
Flip the device back over and open the top.
-
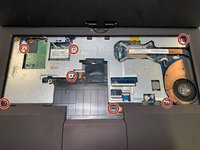
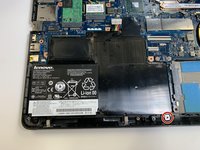
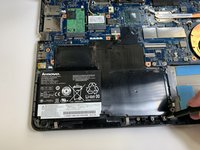
Use the Phillips #1 screwdriver to remove the seven silver screws.
-
Disconnect the three cables inside the case.
-
Lift up the brown tab and disconnect the ribbon cable.
-
-
-
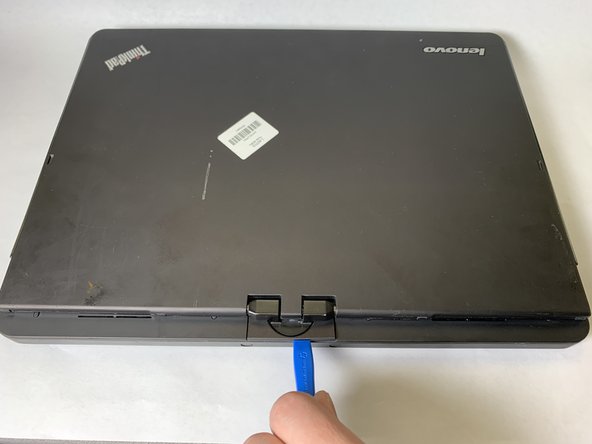
Close the lid and turn the device around.
-
Use the iFixit Opening Tool to lift up and remove the tab on the back.
-
-
-
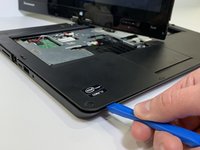
Turn the device back around and reopen it.
-
Use the iFixit Opening Tool to disconnect the top of the case from the bottom.
-
Lift up the top of the case and slide it out from under the screen.
-
-
-
Remove the single silver screw using the Phillips #1 screwdriver.
-
-
-
Turn laptop around and remove the two screw covers.
-
-
-
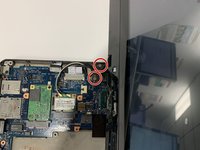
Using the Phillips #0 screwdriver remove the two screws.
-
-
-
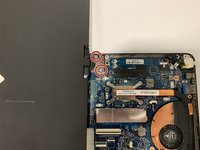
Using the Phillips #1 screwdriver remove the four screws holding the screen to the laptop.
-
-
-
Disconnect the four cables and remove the screen assembly from the device.
-


To reassemble your device, follow these instructions in reverse order.
crwdns2935221:0crwdne2935221:0
crwdns2935227:0crwdne2935227:0

crwdns2935287:0crwdne2935287:0

Embry-Riddle Aeronautical University, Team S1-G3, Cromer Twal Spring 2020 crwdns2935289:0Embry-Riddle Aeronautical University, Team S1-G3, Cromer Twal Spring 2020crwdne2935289:0
ERAU-CROMER TWAL-S20S1G3
crwdns2931471:03crwdne2931471:0
crwdns2935297:06crwdne2935297:0