crwdns2915892:0crwdne2915892:0
If the LCD screen of your Lenovo ThinkPad T410i is broken or you wish to install a new screen, this guide will show you how to replace and reinstall the screen.
Guide notes
- This guide is hardware only, and it would not help resolve issues such as screen staying black or screen not responding to input.
- Unplug the system from the power source (if it is plugged in), and remove the battery before you perform any of the steps.
- Once you install the new LCD screen, safely dispose the old one.
crwdns2942213:0crwdne2942213:0
-
-
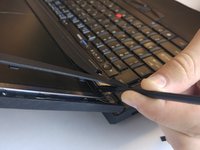
Use a spudger to remove the plastic covers from the LCD screen.
-
-
-
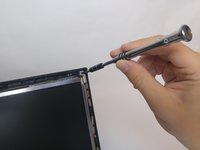
Remove the two 6.0mm screws on each side using Philips #0 head screwdriver as shown in the picture.
-
-
-
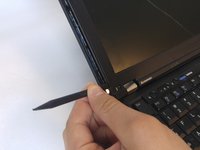
Use a spudger to separate the bezel of the LCD screen.
-
-
-
-
Continue along the edges lifting up and prying off the plastic LCD bezel.
-
-
-
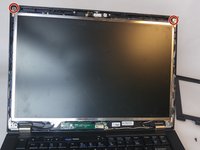
Use a Philips #0 head screwdriver to remove the two 6.0mm screws from the top corners of the LCD screen.
-
-
-
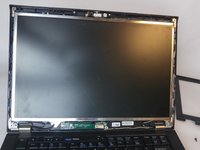
Place the LCD screen safely down on its front.
-
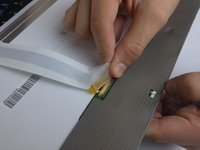
Peel the tape off the ribbon cable's contacts.
-
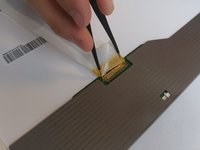
Carefully detach the ribbon cable from the LCD screen.
-


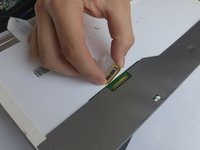

To reassemble your device, follow these instructions in reverse order.
crwdns2935221:0crwdne2935221:0
crwdns2935229:03crwdne2935229:0
crwdns2935287:0crwdne2935287:0

USF Tampa, Team S1-G2, Thompson Fall 2017 crwdns2935289:0USF Tampa, Team S1-G2, Thompson Fall 2017crwdne2935289:0
USFT-THOMPSON-F17S1G2
crwdns2931471:04crwdne2931471:0
crwdns2935297:06crwdne2935297:0