crwdns2915892:0crwdne2915892:0
Follow these steps to replace your dysfunctional hard drive!
crwdns2942213:0crwdne2942213:0
-
-
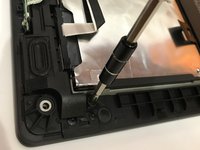
Remove the indicated nine M2 x 6 mm nylon-coated screws using a Phillips head screwdriver.
-
-
-
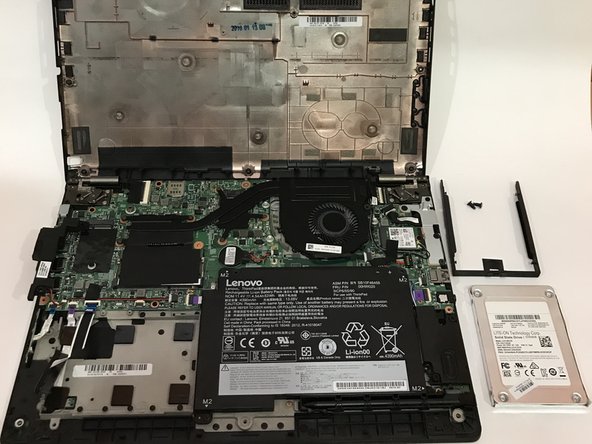
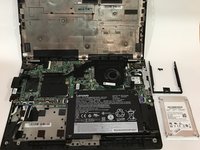
After removing all of the screws, gently lift up on all covers to remove the back plate and reveal the interior of the device.
-
-
-
Once the back cover is exposed, remove the two screws holding the hard drive in place.
-
-
-
-
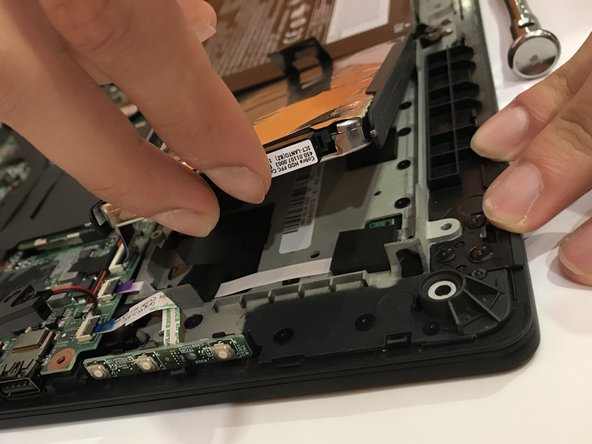
Remove the plastic encasing holding down the hard drive after screws are removed.
-
-
-
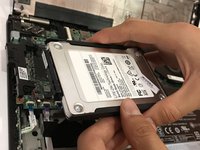
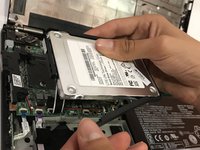
Using two fingers, carefully remove the hard drive.
-
-
-
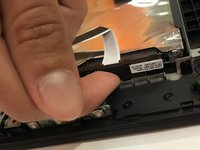
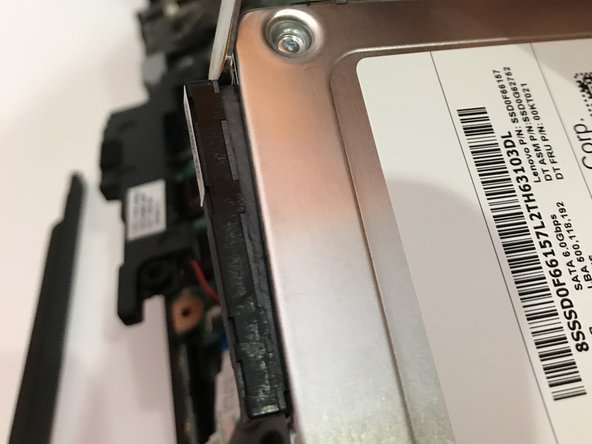
Carefully remove the plastic encasing surrounding the perimeter of the hard drive.
-
-
-
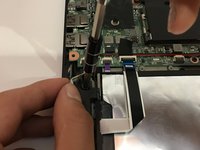
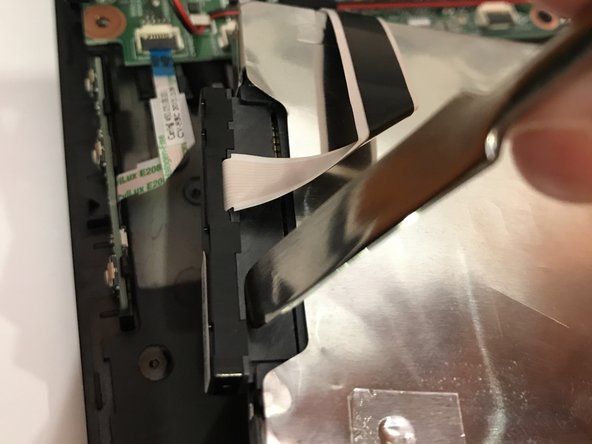
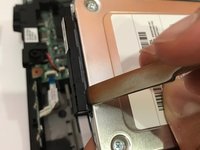
Use a nylon spudger to remove the SATA connector from the hard drive.
-
-
-
After the SATA connection is removed, gently pop off the hard drive from its socket.
-


To reassemble your device, follow these instructions in reverse order.
To reassemble your device, follow these instructions in reverse order.
crwdns2935221:0crwdne2935221:0
crwdns2935229:05crwdne2935229:0
crwdns2915084:0crwdne2915084:0

Cal Poly, Team S14-G2, Banghart Spring 2017 crwdns2935289:0Cal Poly, Team S14-G2, Banghart Spring 2017crwdne2935289:0
CPSU-BANGHART-S17S14G2
crwdns2931471:05crwdne2931471:0
crwdns2935297:06crwdne2935297:0
crwdns2947410:01crwdne2947410:0
After the SATA connection is removed, gently pop off the hard drive from its socket.