crwdns2915892:0crwdne2915892:0
The keyboard is an essential component of the device so that a user can properly type a command into the device. If the keyboard isn’t properly recording your strokes, you may need to replace it.
crwdns2942213:0crwdne2942213:0
-
-
Flip the computer over so the bottom is facing up.
-
Remove nine 4mm Phillips #1 screws from the bottom of the computer.
-
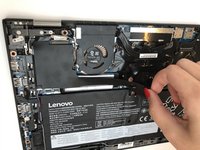
Use an iFixit opening tool to pry the back cover off of the laptop.
-
-
-
Remove the five 4.5mm Phillips #1 screws that secure the battery.
-
-
crwdns2935267:0crwdne2935267:0Tweezers$4.99
-
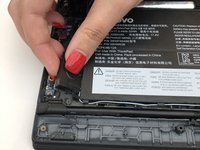
Using a pair of tweezers, push the sides of the white speaker wire toward the battery (where it says Lenovo) to unplug it.
-
-
-
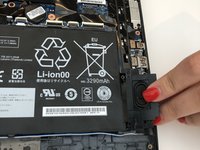
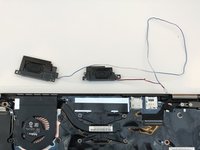
Remove the speakers from either side of the battery. The connecting wire will unthread from the sides of the battery.
-
-
-
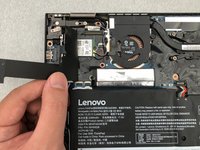
Lift the plastic black strip cover that's laying over the battery connector.
-
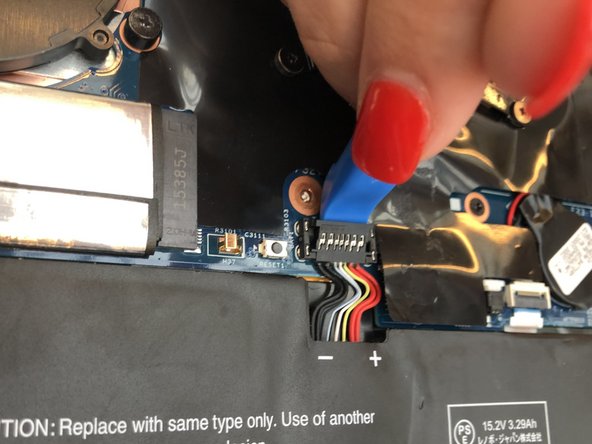
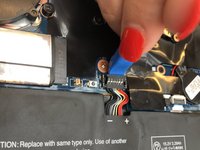
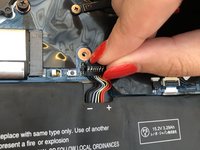
Use the iFixit opening tool to flip up and disconnect the black battery connector from its motherboard socket.
-
Gently pull the connector away from the battery to pull it out of the slot.
-
-
-
Lift and remove the battery away from the computer.
-
-
-
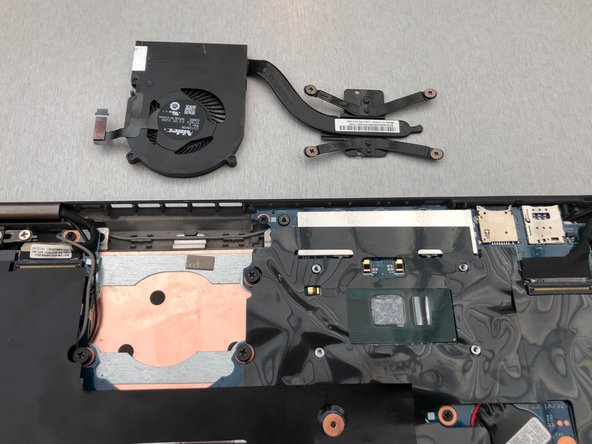
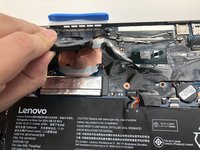
Remove four 4.5mm Phillips #1 screws from the corners of the heat sink.
CAUTION you will need to re-apply thermal paste to the CPU and GPU if you remove the fan.
This step is not necessary if you are only trying to access the keyboard and trackpad, or remove the monitor. If so, the steps of removing the Wifi and SSD are also not necessary. Skip to Step 16 Motherboard.
-
-
-
-
Gently peel back the black plastic covering around the fan.
-
Using an iFixit opening tool, flip up the small black cover of the fan plug.
-
-
crwdns2935267:0crwdne2935267:0Tweezers$4.99
-
Using tweezers, pull the plastic strip out.
-
-
-
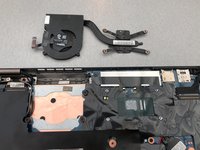
Remove the fan from the computer.
How does the user remove the fan?
****** BEFORE re-assembly
1- clean material off of cpu (careful!)
-- use a tool with a dull edge to scrape away the thermal conductive paste on the processor and the heat sink (the processor is the chip under the heat sink, the heat sink is the x shaped assembly that is attached to the fan2. apply a fresh coat of NEW thermal paste to the processor, then re-mount the heat sink
-- google "applying thermal paste to CPU" for hints and tips about the right amount of paste to use and the correct ways to apply it.Really bad advice! For anyone who's reading, you DO NOT need to remove the fan (or heatsink)! The motherboard can be removed as a whole. This is a totally unnecessary step.
-
-
-
Gently peel back the black plastic covering.
-
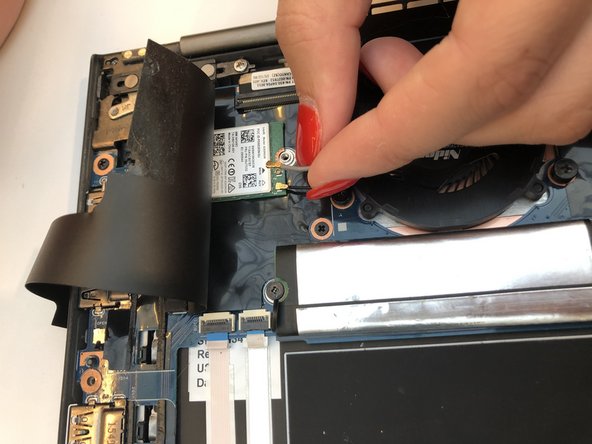
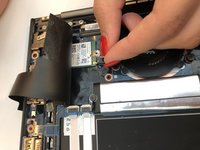
Remove the single Phillips #1 screw securing the wireless chip in place.
-
-
-
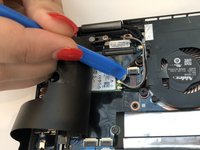
Use an iFixit opening tool to gently pop the gold caps off their connections.
-
Move these wires out of the way.
-
-
-
Gently peel back the black plastic covering.
-
Remove the single 2mm Phillips #1 screw from the hard drive's silver casing.
-
-
-
Unplug the hard drive from the computer by pulling away from the computer.
-
-
-
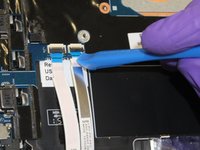
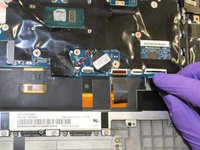
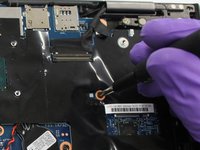
Using the iFixit opening tool, flip up the eight small covers from the cable connectors.
-
Gently pull the cables out of the slots.
-
-
-
Using the Phillips #1 screwdriver, remove sixteen 4.5mm screws.
-
-
-
Lift and remove the motherboard away from the computer.
-
-
-
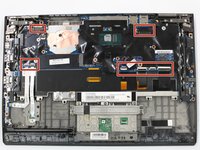
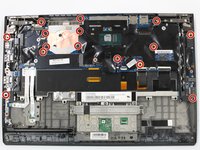
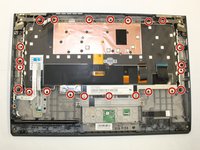
Using the Phillips #1 screwdriver, remove 23 (twenty three) 4.5mm screws.
-
-
-
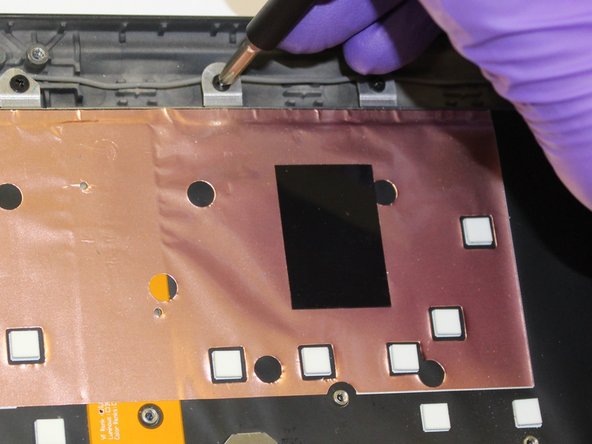
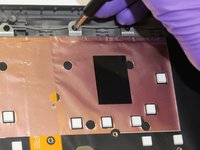
Using the iFixit opening tool, lift the metal frame away from the keyboard.
-
-
-
Lift and remove the keyboard away from the computer.
-
To reassemble your device, follow these instructions in reverse order.
To reassemble your device, follow these instructions in reverse order.
crwdns2935221:0crwdne2935221:0
crwdns2935229:09crwdne2935229:0
crwdns2947412:02crwdne2947412:0
Samw steps on gen 4, screws just in different places, thie guide worked great! Thanks :)
there's no need to remove the heat sink, SSD and wireless cards - you can just remove the motherboard in 1 piece with these still attached.






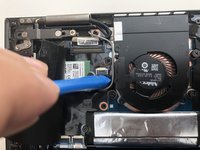
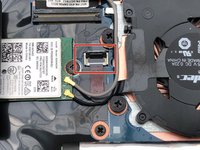


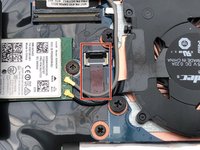
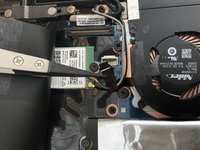











Bei der Variante mit integriertem UMTS-Modul die SIM-Karten-Schublade herausnehmen, sonst klemmt die beim Abheben der Gehäuse-Unterseite!
Fxuser - crwdns2934203:0crwdne2934203:0
Pry from the side of the hinge first.
Dante Horatio - crwdns2934203:0crwdne2934203:0