crwdns2915892:0crwdne2915892:0
This guide will cover how to remove and replace the solid-state drive (SSD) in the Lenovo ThinkPad X1 Carbon 6th Gen. This may be necessary if your SSD is faulty, which may prevent the computer from booting up. If you are having trouble with your computer, consult our troubleshooting page before replacing the SSD. Try powering on the device by holding the power button down for a few seconds while connected to a power source, and review our battery troubleshooting section to be sure that the SSD is at fault. Before beginning, be sure to power off your laptop and disconnect it from any power source.
crwdns2942213:0crwdne2942213:0
-
-
Use a Phillips #0 screwdriver to unscrew the five screws that secure the back cover to the laptop.
-
-
-
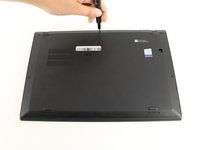
Use a Jimmy to lift the cover directly up off of the locating pins.
-
Remove the back cover.
-
-
-
-
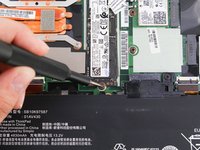
Use a Phillips #0 screwdriver to remove the single screw that secures the SSD to the motherboard.
-
-
-
Carefully remove the SSD by lifting it and pulling it out of the pins towards the battery of the laptop.
-
-
-
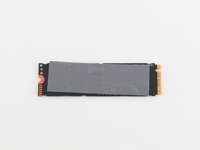
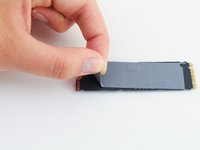
Carefully peel the thermal pad off of the back of the SSD.
-


To reassemble your device, follow these instructions in reverse order.
crwdns2935221:0crwdne2935221:0
crwdns2935229:07crwdne2935229:0

crwdns2935287:0crwdne2935287:0

Cal Poly, Team S19-G4, White Winter 2020 crwdns2935289:0Cal Poly, Team S19-G4, White Winter 2020crwdne2935289:0
CPSU-WHITE-W20S19G4
crwdns2931471:03crwdne2931471:0
crwdns2935297:023crwdne2935297:0