crwdns2915892:0crwdne2915892:0
A simple guide on how to replace your Lenovo T530/T530i's WAN card.
crwdns2942213:0crwdne2942213:0
-
-
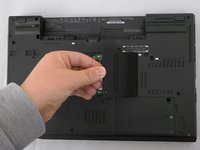
Flip your laptop upside down, so that the keyboard is facing down.
-
-
-
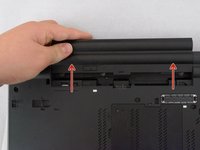
Locate the latch located on the battery near the top of the laptop.
-
Using your finger, slide the latch to the right-most (Unlocked) position.
-
-
-
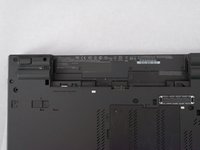
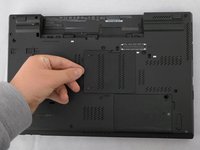
You can now pull the battery away from the laptop. When pulling the battery out, ensure to pull it out straight.
-
-
-
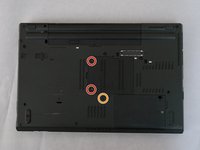
Using a Phillips #00 screwdriver, unscrew the following screws, and then remove the cover.
-
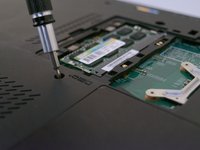
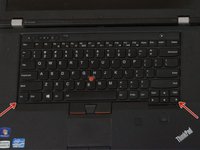
Using a Phillips #00 screwdriver, remove the screw. This is one of the two screws that are holding in the keyboard.
-
-
-
Using a Phillips #00 screwdriver, unscrew the highlighted screw. This is the last screw securing the keyboard to the laptop.
-
-
-
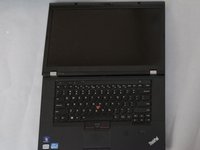
Flip the laptop right-side up, with the keyboard facing towards you.
-
Open the laptop.
-
-
-
-
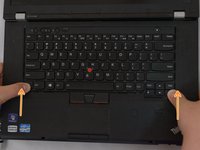
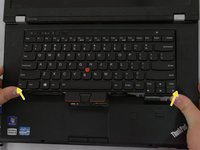
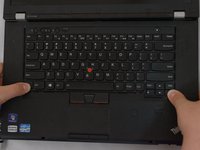
Place each of your two thumbs on the bottom-left and right most corners of the keyboard (towards the arrow keys, and the Fn (Function) key).
-
Gentilly and slowly push the keyboard up (towards the display)
-
Lift the two corners of the keyboard up enough to see the ribbon cable below.
-
-
-
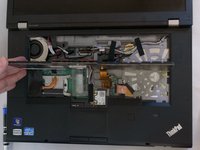
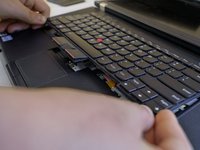
Angle the keyboard upwards, at a 90° angle.
-
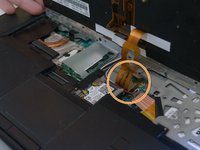
Keep one finger holding the keyboard up, while using the other to disconnect the ribbon cable. To disconnect the ribbon cable, lift it up by the highlighted yellow end.
-
-
-
The keyboard is now disconnected from the laptop, and you can remove it and place it aside.
-
-
-
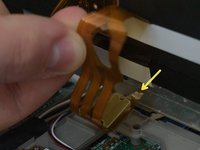
Reconnect the keyboard ribbon cable by pushing it down onto the slot.
-
-
-
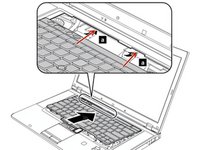
Guide the keyboards top edge underneath the frame.
-
-
-
Push the keyboard down, then pull it back towards your trackpad.
-
-
-
Using a Phillips #00 screwdriver, re-screw the highlighted screws.
-
-
-
Reinsert the bottom memory cover, ensuring all clips are in place.
-
Using a Phillips #00 tighten the two highlighted screws.
-
-
-
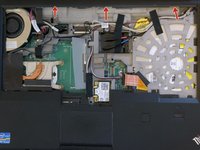
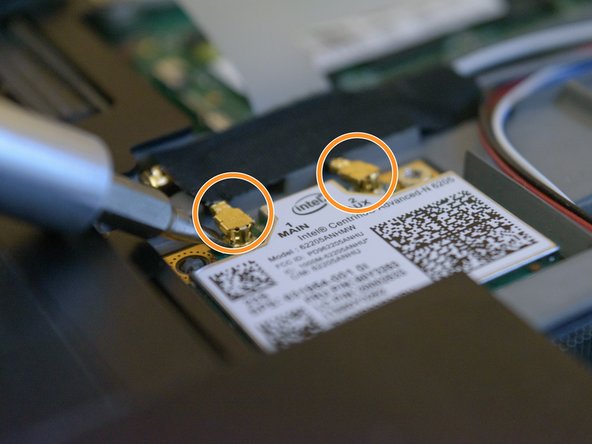
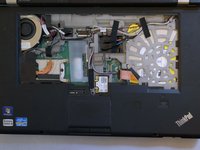
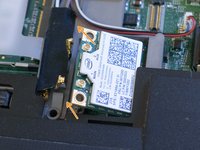
Locate the WAN Card highlighted in red.
-
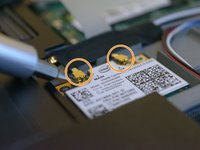
Lift up the two antenna's from the WAN Card gentilly, you can use a flathead screwdriver to assist you.
-
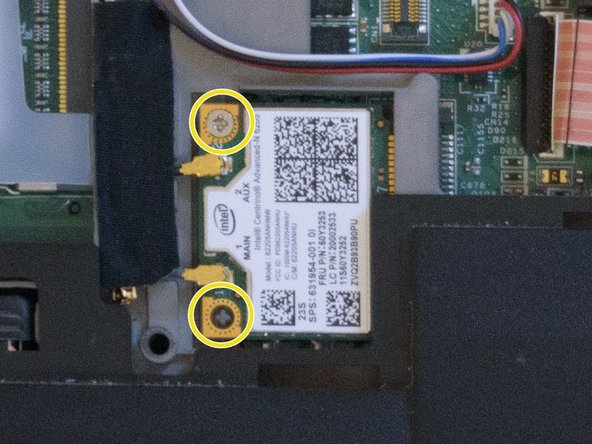
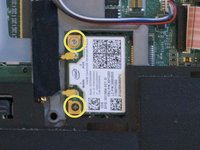
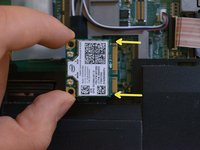
Using a Phillips #00 screwdriver, remove the two screws from the WAN Card.
-
-
-
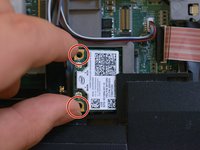
Grab the WAN Card from it's corners.
-
Lift up the WAN Card at a 30° angle.
-
Pull the WAN Card out from the slot.
-


To reassemble your device, follow these instructions in reverse order.
To reassemble your device, follow these instructions in reverse order.
crwdns2947412:02crwdne2947412:0
Brilliant .can you tell me what the square hole with the two unconected wires below the bios battery in the T510 is for thanks .Or rather what could be fitted in this space ?thanks dave
Hello David,
I'm unfamiliar with the T510 as I've never opened one up. I've attached the link to Lenovo's own hardware maintenance manual in the hopes this clarifies your question.
ThinkPad T510, T510i, and W510 Hardware Maintenance Manual (lenovo.com)
Let me know if you have any other questions, I'd be glad to try my best to answer them.