crwdns2915892:0crwdne2915892:0
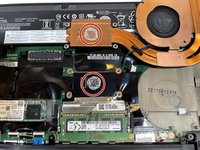
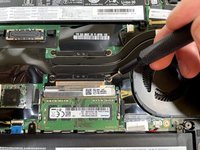
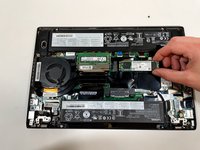
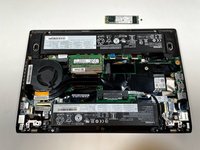
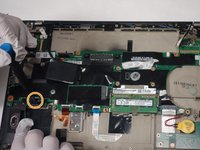
This guide will walk you through the steps for replacing the motherboard in your Lenovo ThinkPad T470s.
The motherboard works as a nervous system for the computer; it allows components, such as the Wi-Fi card and RAM, to "communicate," running the operating system and your computer.
Motherboards can be damaged by rough handling, drops, water damage, or power surges.
Some possible indications of a failing motherboard are: your external USB devices are no longer being read by the laptop correctly, if at all; the laptop is operating much slower than usual; the computer boots with the blue screen of death, and/or any burning smell coming from the laptop while operating.
Power off and unplug your device before beginning.
crwdns2942213:0crwdne2942213:0
-
-
Use a Phillips #000 screwdriver to remove the five 7 mm screws from the bottom of the laptop.
-
Lift the bottom panel up and off the laptop.
-
-
-
Remove two screws on the bottom of the upper battery using a Phillips #000 screwdriver.
-
Remove three screws on the top of the lower battery using a Phillips #000 screwdriver.
-
Peel back connecting supporting tape on each of the batteries.
-
-
-
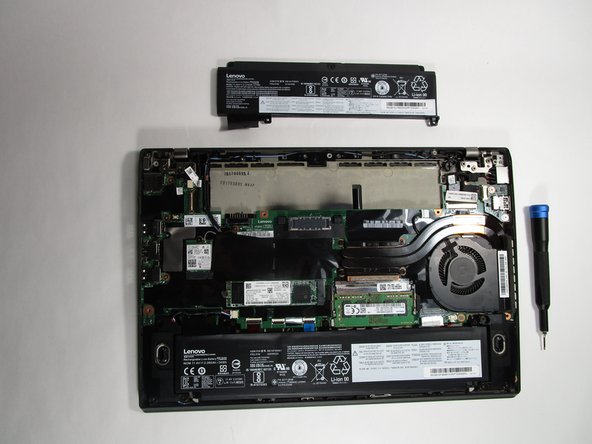
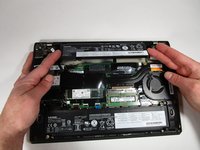
Slide the upper battery out of the device, away from the laptop.
-
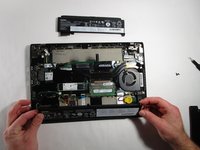
Slide the lower battery out of the device, away from the laptop.
-
-
-
Loosen the four screws from the heatsink with a Phillips #000 screwdriver.
-
-
-
Remove the heatsink and fan from the laptop.
-
-
-
Wipe off the old thermal paste with either 99% isopropyl alcohol or kimwipes.
-
-
-
Follow this guide to reapply new thermal paste.
-
-
-
-
Use a Phillips #0 screwdriver to remove the single 2.9 mm screw securing the Wi-Fi card.
-
-
-
Grip the Wi-Fi card on both sides, then pull it directly out of its port.
-
-
-
Use a Phillips #0 screwdriver to remove the two 3.3 mm screws.
-
-
-
Use your fingernail to flip up the gate, then pull the connector directly out of the port.
-
-
-
Lift the USB board up and out of the chassis.
-
-
-
Locate the SSD slot between the large battery and fan.
-
Remove the screw securing the SSD using a Phillips #000 screwdriver.
-
-
-
Slide the SSD out of the motherboard.
-
-
-
Flip up the locking gate, then pull the cable directly out of its port.
-
Use a Phillips #0 screwdriver to remove the single 3.3 mm screw on the top right corner of the motherboard.
-
-
-
Remove the single 3.3 mm screw with a Phillips #0 screwdriver.
-
-
-
Remove the single 3.3 mm screw with a Phillips #0 screwdriver.
-
-
-
Use a Phillips #0 screwdriver to remove the single 2.9 mm screw.
-
-
-
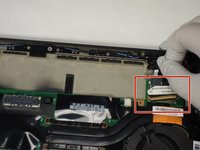
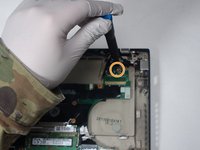
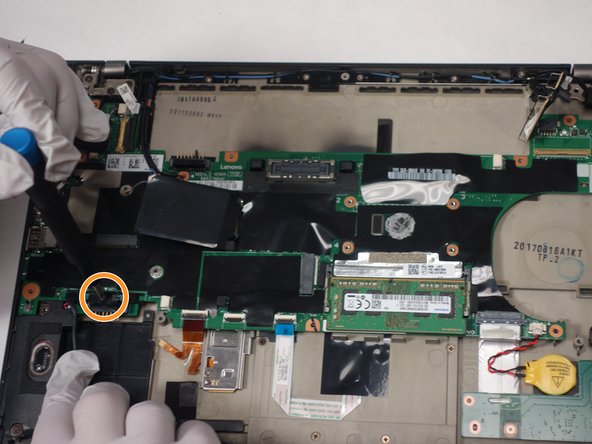
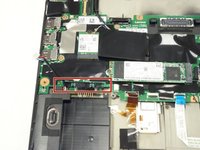
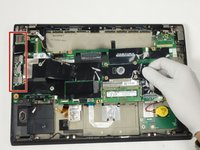
Disconnect the speaker connection covering the screw.
-
Use a Phillips #0 screwdriver to remove the single 5 mm screw securing the motherboard.
-
-
-
Remove the 3.3 mm screw using a Phillips #0 screwdriver.
-
-
-
Use a Phillips #0 screwdriver to remove the 3.3 mm screw.
-
-
-
Remove the single 3.3 mm screw with a Phillips #0 screwdriver.
-
-
-
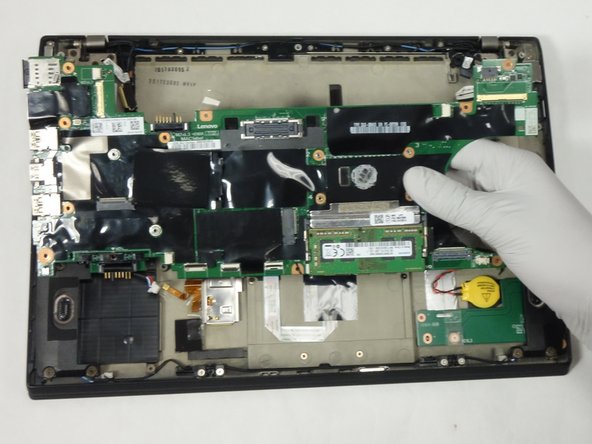
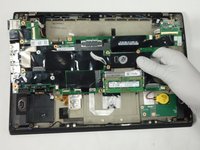
Gently grip the motherboard and slide it to the right to remove the USB ports from the chassis.
-
Lift the motherboard up and out of the chassis.
-
To reassemble your device, follow these instructions in reverse order.
crwdns2935221:0crwdne2935221:0
crwdns2935229:03crwdne2935229:0
crwdns2947410:01crwdne2947410:0
There are some conections that need to be disconected before baing able to take out the board anda you did it but didnt mentioned


