crwdns2915892:0crwdne2915892:0
This guide demonstrates in detail the process of replacing the motherboard. No major technical background necessary for replacement.
crwdns2942213:0crwdne2942213:0
-
-
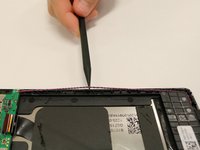
Starting at any point along the seam of the case carefully pry it open with the metal spudger, slowly working your way around the outside until the case can come apart.
-
-
-
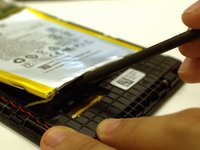
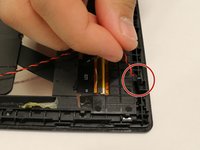
Pull up gently on the yellow tape to access the connector.
-
-
-
Gently detach the connector from the motherboard by pulling up on it.
-
-
-
-
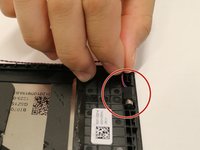
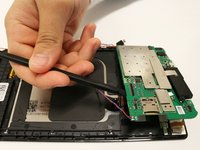
Use the spudger tool to loosen the bond of the adhesive from the double sided tape.
-
Separate the battery from the case.
-
-
-
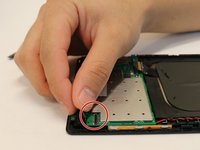
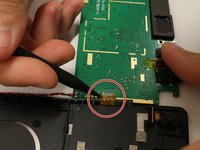
Use a plastic opening tool or a tweezer to remove any tape.
-
Unplug the electrical connectors by lifting the clip that hold them in place.
-
-
-
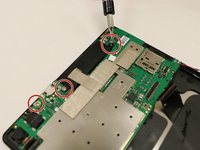
Remove the three 2.0mm screws using the Phillips #00 Screwdriver bit.
-
-
crwdns2935267:0crwdne2935267:0Tweezers$4.99
-
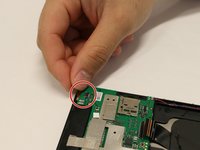
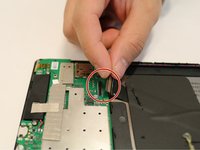
Use a plastic opening tool or tweezers to remove the twisted pairs that are held in place by retaining tabs.
-
-
-
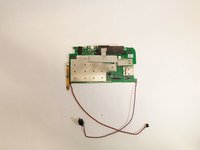
Gently lift up the motherboard starting from the right side. The final strip can be removed by gently pulling it up from the case.
-
Remove the motherboard completely from the back panel.
-


To reassemble your device, follow these instructions in reverse order.
To reassemble your device, follow these instructions in reverse order.
crwdns2915084:0crwdne2915084:0

Washington State, Team S5-G111, Phelps-Hillen Fall 2017 crwdns2935289:0Washington State, Team S5-G111, Phelps-Hillen Fall 2017crwdne2935289:0
WSU-PHELPS-HILLEN-F17S5G111
crwdns2931471:04crwdne2931471:0
crwdns2935297:06crwdne2935297:0
crwdns2947410:01crwdne2947410:0
I may do this, however, I need to know is this a fix for a Lenovo that won’t charge?
I addend a new battery and the Lenovo doesn’t seem to charge or turn on, is a new Motherboard then necessary?