crwdns2915892:0crwdne2915892:0
This guide instructs the user how to replace the vibrating cable located in the Lenovo Miix 2 8 tablet. This process is important in case the vibrating function of the device no longer works and needs to be replaced to return to normal functionality.
crwdns2942213:0crwdne2942213:0
-
-
Remove the back cover of the tablet by inserting a nylon or metal spudger in the small hole between the screen and rear cover near the volume button. Slide the tool along the edge of the tablet to release the internal clasps.
-
-
-
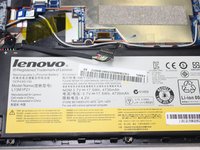
Unscrew the six 3mm screws surrounding the battery dock using a Phillips #0 screwdriver.
-
-
-
-
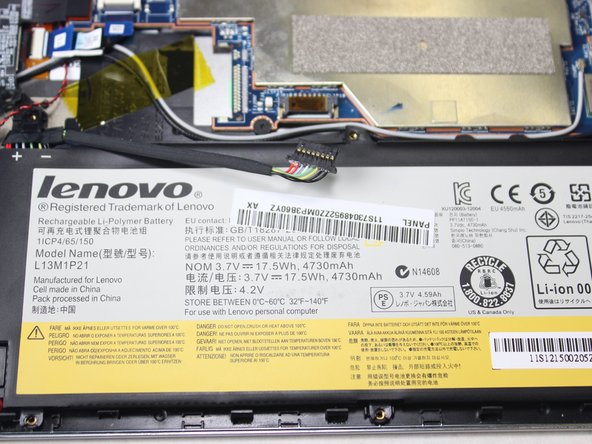
Using a plastic spudger, slowly push each side of the battery connector (back and forward a couple of times) out of its socket on the motherboard.
-
-
-
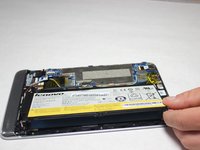
Remove the battery by prying up with your fingers or a plastic opening tool.
-
-
crwdns2935267:0crwdne2935267:0Tweezers$4.99
-
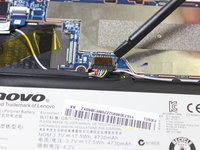
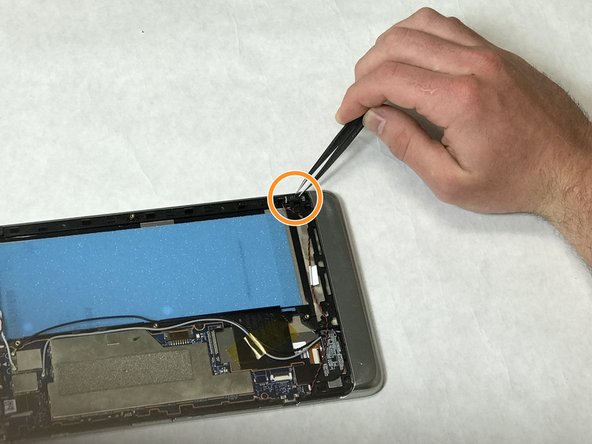
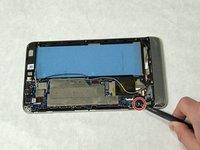
Remove the vibrator cable which is connected with a white connector head to the motherboard, by gently lifting on the connector head with tweezers.
-
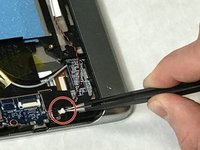
Remove the vibrator head by following the black and wire cable from the motherboard to where the head is located.
-


To reassemble your device, follow these instructions in reverse order.
To reassemble your device, follow these instructions in reverse order.
crwdns2935287:0crwdne2935287:0

IUPUI, Team S3-G1, Harley Spring 2019 crwdns2935289:0IUPUI, Team S3-G1, Harley Spring 2019crwdne2935289:0
IUPUI-HARLEY-S19S3G1
crwdns2931471:03crwdne2931471:0
crwdns2935297:02crwdne2935297:0