crwdns2915892:0crwdne2915892:0
If you are trying to replace your current hard drive, this guide will walk you through the process.
crwdns2942213:0crwdne2942213:0
-
-
Start by removing the feet near the LCD hinge of the laptop to reveal two screws.
-
Using a Phillips #1 screwdriver, remove the top five (30 mm) screws underneath the battery.
-
-
-
Once both feet are removed, two (40 mm) screws will reveal themselves. Unscrew these.
-
-
-
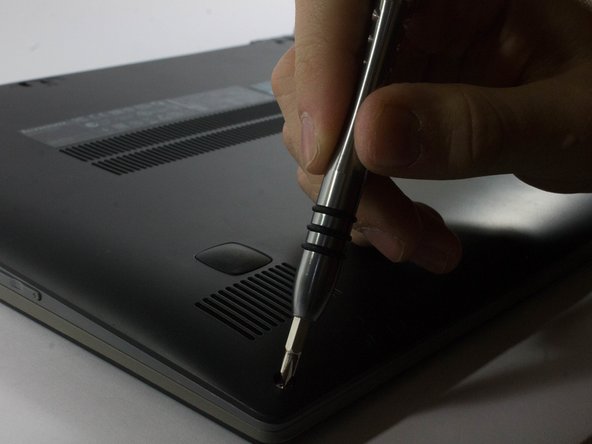
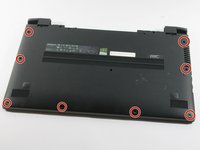
Working your way around the outer edges of the Flex 15, remove the 8 (30 mm) outer screws.
-
-
-
-
Remove the one (40 mm) screw in the middle of the Flex 15.
-
-
-
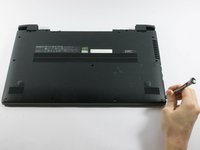
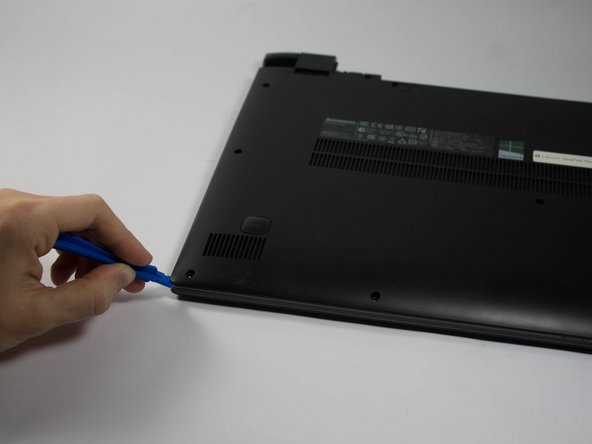
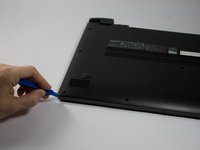
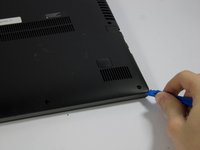
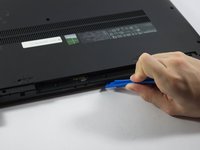
Using a plastic opening tool, make your way around the edge of the laptop.
-
There is a visible line between the bottom shell of the laptop and the laptop body itself.
-
-
-
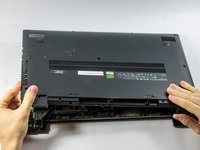
Make sure to pry evenly around this edge and only remove the bottom of the laptop when it is fully loose.
-
-
-
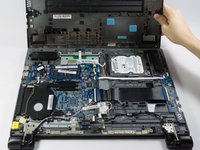
Locate the hard drive assembly on the top right hand corner of the Flex 15 based on the orientation of the device in the picture.
-
-
-
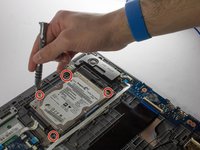
Begin by unscrewing the four (20 mm) black screws that surround the hard drive’s metal cage.
-
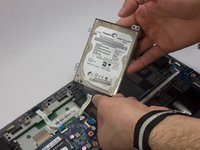
Once removed, remove the black SATA connector by pulling it from the hard drive unit towards the right hand side of the laptop.
-
-
-
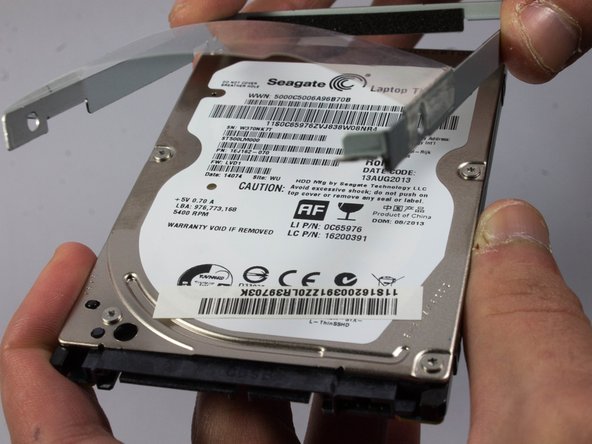
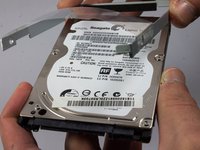
The hard drive should be freed from the base of the laptop.
-
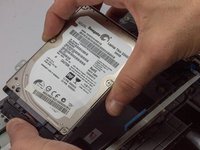
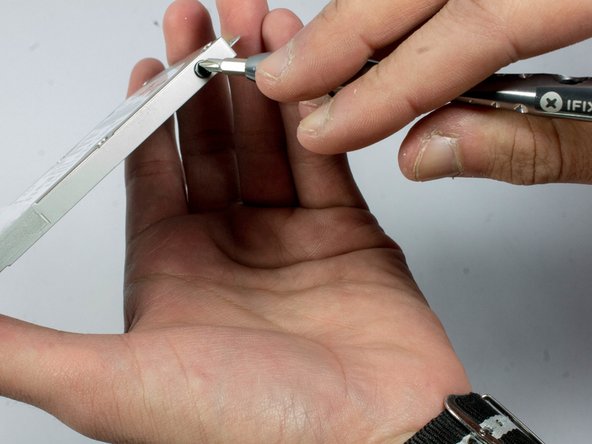
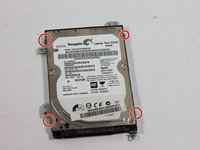
There are four (20 mm) black screws surrounding the hard drive from the cage. Unscrew these to free the hard drive from the cage
-
To reassemble your device, follow these instructions in reverse order.
crwdns2935221:0crwdne2935221:0
crwdns2935229:06crwdne2935229:0


