crwdns2915892:0crwdne2915892:0
This guide for the Lenovo IdeaPad 320-17IKB will show the user how to remove the front LED assembly for replacement.
An LED screen is the flat display panel that portrays the images seen on the laptop. It does this through the use of light emitting pixels. Be careful not to bend or twist the LED screen during removal as it can damage the component.
Before replacing this LED screen, check out the Lenovo IdeaPad 320-17IKB Troubleshooting.
crwdns2942213:0crwdne2942213:0
-
-
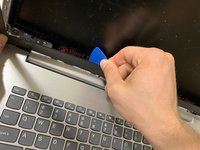
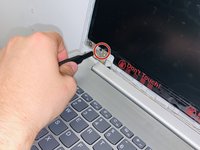
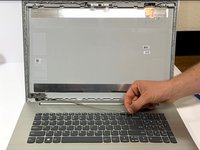
Start from the left side of the bezel (plastic covering) by gently removing inner edge of the plastic. Continue to do the same thing on the right side.
-
-
-
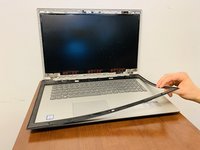
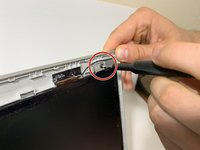
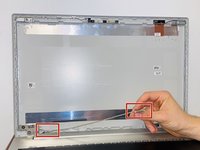
Turn the laptop sideways and insert the plastic pick between the bezel (plastic covering) and the laptop cover. Use the plastic pick to separate the bezel from the top cover.
-
-
-
-
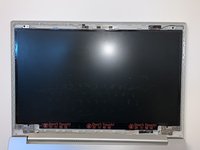
Remove the bezel (plastic covering) from the laptop completely and set aside.
-
-
-
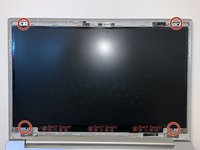
Remove the four 7mm JIS #00 screws from each corner while holding the screen in place.
-
-
-
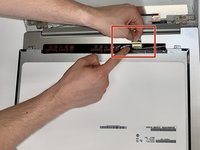
Place the LED screen on the keyboard and use your fingers or the iFixit opening tool to open the bracket securing the video connector. Then, disconnect the video cable.
-
-
-
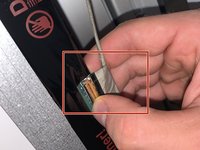
Once all the other steps have been completed you should have a disconnected LED screen, and bezel. The connector tab should remain adhered to the motherboard.
-


To reassemble your device, follow these instructions in reverse order.
crwdns2935221:0crwdne2935221:0
crwdns2935229:04crwdne2935229:0

crwdns2935287:0crwdne2935287:0

Embry-Riddle Aeronautical University, Team S6-G3, Salas Fall 2019 crwdns2935289:0Embry-Riddle Aeronautical University, Team S6-G3, Salas Fall 2019crwdne2935289:0
ERAU-SALAS-F19S6G3
crwdns2931471:04crwdne2931471:0
crwdns2935297:010crwdne2935297:0
crwdns2947412:02crwdne2947412:0
Is there a direct replacement better quality panel?
does this laptop have backlights on keyboard ????????