crwdns2915892:0crwdne2915892:0
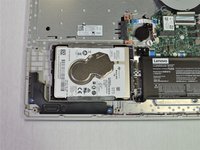
This guide will show you how to remove and replace the hard drive for the device.
Before you start replacing the hard drive, make sure to turn the device off, remove the battery and disconnect the laptop from any power source.
crwdns2942213:0crwdne2942213:0
-
-
Remove the single 7 mm Phillips #1 screw securing the optical drive.
-
-
-
Carefully remove the optical drive bracket by pulling the bezel away from the laptop.
-
-
-
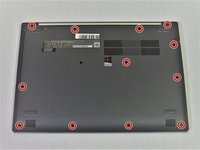
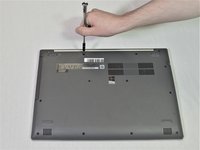
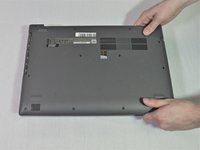
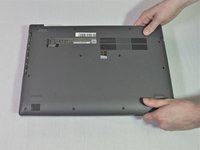
Using the Phillips #1 screwdriver, remove the twelve screws around the back panel from the laptop.
-
-
-
-
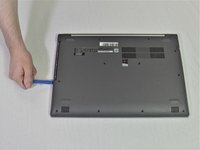
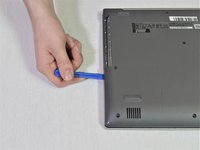
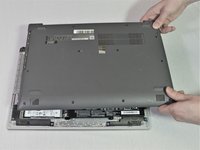
Use an opening tool to pry out the back cover.
-
-
-
Remove the back panel by pulling it up and away from the laptop.
-
-
-
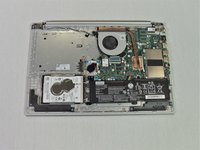
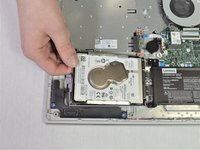
Gently lift up the hard disk from the left.
-
-
-
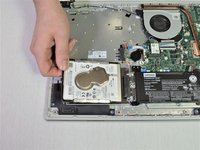
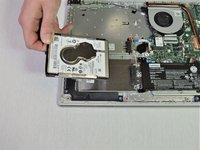
Carefully pull the hard drive away and out of the connection port.
-
-
-
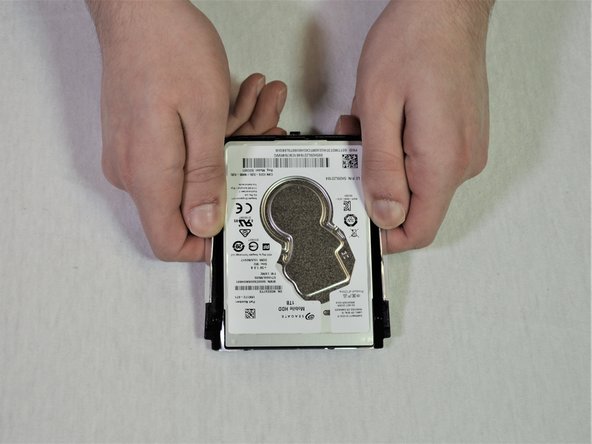
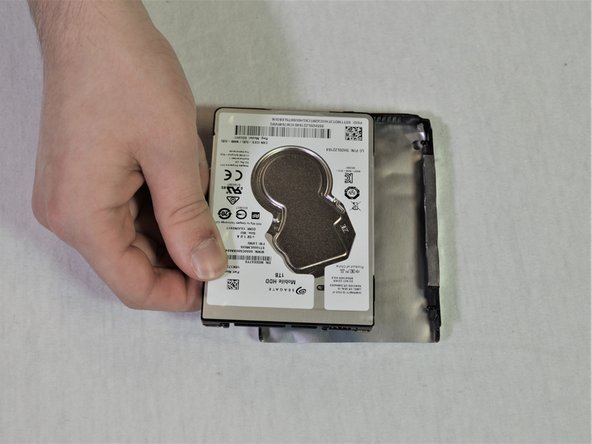
Detach the bracket from the hard drive by pulling the bracket edges apart.
-
To reassemble your device, follow these instructions in reverse order.
crwdns2935221:0crwdne2935221:0
crwdns2935229:026crwdne2935229:0
crwdns2947412:04crwdne2947412:0
What is the maximum thickness of the replacement Hard Drive/SSD.
It takes a standard 2.5” laptop HDD/SSD. They do not vary in thickness.
@TheSolderSnake You might want to use google to see the variation in 2.5” laptop drive thickness before making such a confident statement. ;)
This is gonna be fun! lol. I’ll be doing this in 5-15 minutes. Wish me luck!!!


