crwdns2915892:0crwdne2915892:0
The motherboard is attached to everything in your device, so it is an intensive process to remove it.
crwdns2942213:0crwdne2942213:0
-
crwdns2931653:01crwdne2931653:0 Fan
crwdns2944590:01crwdnd2944590:06crwdnd2944590:0crwdnd2944590:0crwdne2944590:0
-
Remove all of the screws on the back panel with a Phillips #000 screwdriver.
-
Turn over the device and remove the two screws on the outside of the hinges.
-
-
-
Use a pry tool or iFixIt Opening tool to separate the back panel from the device.
-
-
-
-
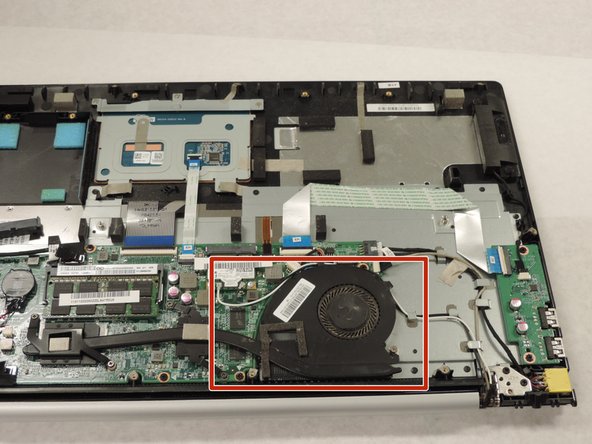
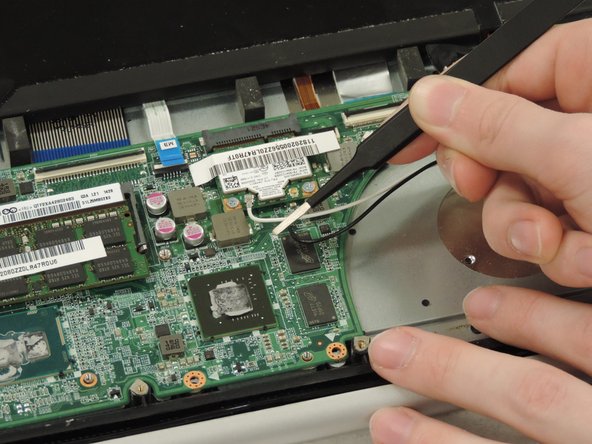
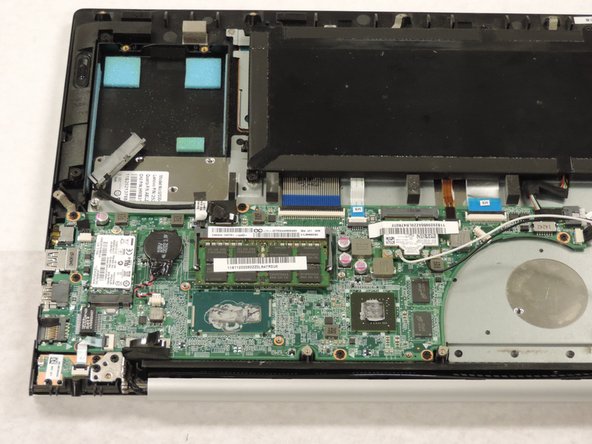
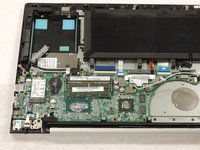
Locate the fan and associated parts. It will be in the bottom right of the computer pictured. It is black and has an extension heading off toward the left.
-
-
-
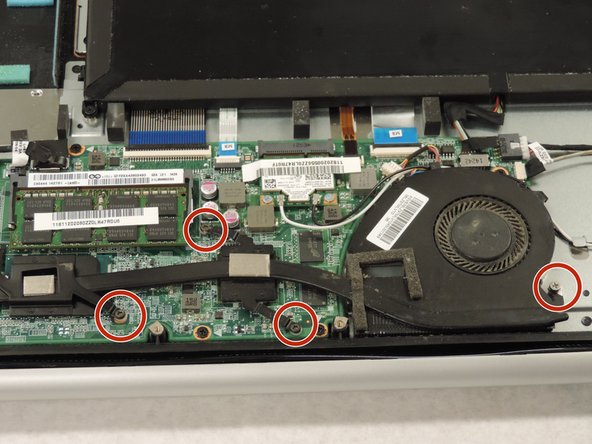
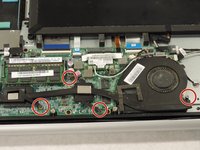
Unscrew the fan casing by using a PH1 size screwdriver head.
-
-
-
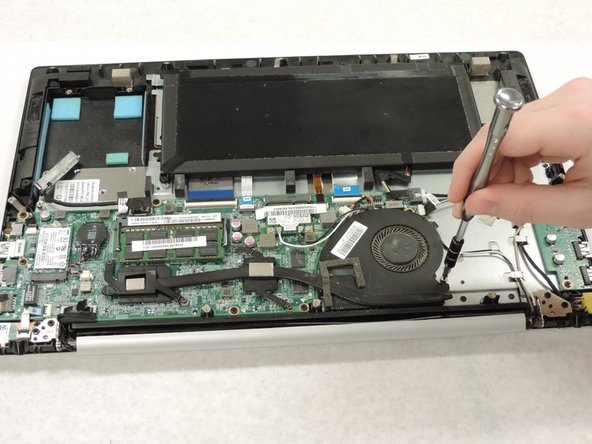
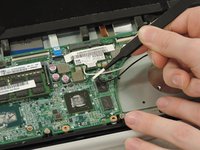
Remove the black and white wires connecting the fan to the network adapter.
-
-
-
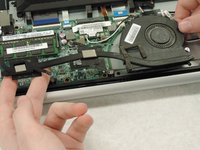
Lift the fan straight out of the casing.
-


To reassemble your device, follow these instructions in reverse order.
crwdns2935287:0crwdne2935287:0

Western Carolina University, Team S1-G2, Virtue Spring 2018 crwdns2935289:0Western Carolina University, Team S1-G2, Virtue Spring 2018crwdne2935289:0
WCU-VIRTUE-S18S1G2
crwdns2931471:04crwdne2931471:0
crwdns2935297:03crwdne2935297:0