crwdns2915892:0crwdne2915892:0
This guide will help you to replace your computer's motherboard, one of the most essential components of your computer. To replace this, you will have to take apart a good portion of your laptop, so be ready with sufficient tools, work area, and time.
crwdns2942213:0crwdne2942213:0
-
-
Remove the eight 6 mm screws using a Phillips #0 screwdriver.
-
Remove the two 11 mm screws using a Phillips #0 screwdriver.
-
-
-
Pry the back cover off by inserting the plastic opening tool at the hinges and wedging it between the Back cover and the body.
-
Follow along the back edge with the plastic opening tool, lifting the cover off as you go. It is normal to hear snapping/clicking sounds as the back cover is held on by clips.
-
Remove the cover.
-
-
-
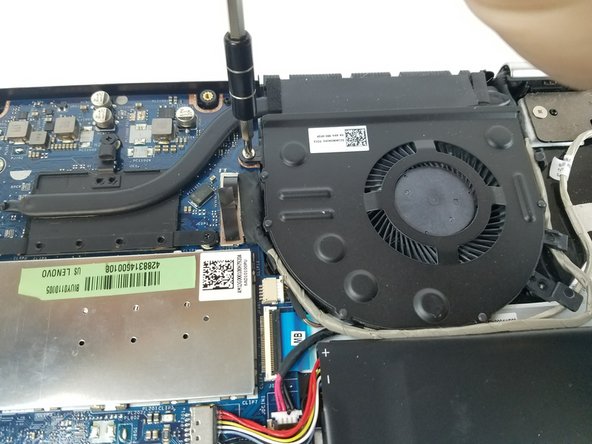
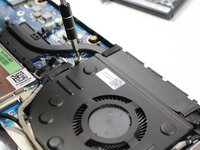
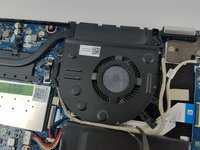
Remove the two 4 mm Phillips #0 screws which mount the fan.
-
-
crwdns2935267:0crwdne2935267:0Tweezers$4.99
-
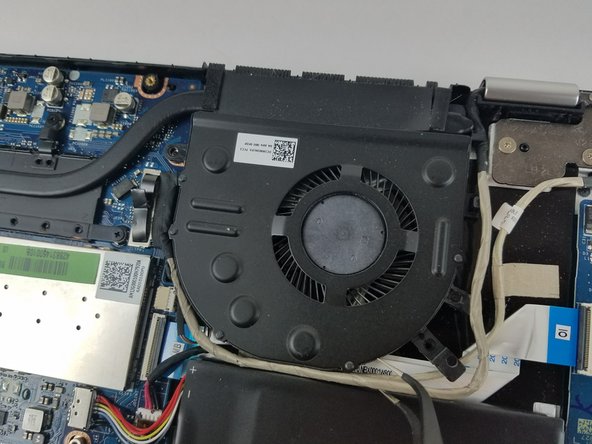
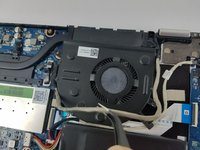
Using the Precision Tweezers, remove the 2 gray wires around the fan from their clips.
-
-
-
-
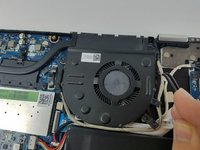
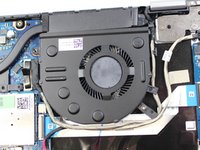
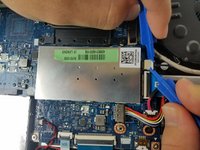
Use 2 plastic opening tools to remove the fans power wire from the Mother board and remove the fan.
-
Lift the cooling fan out of the laptop.
-
-
-
Remove the foam on the WIFI card.
-
-
-
Remove the wires attached to the WIFI card.
-
-
-
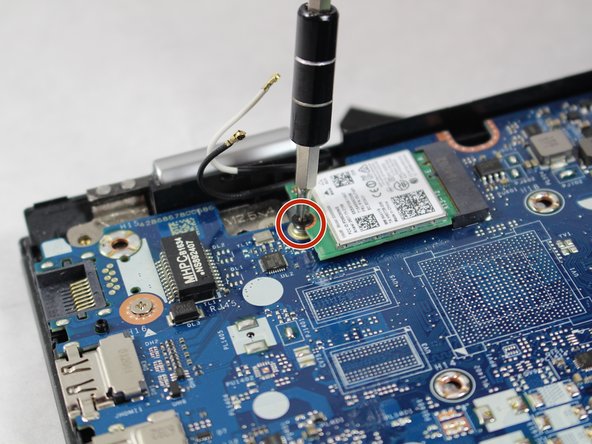
Unscrew the 4mm screw holding wifi card.
-
-
-
Unscrew the twelve 4mm screws with a #0 Phillips screwdriver.
-


To reassemble your device, follow these instructions in reverse order.
To reassemble your device, follow these instructions in reverse order.
crwdns2935221:0crwdne2935221:0
crwdns2935229:02crwdne2935229:0
crwdns2915084:0crwdne2915084:0

UMass Dartmouth, Team S5-G2, Gulbrandsen Fall 2018 crwdns2935289:0UMass Dartmouth, Team S5-G2, Gulbrandsen Fall 2018crwdne2935289:0
UMASSD-GULBRANDSEN-F18S5G2
crwdns2931471:03crwdne2931471:0
crwdns2935297:05crwdne2935297:0