crwdns2915892:0crwdne2915892:0
If your Lenovo IdeaPad 330S-14IKB does not turn on, or does not last more then a short period of time off the charger, the battery may need to be replaced. This short guide will quickly and easily show you how to replace the battery.
Be careful when working with a battery, a damaged battery could become a fire or shock hazard, refer to this guide here when removing a potentially damaged battery.
crwdns2942213:0crwdne2942213:0
-
-
Begin by turning your laptop upside down so that you can access the labels on the back.
-
-
-
Remove the 10 screws from the bottom of the laptop.
-
-
-
Slowly and carefully remove the back panel from the laptop.
-
-
-
-
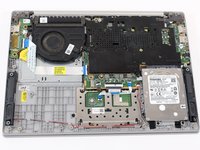
Locate the battery in the bottom left corner.
-
-
-
Remove the 5 screws that secure the battery in place.
-
-
-
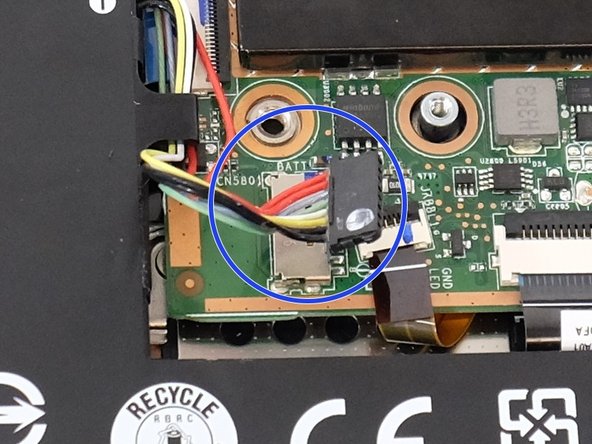
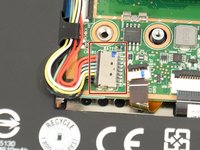
Near the positive and negative symbols on the battery, you'll find a wire connected to the motherboard.
-
Gently unplug this wire.
-
-
-
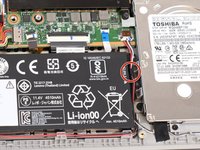
There is a wire clipped to the side of the battery next to the hard drive; unhook this wire.
-
With the wire disconnected, remove the old battery.
-


To reassemble your device, follow these instructions in reverse order.
crwdns2935221:0crwdne2935221:0
crwdns2935229:02crwdne2935229:0
crwdns2935287:0crwdne2935287:0

Linn Benton Community College, Team 1-3, Karnes Fall 2023 crwdns2935289:0Linn Benton Community College, Team 1-3, Karnes Fall 2023crwdne2935289:0
LBCC-KARNES-F23S1G3
crwdns2931471:05crwdne2931471:0
crwdns2935297:04crwdne2935297:0