crwdns2915892:0crwdne2915892:0
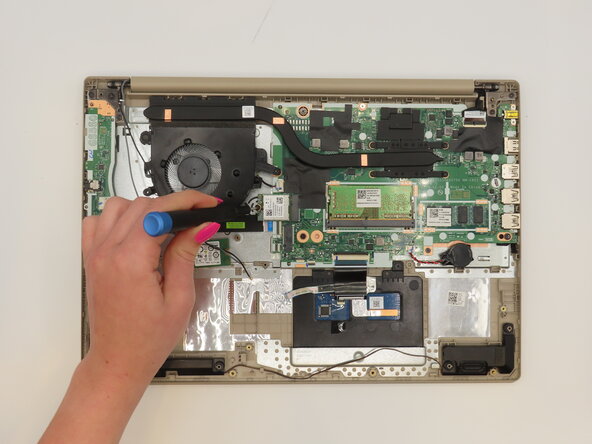
This guide provides step-by-step instructions for replacing the Wi-Fi card in your Lenovo IdeaPad 3-15ADA05. Whether you're experiencing connectivity issues or looking to upgrade for improved performance, this guide will walk you through the process.
Before you begin, ensure the device is completely powered off and disconnected from any power source to prevent potential injury.
crwdns2942213:0crwdne2942213:0
-
-
Remove the six 5 mm screws located at the top half of the laptop using a Phillips #0 screwdriver.
-
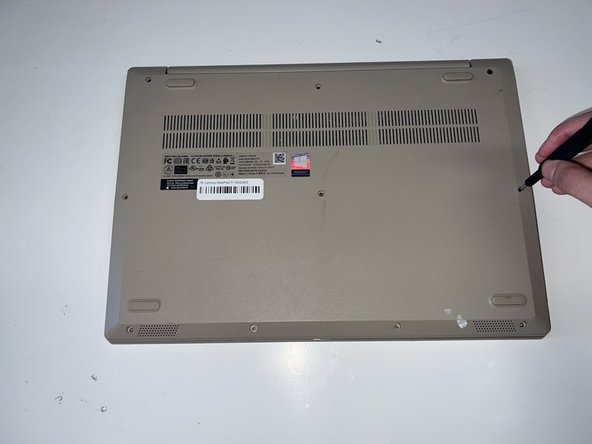
Remove the four 2.5 mm screws located at the bottom of the laptop using a Phillips #0 screwdriver.
-
-
-
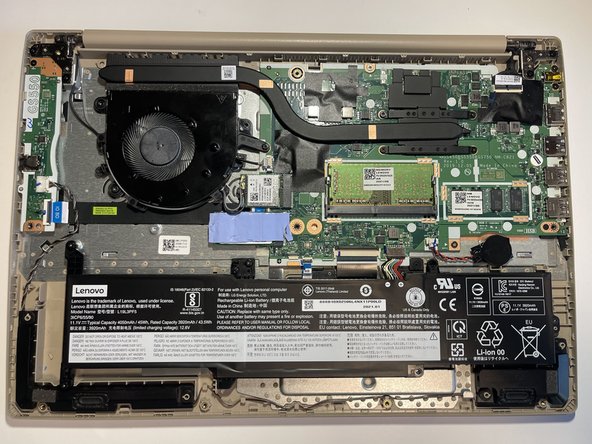
Insert the opening pick between the base plate and the bottom of the laptop and pry the clips loose around the edge until the base pops off.
-
-
-
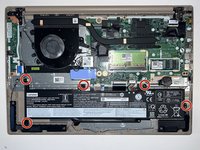
Using a #0 Phillips head, remove the five M2 x 3.5mm screws holding the battery in place.
-
-
-
-
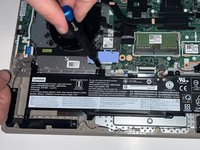
Using the opening tool, disconnect the battery connector from the motherboard, and then remove the battery.
-
-
-
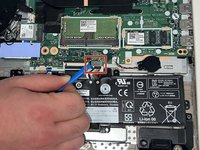
Grip each cable by using the angled tweezers and gently pull it straight out.
-
-
-
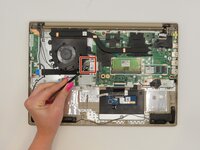
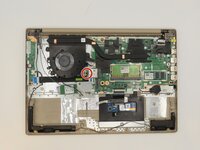
Remove the 3.0 mm screw using a Phillips #00 screwdriver.
-
-
-
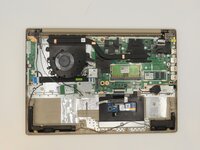
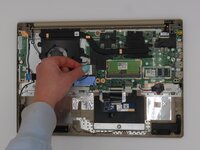
Pull the Wi-Fi card to the left to remove it.
-


To reassemble your device, follow these instructions in reverse order.
To reassemble your device, follow these instructions in reverse order.
crwdns2915084:0crwdne2915084:0

University of Kentucky, Team 1-5, Frey Spring 2025 crwdns2935289:0University of Kentucky, Team 1-5, Frey Spring 2025crwdne2935289:0
UKY-FREY-S25S1G5
crwdns2931471:05crwdne2931471:0
crwdns2935297:06crwdne2935297:0
crwdns2947410:01crwdne2947410:0
Hi Kate! thanks for your instruction on how to open and change the WiFi module... I have a question about the version of M.2 Key E wich are compatible with this Laptop.
The original one is a M.2 Key A+E RTL8822CE from REALTEK. I think this is giving me a problem with WHEA_UNCORRECTABLE_ERROR Blue Screen issue. So I take it off and then not problems are visibles, everything works fine.
So I take off the WiFi module from a LENOVO L340 wich it comes with INTEL 9462NGW, M.2 Key E form factor. Is not working.
I look into the respective Schematics and foun that Lenovo ideaPad 3 doesn't have some conections lines (SPI,UART,others), just USB conections... so i think there is a problem with Key E types wich wont works withs this Laptop.
So question is... Do am I ok?? Does Key E need all pins connection? I will looking for more info, so if I coul answer me will share it too here!
I hope you all community still fine! Cheers!