crwdns2915892:0crwdne2915892:0
This guide goes over the removal of the speaker in a Lenovo IdeaPad 3-15ADA05. This guide should be used if you are experiencing any issues with speaker audio, for example if it is muffled, non-functional, or distorted. By removing the speaker to replace it, you will get a more clear audio sound.
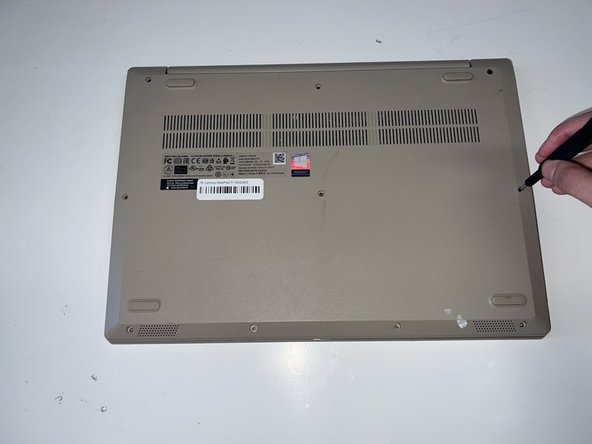
Before starting this process make sure there is no damage to the battery, avoid using any metal tools near the computer, and make sure to stay clear of static surfaces. Make sure the device is turned off and has no windows or software running before starting the removal process. When you are doing this process you are removing the back cover of the Lenovo IdeaPad so you need to be extra cautious about water, or any substances nearby that could get in and be dangerous to the parts.
crwdns2942213:0crwdne2942213:0
-
-
Remove the six 5 mm screws located at the top half of the laptop using a Phillips #0 screwdriver.
-
Remove the four 2.5 mm screws located at the bottom of the laptop using a Phillips #0 screwdriver.
-
-
-
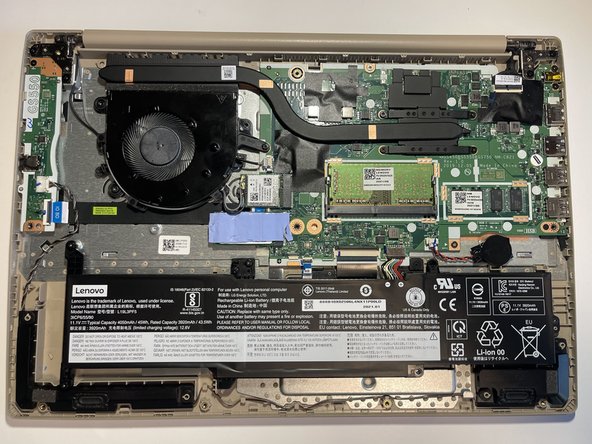
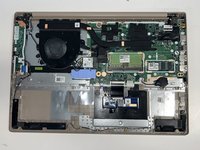
Insert the opening pick between the base plate and the bottom of the laptop and pry the clips loose around the edge until the base pops off.
-
-
-
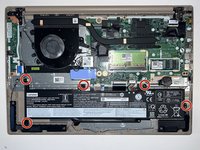
Using a #0 Phillips head, remove the five M2 x 3.5mm screws holding the battery in place.
-
-
-
-
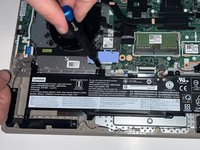
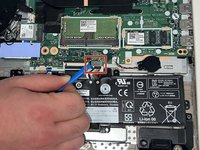
Using the opening tool, disconnect the battery connector from the motherboard, and then remove the battery.
-
-
-
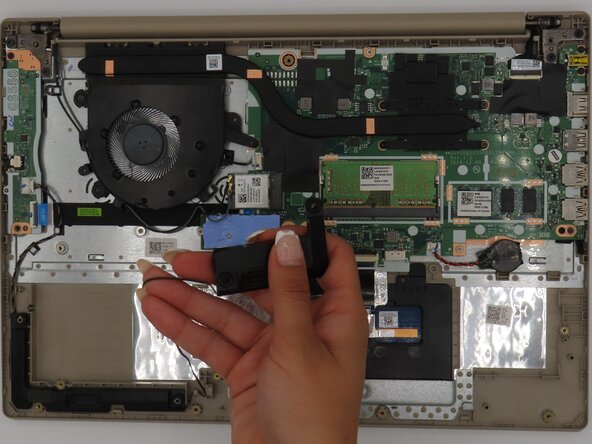
Remove the small black speaker from the right side using an iFixit opening tool.
-
Gently pull the wire off along the outside.
-
-
-
Unplug the speaker connector from the circuit board.
-
-
-
Detach all the wires connected to the small black piece.
-


To reassemble your device, follow these instructions in reverse order.
crwdns2935287:0crwdne2935287:0

University of Kentucky, Team 1-5, Frey Spring 2025 crwdns2935289:0University of Kentucky, Team 1-5, Frey Spring 2025crwdne2935289:0
UKY-FREY-S25S1G5
crwdns2931471:05crwdne2931471:0
crwdns2935297:06crwdne2935297:0