crwdns2915892:0crwdne2915892:0
If your Lenovo IdeaPad 3-15ADA05 is experiencing issues such as failure to boot, unexpected shutdowns, or the inability to recognize hardware components like RAM or the SSD, use this guide to replace the motherboard.
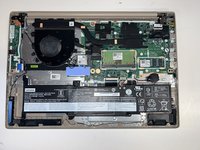
The motherboard is the main circuit board of the laptop that connects and communicates with all other components, including the CPU, RAM, storage, and ports. A faulty motherboard can lead to complete system failure or irregular performance, making replacement necessary in some cases.
Before beginning, power off your device completely and disconnect it from any external power source to ensure your safety and prevent damage to internal components.
crwdns2942213:0crwdne2942213:0
-
-
Remove the six 5 mm screws located at the top half of the laptop using a Phillips #0 screwdriver.
-
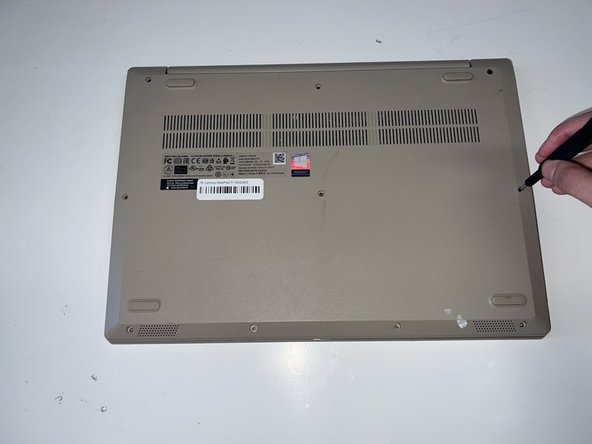
Remove the four 2.5 mm screws located at the bottom of the laptop using a Phillips #0 screwdriver.
-
-
-
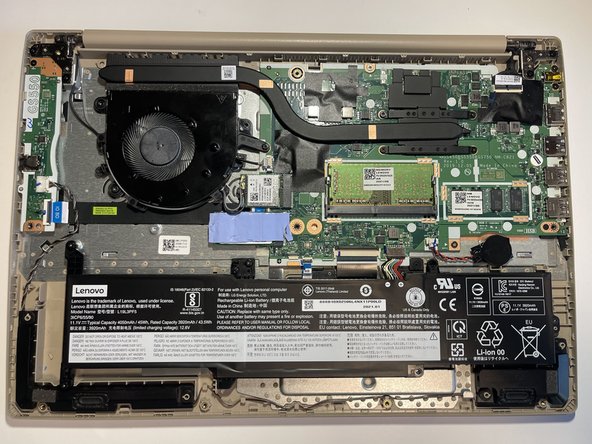
Insert the opening pick between the base plate and the bottom of the laptop and pry the clips loose around the edge until the base pops off.
-
-
-
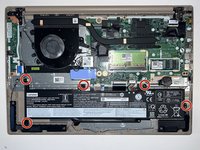
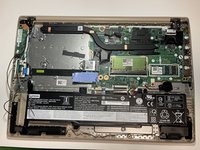
Using a #0 Phillips head, remove the five M2 x 3.5mm screws holding the battery in place.
-
-
-
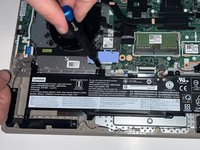
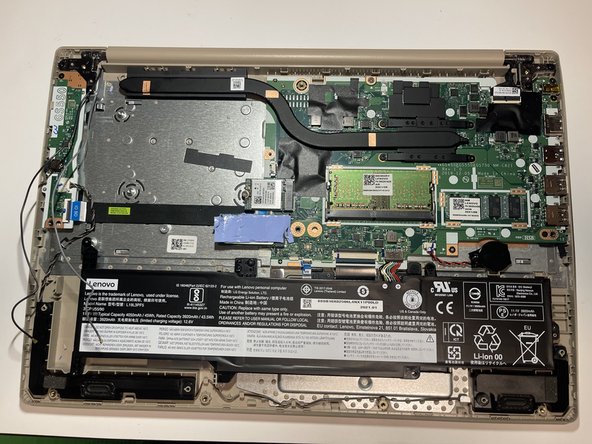
Using the opening tool, disconnect the battery connector from the motherboard, and then remove the battery.
-
-
-
-
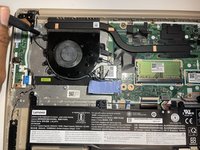
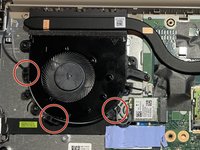
Remove the two M2 x 3.30mm screws using the #0 screw head, then remove the one M2 x 5mm screw using the #0 screw head.
-
-
-
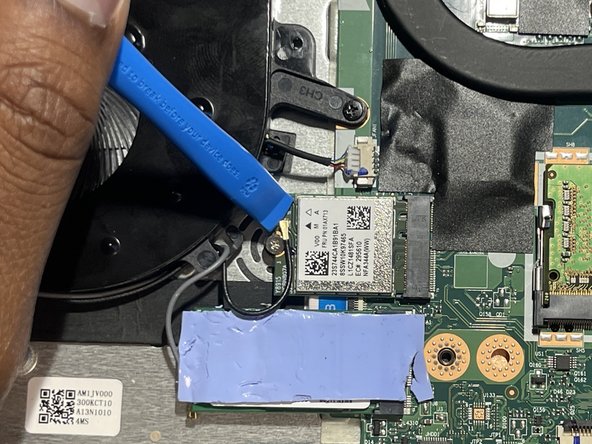
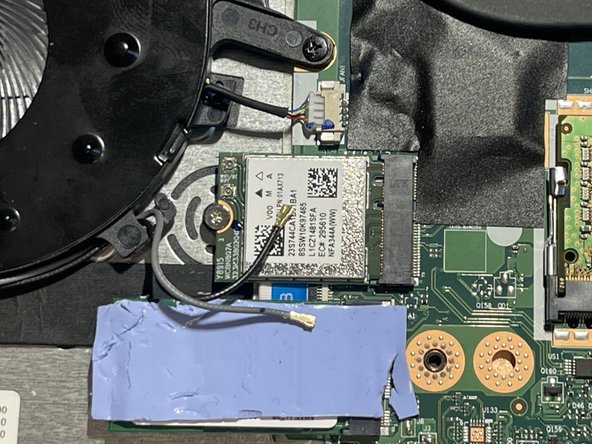
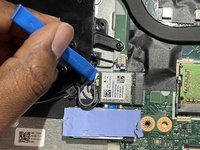
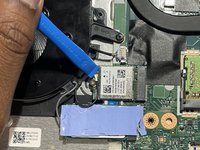
Disconnect the black and white antenna cables from the wireless card using the opening tool.
-
-
-
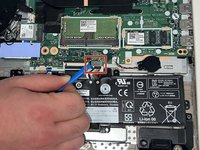
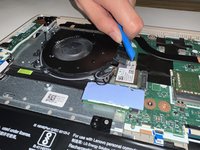
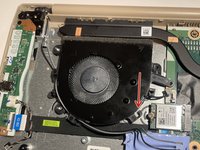
Disconnect the fan cable from the motherboard using the opening tool.
-
-
-
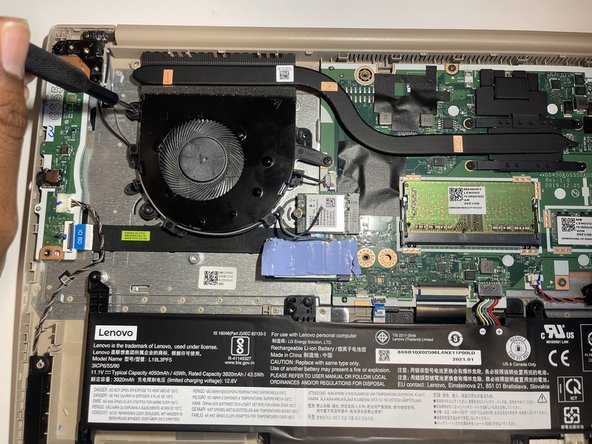
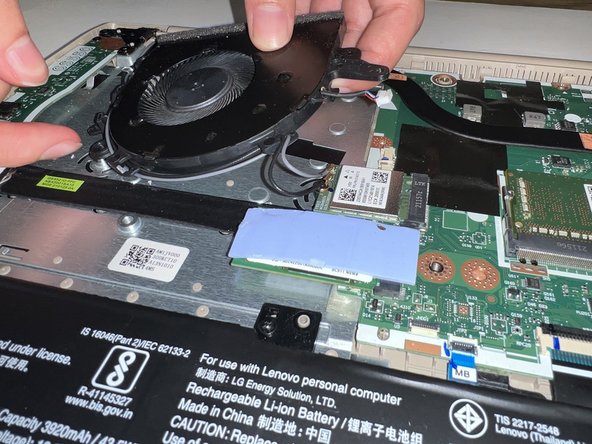
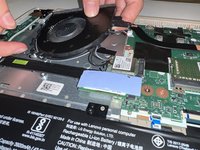
Unwrap the cord from the three clips, then remove the fan.
-
-
-
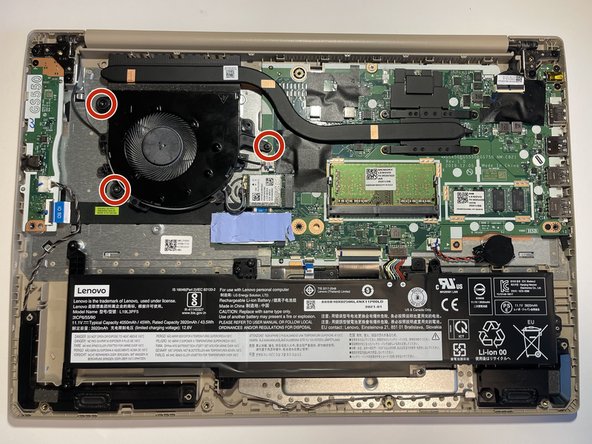
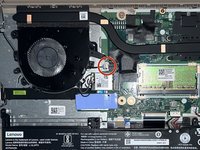
Use a Phillips #00 screwdriver to loosen the four 2.5 mm screws from the heat sink.
-
Remove the heat sink from the motherboard.
-
-
-
Use a Phillips #00 screwdriver to remove the ten 2.5 mm screws.
-
Disconnect the cable from the motherboard using an opening tool.
-
Remove the CMOS battery that is adhered to the laptop.
-
Remove the motherboard.
-


To reassemble your device, follow these instructions in reverse order.
crwdns2935221:0crwdne2935221:0
crwdns2935227:0crwdne2935227:0
crwdns2935287:0crwdne2935287:0

University of Kentucky, Team 1-5, Frey Spring 2025 crwdns2935289:0University of Kentucky, Team 1-5, Frey Spring 2025crwdne2935289:0
UKY-FREY-S25S1G5
crwdns2931471:05crwdne2931471:0
crwdns2935297:06crwdne2935297:0