crwdns2915892:0crwdne2915892:0
This guide will help you through the steps of disassembling the display on a Lenovo IdeaPad 3-15ADA05 laptop. Whether you're repairing a cracked screen, fixing a flickering display, or upgrading the panel, this step-by-step instruction will let you access the display assembly safely and effectively. Before you begin, turn off the laptop fully and detach it from any power source to avoid electric shock or hardware damage.
crwdns2942213:0crwdne2942213:0
-
-
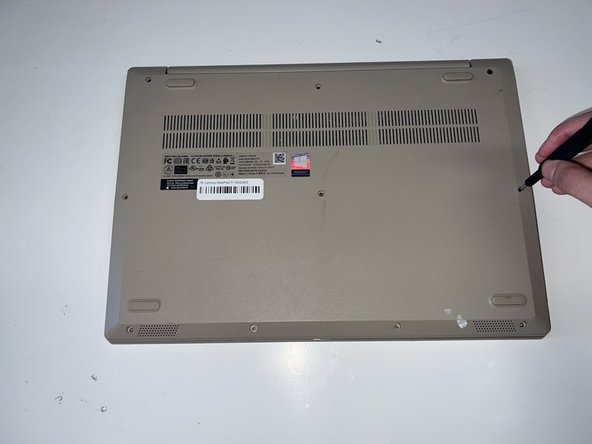
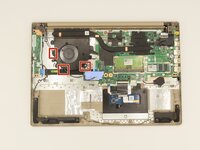
Remove the six 5 mm screws located at the top half of the laptop using a Phillips #0 screwdriver.
-
Remove the four 2.5 mm screws located at the bottom of the laptop using a Phillips #0 screwdriver.
-
-
-
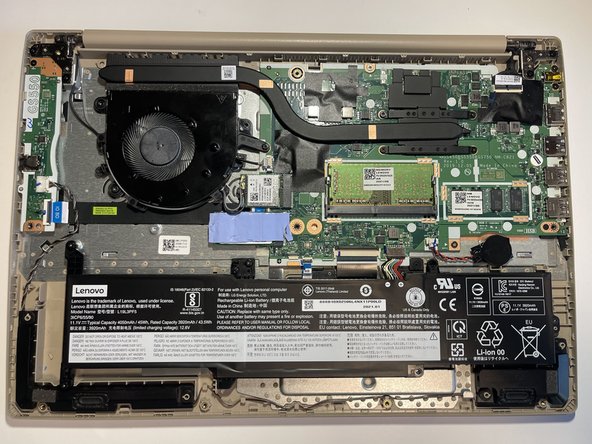
Insert the opening pick between the base plate and the bottom of the laptop and pry the clips loose around the edge until the base pops off.
-
-
-
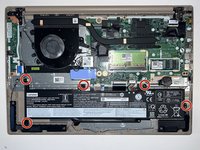
Using a #0 Phillips head, remove the five M2 x 3.5mm screws holding the battery in place.
-
-
-
-
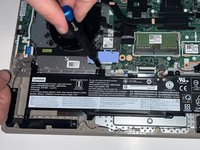
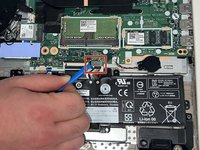
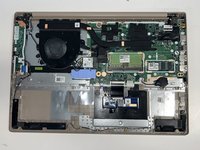
Using the opening tool, disconnect the battery connector from the motherboard, and then remove the battery.
-
-
-
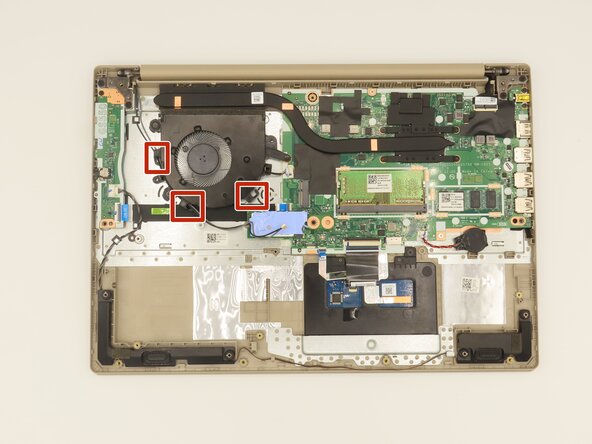
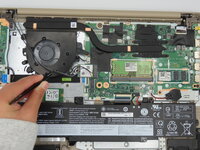
Disconnect the black and white antenna cables from the wireless card using the opening tool.
-
Unwrap the cord from the three clips.
-
To remove the cords, push them through the small gaps.
-
-
-
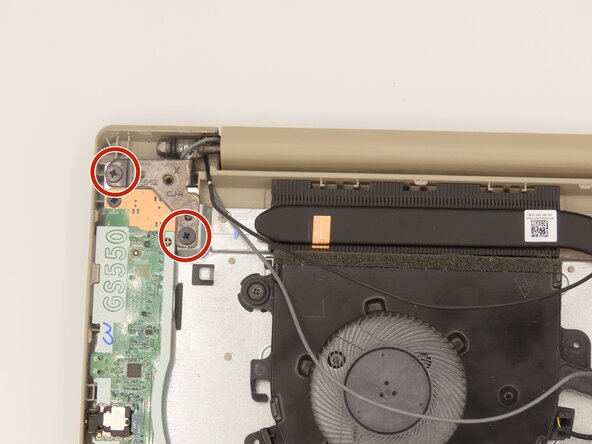
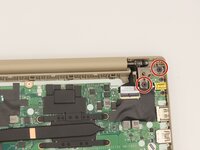
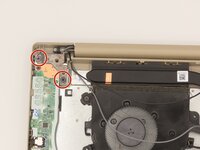
Remove the four 7 mm screws from both hinges using a Phillips #0 screwdriver.
-
-
-
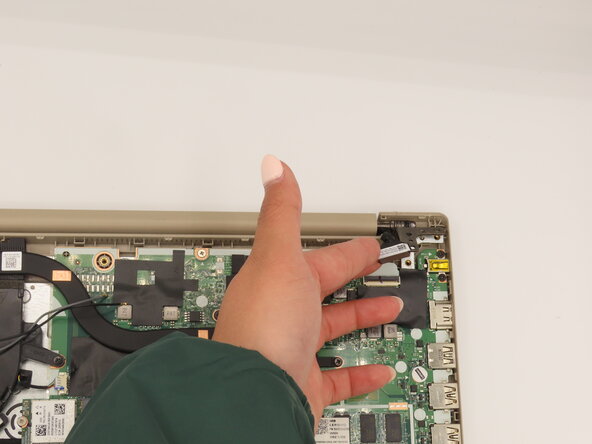
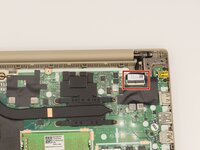
Using iFixit precision tweezers, remove the LCD cable from its slot.
-
-
-
Carefully separate the display from the keyboard.
-


To reassemble your device, follow these instructions in reverse order.
crwdns2935287:0crwdne2935287:0

University of Kentucky, Team 1-5, Frey Spring 2025 crwdns2935289:0University of Kentucky, Team 1-5, Frey Spring 2025crwdne2935289:0
UKY-FREY-S25S1G5
crwdns2931471:05crwdne2931471:0
crwdns2935297:06crwdne2935297:0