crwdns2915892:0crwdne2915892:0
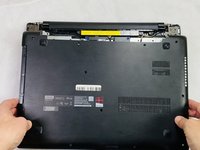
This guide details the steps to remove the battery from the Lenovo IdeaPad 110 Touch-15ACL. The battery is attached by screws and fits inside a track (it can only be removed and installed from one direction) along with the wire connected to the motherboard. Exercise caution when removing the wire and avoid pulling on the wires themselves, instead—hold onto the solid portion of the wire end. Be sure to avoid puncturing the battery and other internal components as they can cause serious injury and/or health issues.
Prior to starting this repair, be sure to turn off the device and disconnect from the power adapter.
crwdns2942213:0crwdne2942213:0
-
-
Remove the thirteen 6 mm Phillips #0 screws.
-
-
-
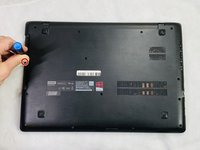
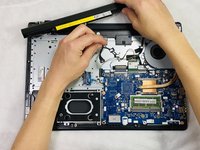
Use an opening tool to gently disconnect most of the clips on the back panel.
-
-
-
-
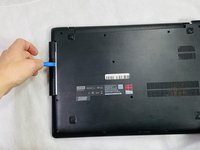
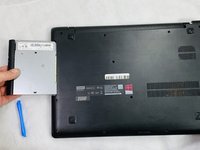
Pry the disk drive away from the center of the laptop.
-
Once the drive is removed, remove the one 2 mm Phillips #0 screw that is now exposed.
-
-
-
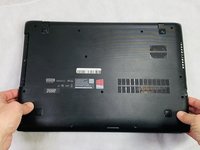
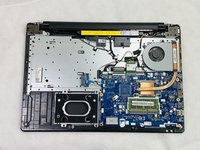
Unclip any of the remaining clips and remove the back panel.
-
-
-
Remove the four 6 mm Phillips #0 mounting screws.
-
-
-
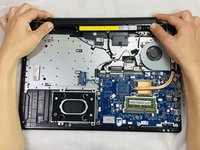
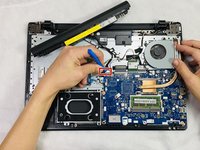
Detach the wire connected to the motherboard and remove the battery assembly.
-


To reassemble your device, follow these instructions in reverse order.
To reassemble your device, follow these instructions in reverse order.
crwdns2915084:0crwdne2915084:0

Clemson, Team 2-3, Hunter Spring 2022 crwdns2935289:0Clemson, Team 2-3, Hunter Spring 2022crwdne2935289:0
CLEM-HUNTER-S22S2G3
crwdns2931471:05crwdne2931471:0
crwdns2935297:06crwdne2935297:0